Mark Bittman's no-knead bread (easy dutch oven bread) is the easiest, most foolproof path to artisan-style bread at home with just 4 ingredients and a little time. No special equipment, no kneading, this is the best homemade bread ever! Leftovers are perfect to use in your own homemade GARLIC BUTTER CROUTONS, yep yep.
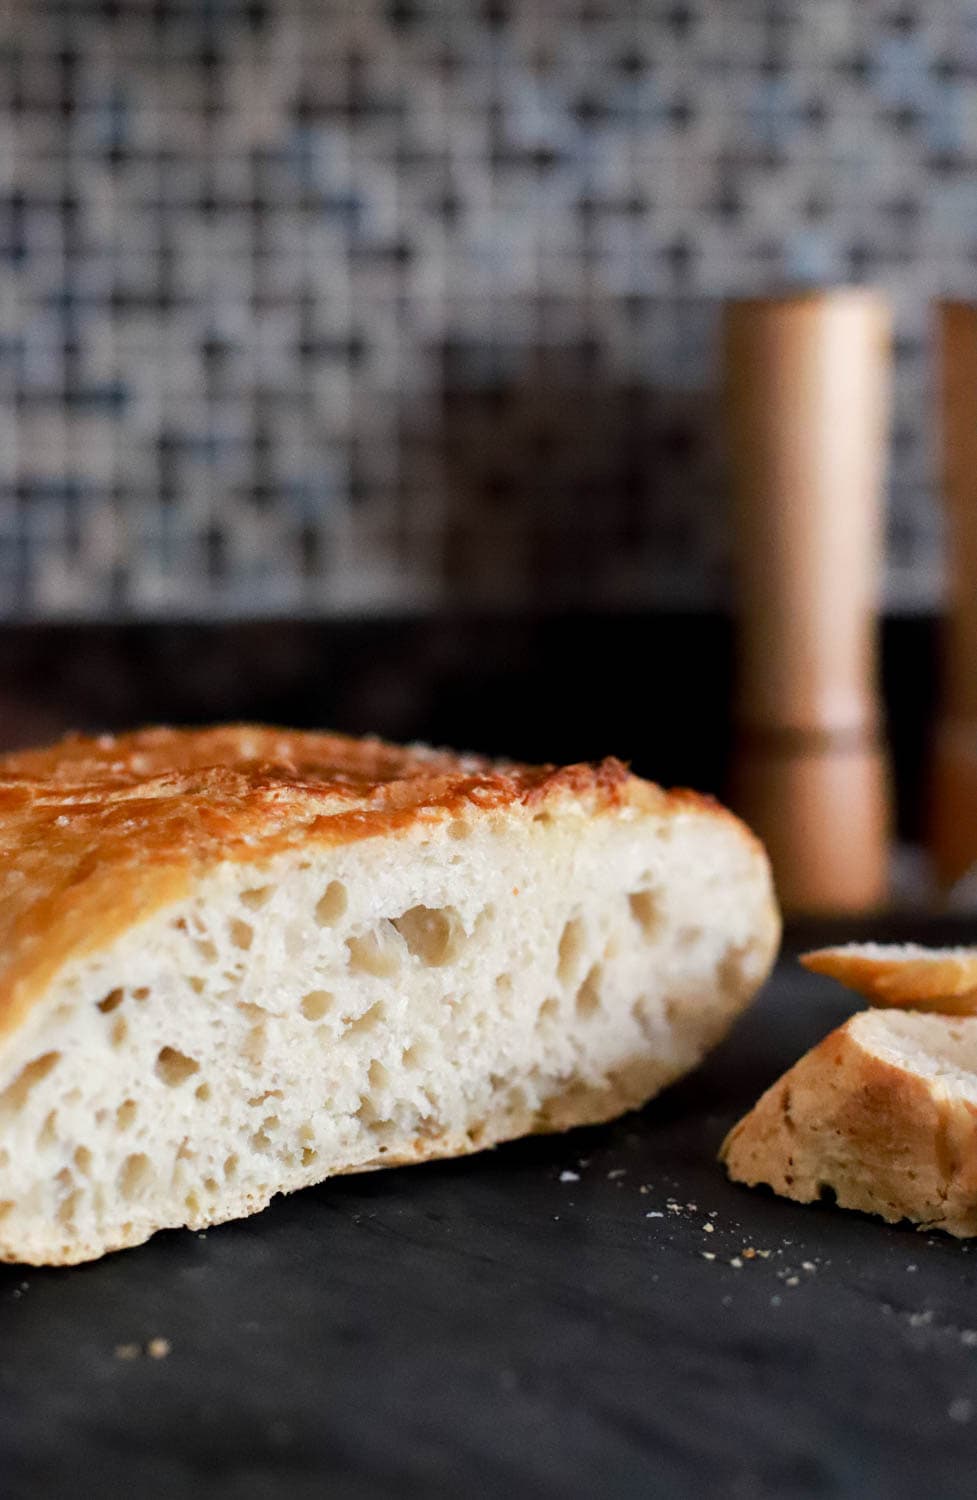
Mark Bittman does it again! I have been waiting and waiting to show you this.
Much like my favorite pancakes that we make at least weekly, this homemade no-knead bread recipe was a real game-changer for me.
It of course started in quarantine, as so many carb endeavors have, but I waited a few months to write about it because I wanted to be sure it worked every.single.time.
And, spoiler alert, I've decided that this is the only yeasted bread recipe I'll ever need.
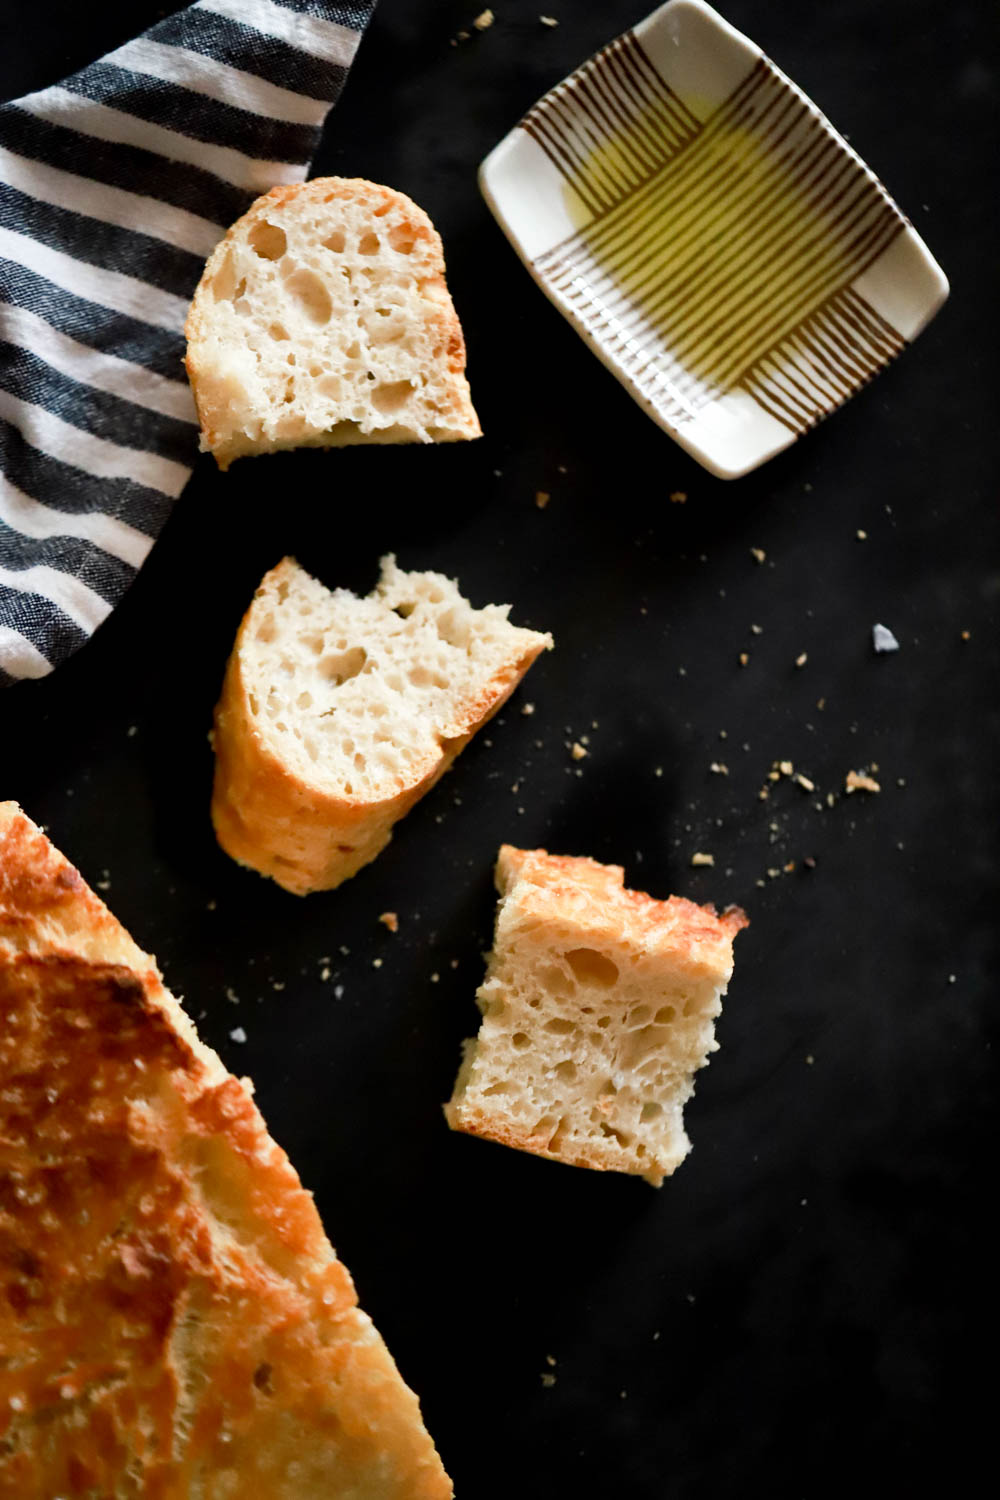
The real secret is time, nothing more or less. I had NEVER made bread of any kind with yeast before I made this, and was definitely wary of the process which was so simple it seemed like a trick.
I made the bread the first few times as instructed; in a dutch oven. It was amazing. I made it with flour on the outside and oil + salt on the outside, both were lovely. I made it with 8 hours to rise and 18 hours to rise, both were perfect.
Since we started making this, I've used the dough for pizza, focaccia (same method, just this dough), a naan hybrid (cooking flattened pieces of the dough with butter in a cast iron skillet), and no joke every single thing I've done with this dough has worked wonderfully.
BUT THE BASIC NO-KNEAD BREAD. Let's start there.
Ingredients for No-Knead Bread
We have! Flour, salt, yeast, water. That's it. No taking the temp of the water, no blooming the yeast, no nothing. There WAS flour and yeast shortage but I found the ingredients on Amazon, per lots of reviews that I read. The benefit of this recipe is that because of the long rise/rest time we hardly use any yeast, and any all-purpose flour or bread flour blend will work.
Here's what I use, specifically:
- King Arthur Sir Galahad Flour (yes I bought 50 pounds)
- Diamond Crystal Kosher Salt (yes I buy 3 pounds at a time)
- Saf Instant Yeast (yes also in bulk let me live)
- Room temp water (I own this)
Easy Dutch Oven Bread
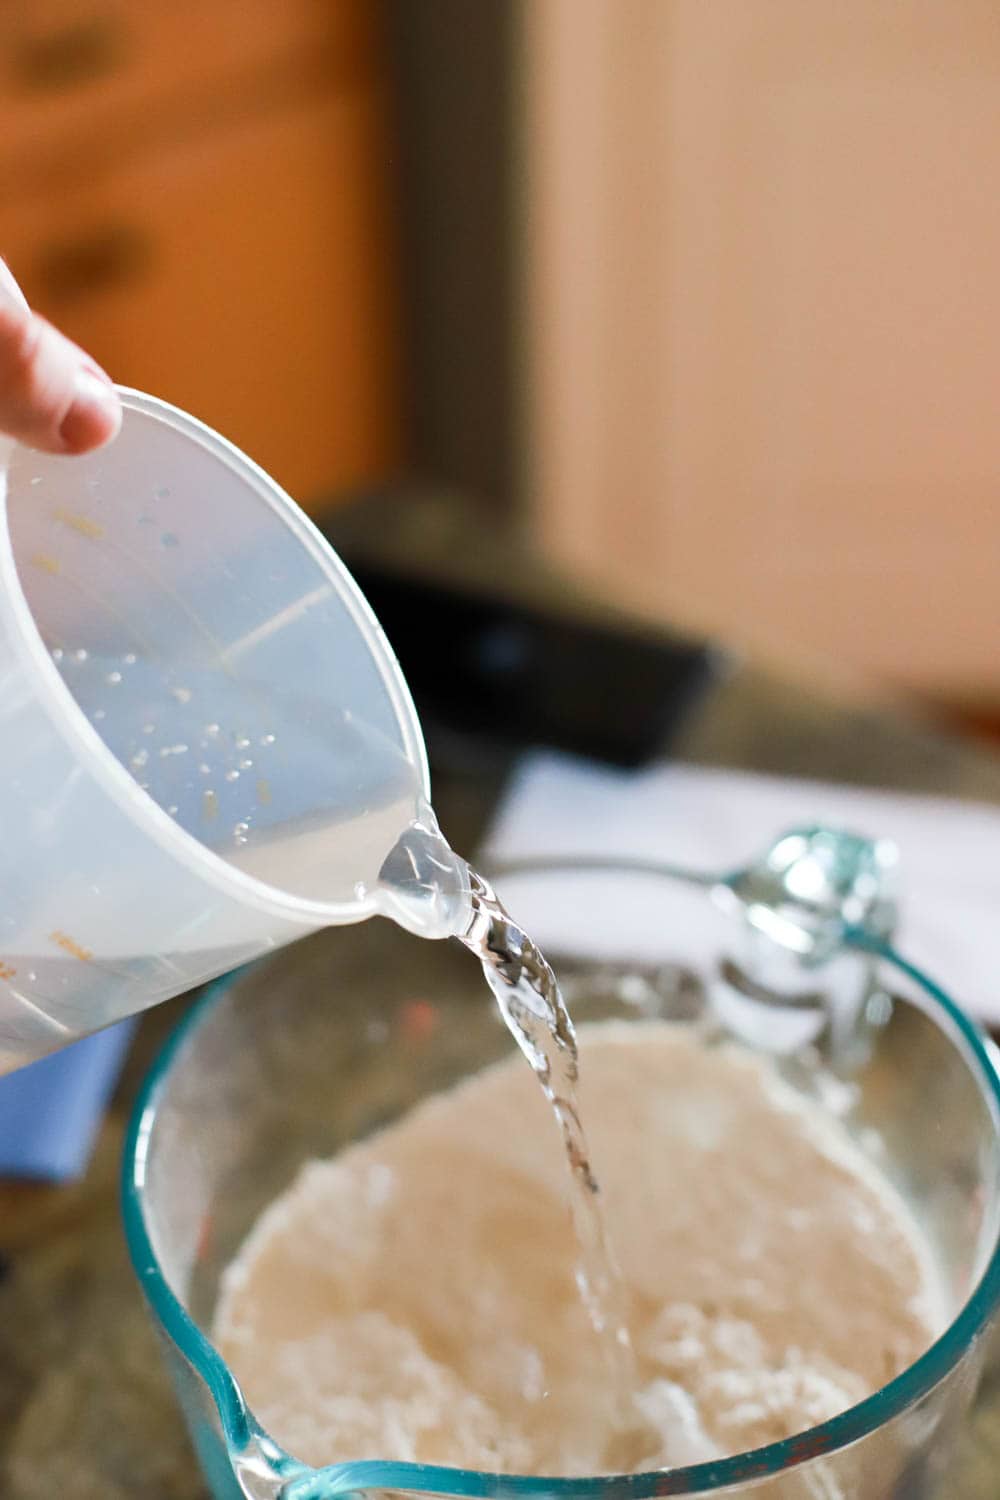
To start! Whisk the flour, yeast, and salt together. Then, stream in the water and use a fork or spoon or your hands (not really) to mix everything together. Just stir until the water incorporates - it'll be sticky and shaggy and not bread-dough-like at all. Trust the process.

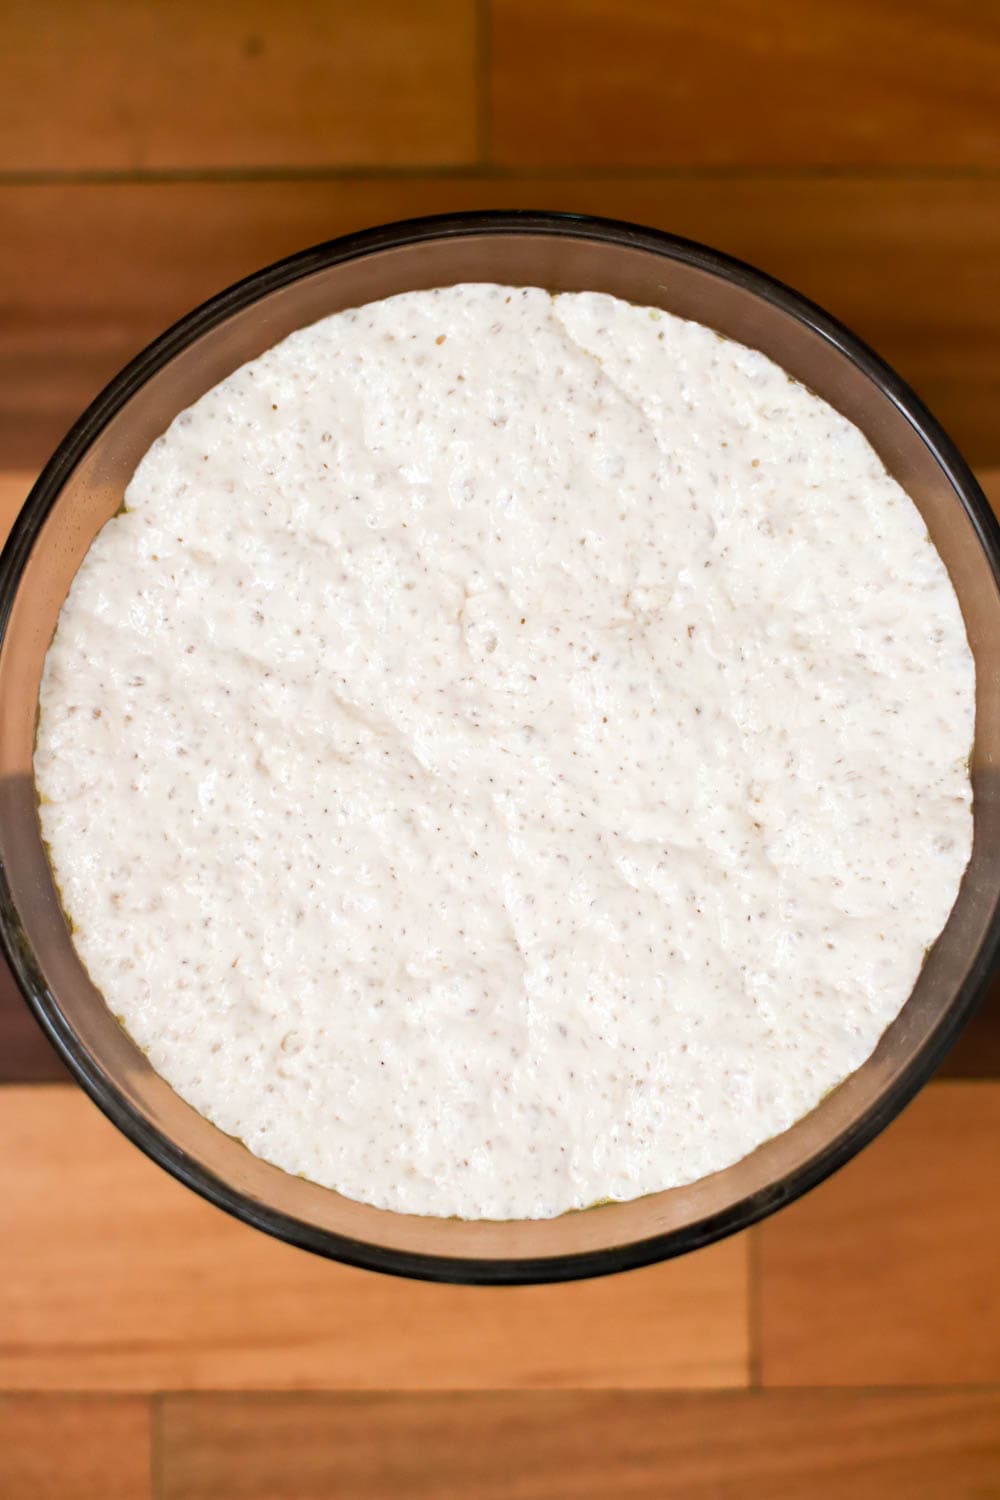
Now, we cover this weird dough (with a lid, plastic wrap, or something air tight and then a dish towel to really seal it in) and wander off. I usually start this first thing in the morning or last thing at night, then cook the bread 12-15 hours later. Once I did it in 7 hours by sticking the dough (still covered with lid and towel) on my porch for about an hour of the rising time.
This is what the dough will look like after it has risen/proofed/fermented. Weird but different!
When you're ready to bake, we do two things: preheat the dutch oven AND the oven at the same time, and move the dough to parchment paper to hang out while the oven preheats. Both of these steps take 30 minutes, so I turn the oven on, stick the pot and lid in the oven, then scrape the dough onto parchment.
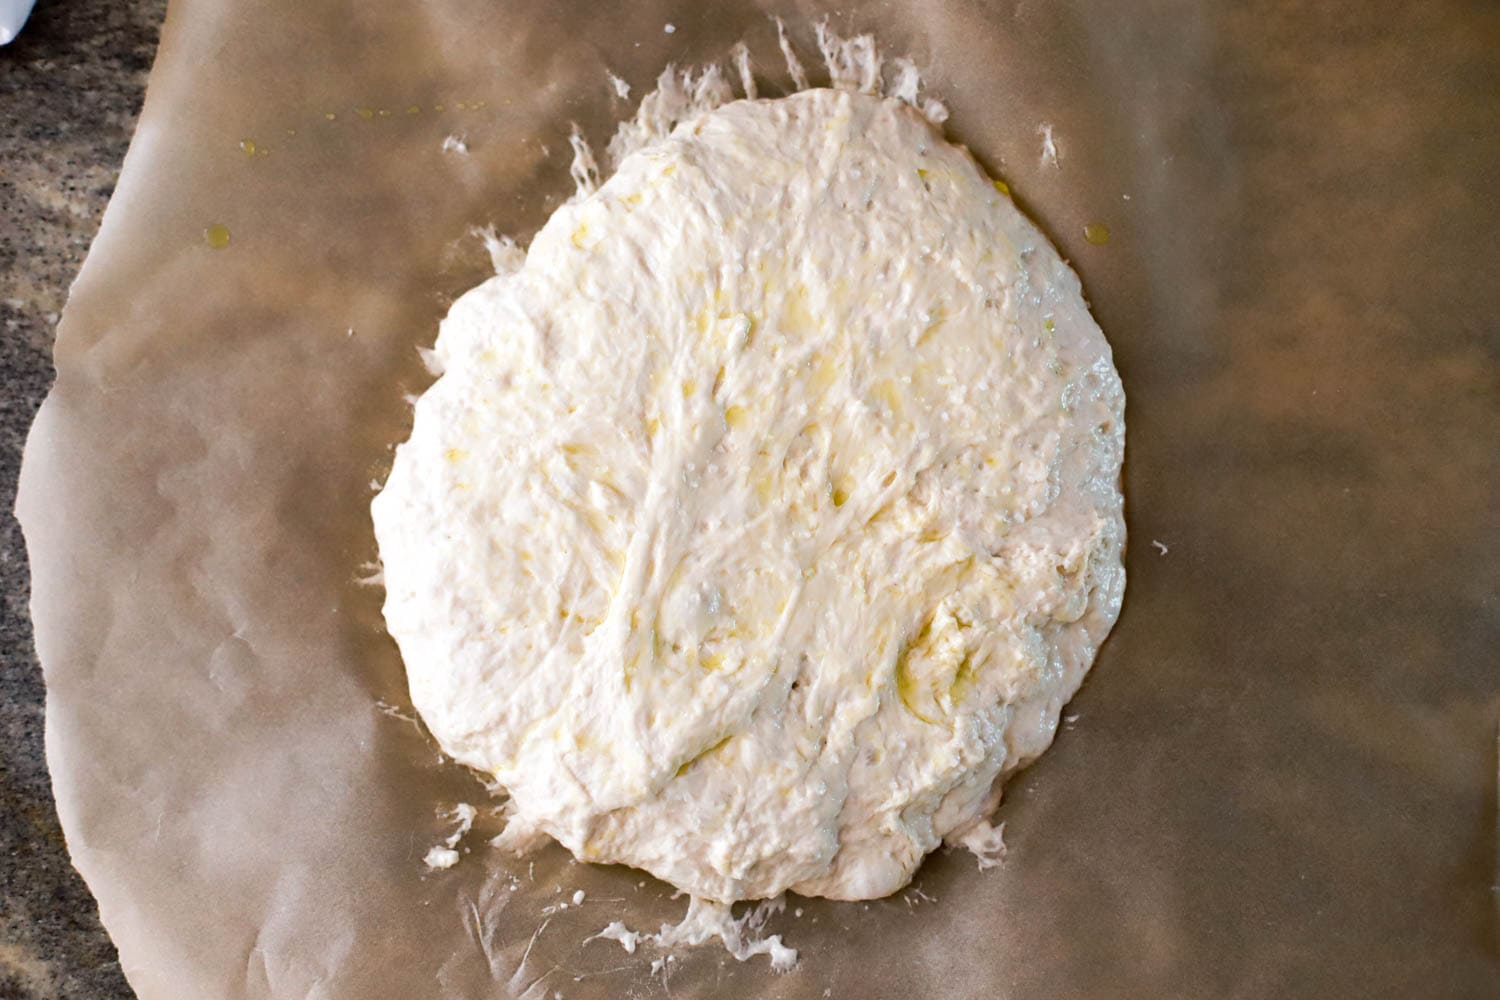
Now, I sometimes cook this bread with flour on the outside, and sometimes with olive oil and salt. Both methods are listed below, both are delicious. This was an olive oil/coarse salt version.
When you scrape the dough out it will be sticky, so coat your hands with flour or oil, depending on what method you're using. Ploop (technical term) the dough right into the middle of the parchment paper, then kind of tuck the whole thing into a ball. It won't really hold its shape and will continue to spread for the 30 minutes of resting, but promise do not worry.
When the dutch oven has preheated for 30 minutes, CAREFULLY take it out of the oven, take the lid off, and use the parchment paper to lift the bread dough into the pot.
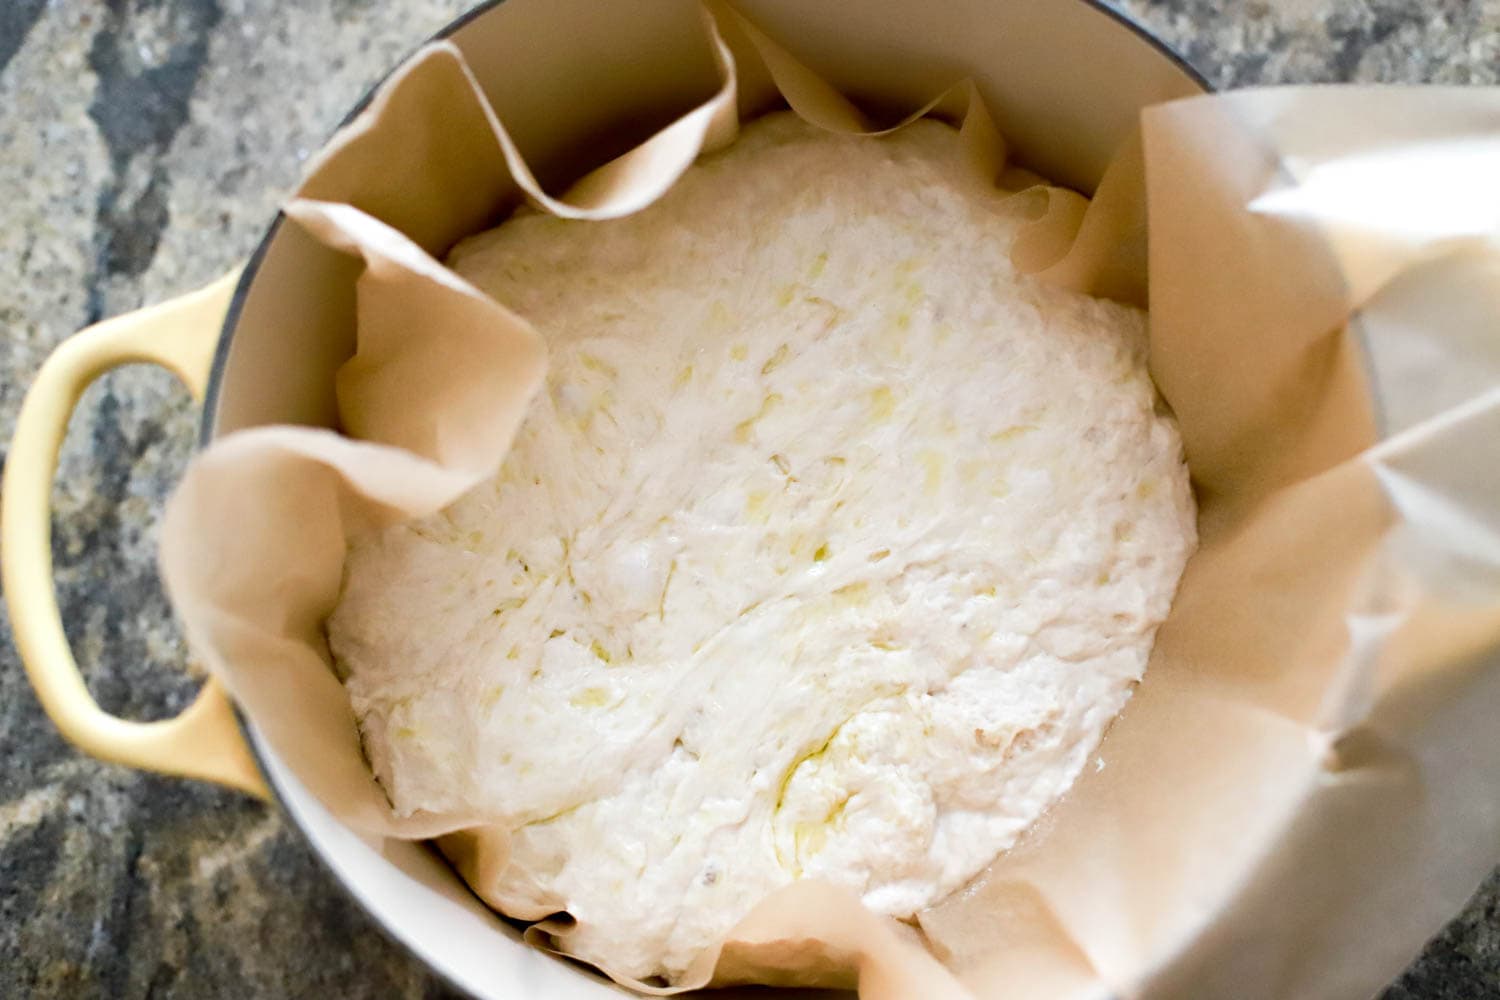
Put the lid back on, bake covered for 30 minutes.
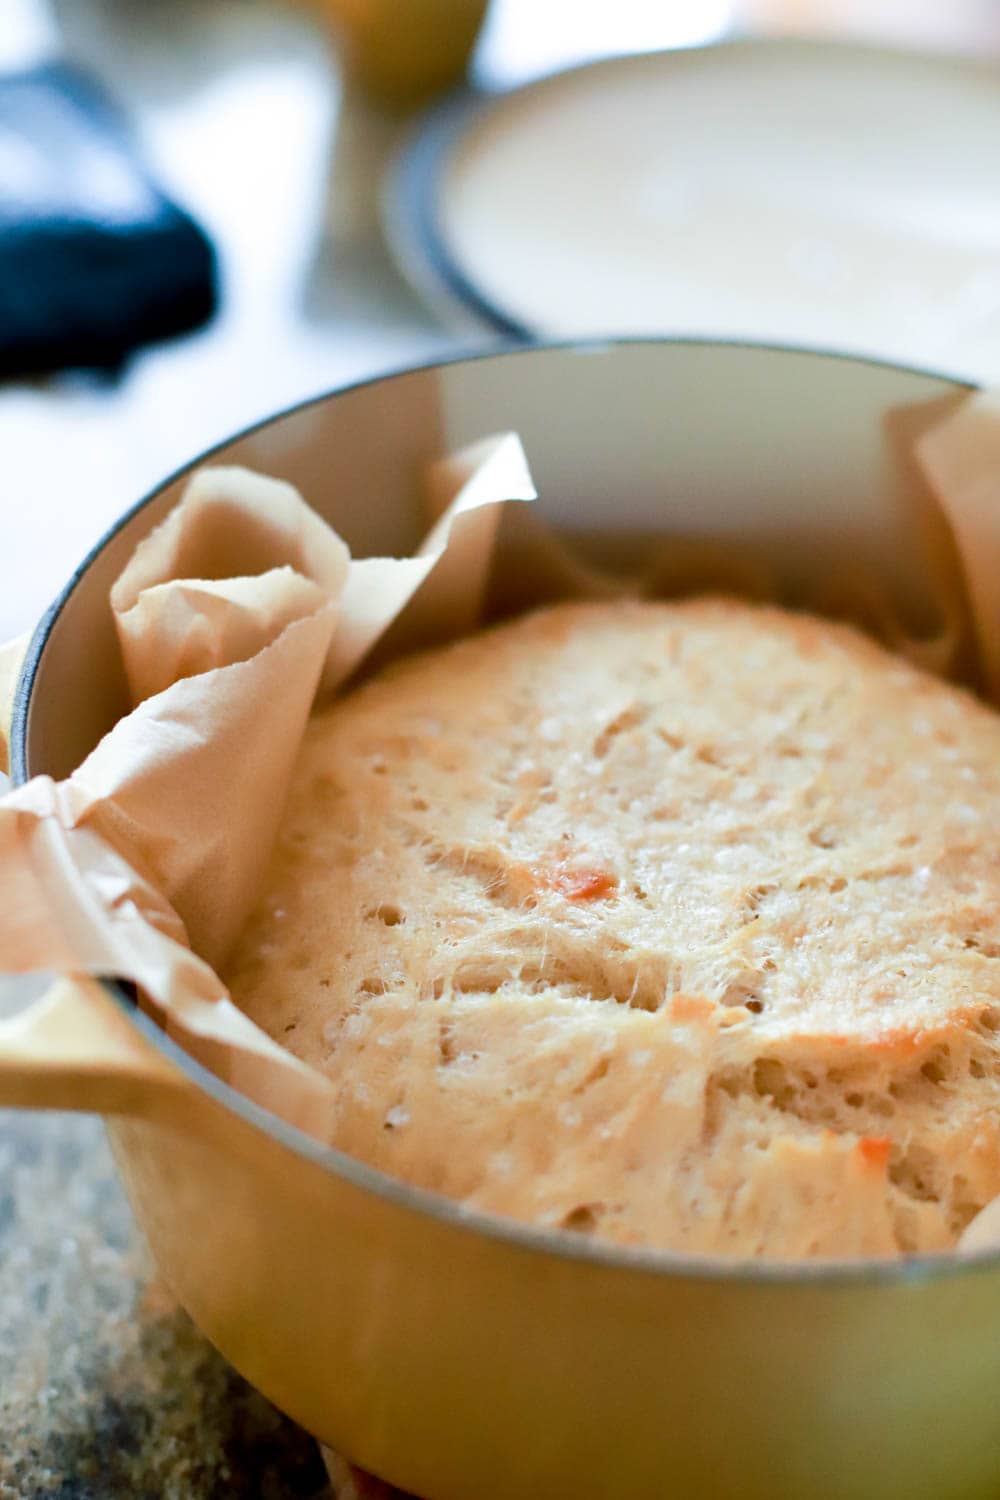
Take the lid off, bake 15-20 more minutes until the bread is golden and crunchy and your house smells like you made bread! Because you are making bread.
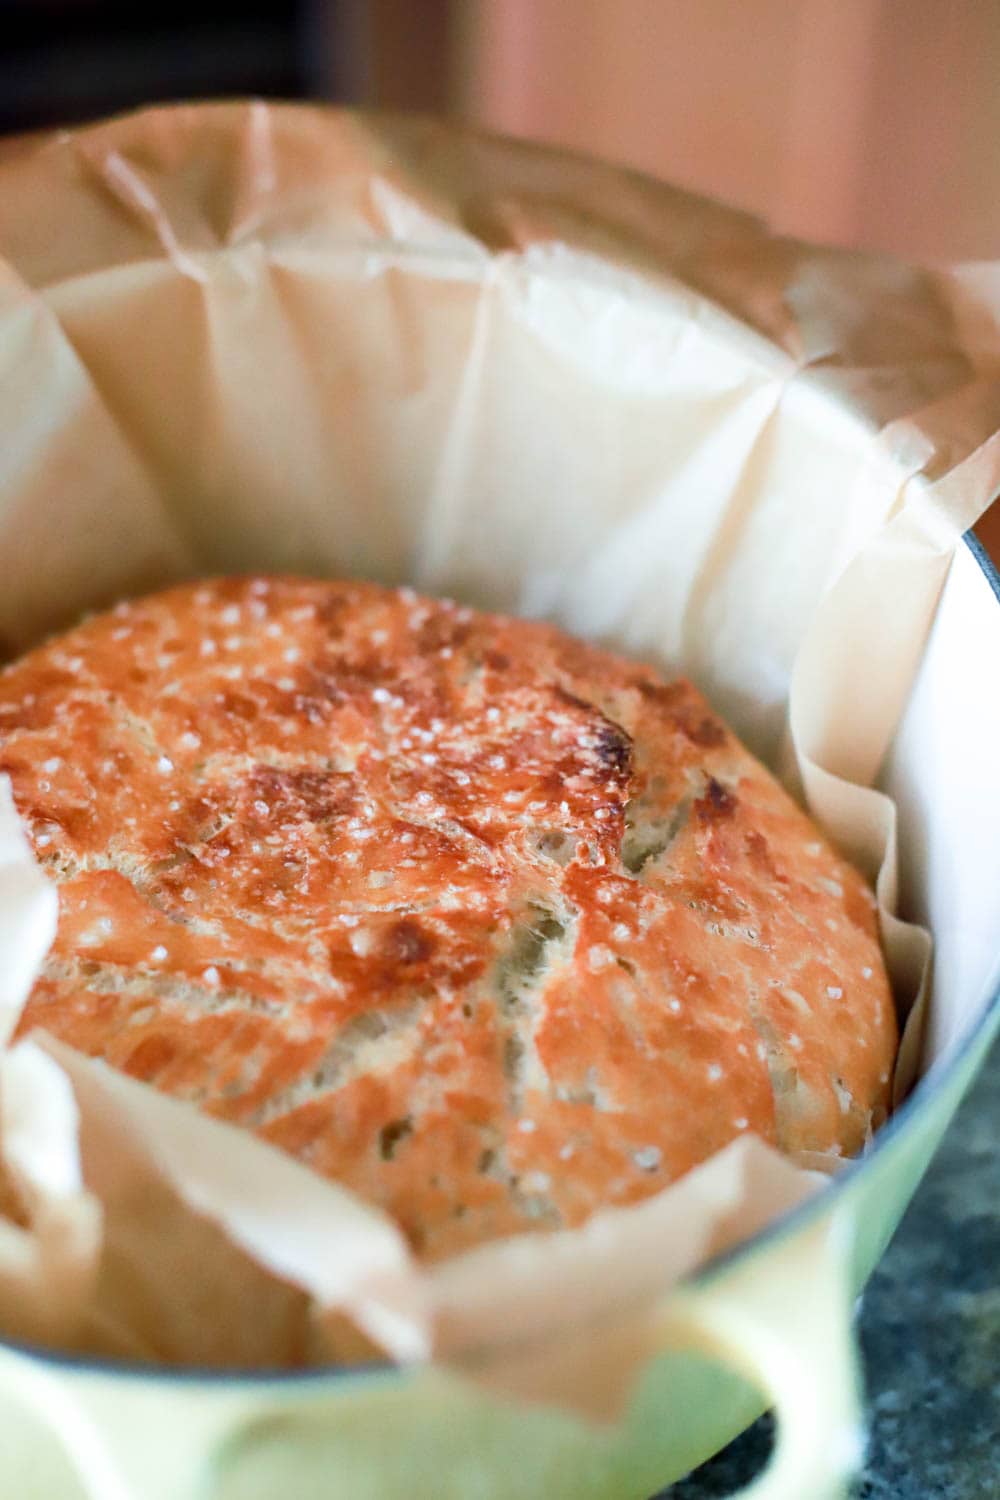
And here it is. THE Mark Bittman no knead bread in a Dutch oven. It works. I've used different sizes of pots, for flatter, lower loaves or taller, narrower loaves, and they're all delicious. I've served this with butter, dunked in soup and marinara, as a side to main dish salads, all of it. In particular, this is great paired with an easy chicken parmesan skillet I make often on weeknights.
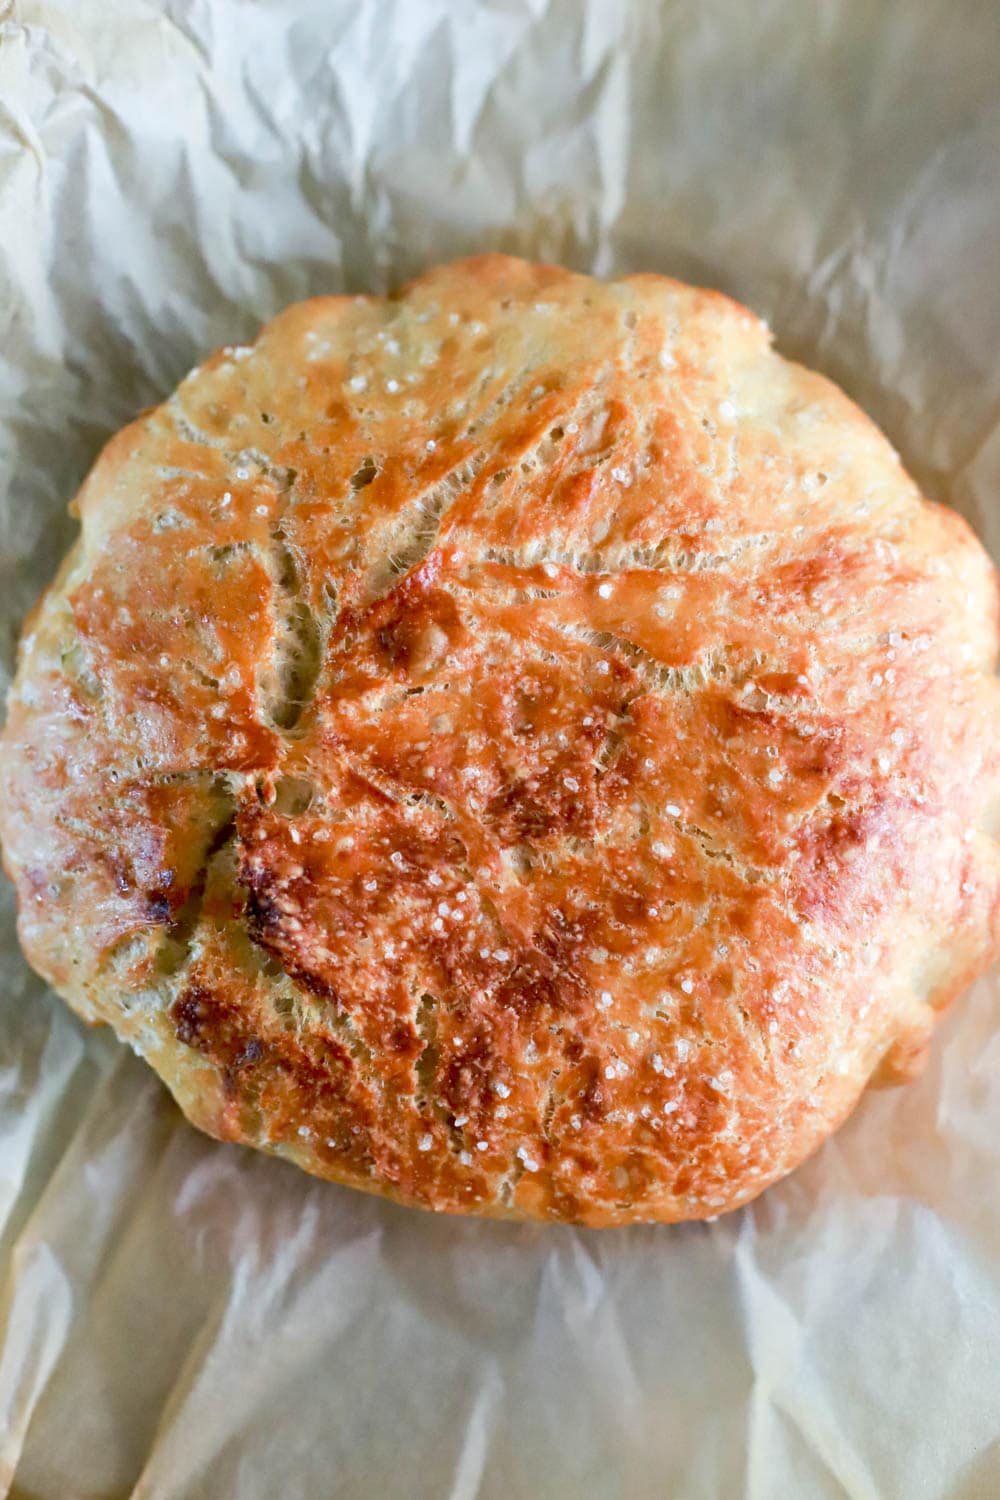
Once the bread is cooked, take it out of the pot and let it cool on a wire rack for at least an hour.
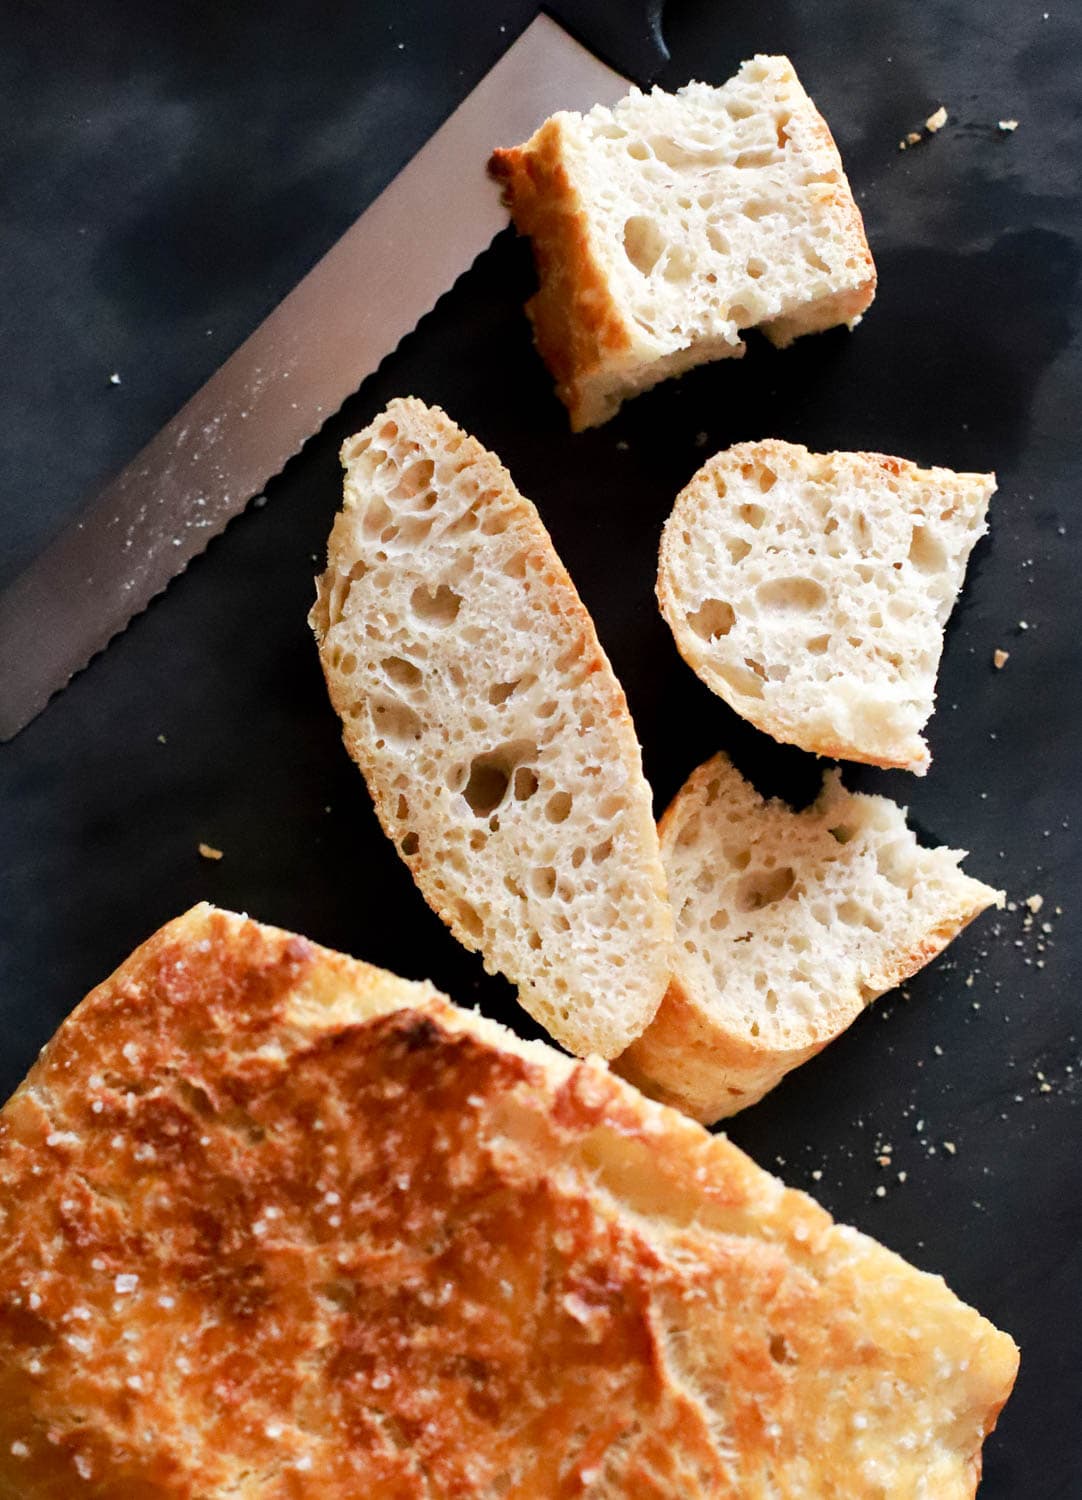
Easy no-knead bread is: Crispy, crusty on the outside. Chewy, pillowy on the inside. I've made this with bread flour and all-purpose flour, and both are delicious.
The ease of this no-knead recipe is magical, and I will say that, despite how much I cook, the satisfaction of making my own bread is an emotional success I haven't had a ton of in quarantine.
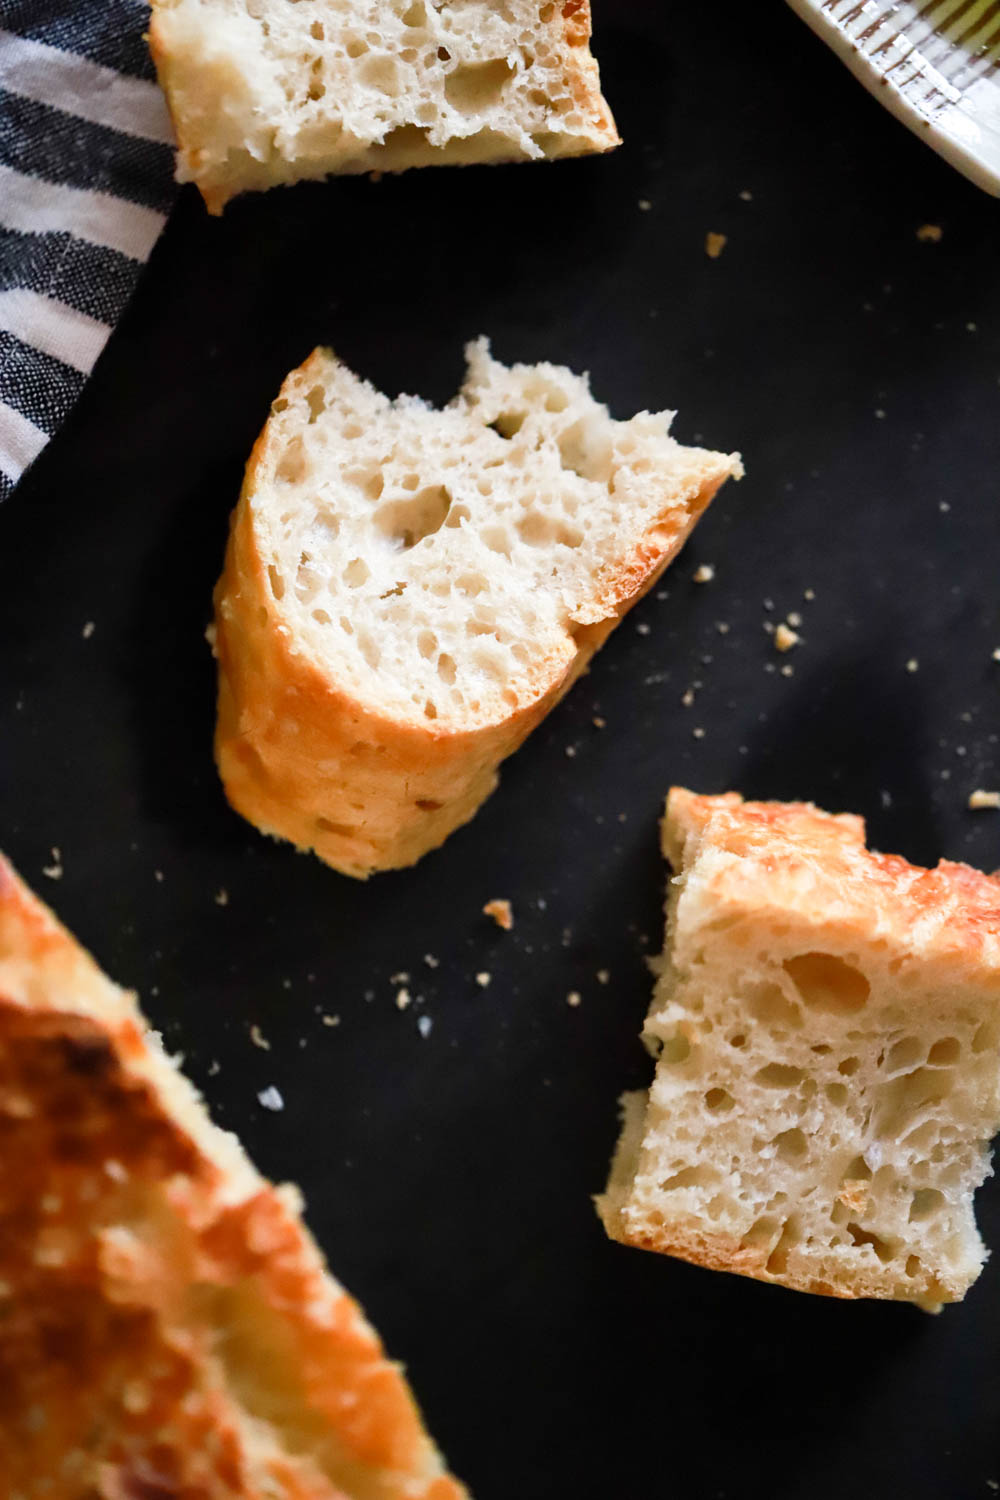
Do know, though, that the first time you make this it won't make sense why or how it works. Press on, though, let it feel weird, and prepare to be amazed.
I hope you love this!
Easiest No-Knead Bread
Ingredients
- 4 cups all-purpose flour
- ½ teaspoon active dry or instant yeast
- 2 teaspoons kosher salt or any salt, don’t stress
- 2 cups room temperature/lukewarm water
- Olive oil and/or coarse salt optional
Instructions
- Emotionally prepare yourself for the fact that step 2 is going to feel all wrong.
- Whisk together the flour, yeast, and salt in a large bowl. Stream in the water, stirring as you go, until the ingredients are incorporated. Barely stir or mess with the dough. Cover the bowl with plastic wrap and then a kitchen towel, and let the dough rest/rise/get less weird for 12 hours or so.
When the dough has risen, place a large (4-7 quarts) Dutch oven plus the lid in the oven. Preheat the oven AND the pot to 450F for 30 minutes. Meanwhile, choose your bread method:
- FLOUR METHOD: Place a large piece of parchment paper on a flat surface. Sprinkle flour on the parchment paper and flour your hands. Gently scrape the dough onto the parchment paper and fold it one or two times to make a ball. It might spread out, no worries. No knead, either. Drape the plastic wrap or towel you used to cover the bowl over the dough and let it rest for 30 minutes while the pot preheats. (continue to step 6)
- OIL METHOD: Place a large piece of parchment paper on a flat surface. Drizzle a tiny bit of oil on the parchment and oil your hands. Scrape the dough onto the parchment paper and fold it one or two times to make a ball. Brush a bit more oil on the top of the dough and sprinkle with coarse salt, if using. Drape the plastic wrap or towel you used to cover the bowl over the dough and let it rest for 30 minutes while the pot preheats.
- Carefully take the Dutch oven out of the oven once it has preheated. Moving quickly, remove the lid and pick up the bread dough by the edges of the parchment paper. Place the dough ON THE PARCHMENT PAPER in the Dutch oven. Put the lid back on.
- Return the Dutch oven to the oven and bake the bread covered for 30 minutes, then uncovered for 15-20 minutes until golden brown and crusty.
- Remove the pot from the oven and lift the parchment paper with the bread to a cooling rack. Let the bread cool as long as you can manage, then rip into it.
- You did a really, really good job.

Thank you for the recipe, I baked the bread this morning and loved it! I tried the flour version with the parchment paper and it got stuck to the bottom of the bread. Will do the oil version next time and also I am planning to buy a different pp brand. I am in love with this bread and it was so easy prepare, I would like to know the weight of the flour required, since with the four cups I had to add some water to mix well all ingredients.
Mildred, thank you so much for your comment! I don't have a food scale (I know, I know), so I don't have a weight on the flour. However, sometimes in drier months I do add a few extra tablespoons of water if I feel the dough is too dry. I've also not added the extra water and the bread still works beautifully. That's what I like about it - it's very forgiving even for very imprecise bakers like me! I can't tell you how much it means to me that you took time to leave this comment. I'm so glad you enjoyed the bread! Definitely let me know when you try the oil version and how you like that one.
I started this at 10:30 am and then stuck it in the fridge and went to bed instead of baking it. Total time of 21 hours rising time and it still came out great! My husband wants me to try it with a gluten free flour blend for him and I'll report back if that somehow works too! Thank you for this wonder of a recipe!
Angelina, I'm so glad to hear that! I LOVE using the fridge for a Pause Button situation on yeasty things - great idea! I've heard of people using a GF 1-1 blend with good results but haven't done it myself. Please let me know if you do so I can add it to the notes!
Is it okay if I don't add the salt? I am really watching my salt intake due to kidney problems.
I think you could possibly cut it in half, but the salt contributes to the gluten development and chew of the bread overall. If you try it with less or no salt, please let me know how it turns out! You can definitely omit the salt on top.
Following the Bittman recipe as written, with bread flour and instant yeast, seems to get a rounder taller loaf with a finer grain than you picture. More like a boule than your foccacia. I use the gram weights given in Kenji Lopez-Alt's NYT update.
It can do that sometimes! The difference has to do with a lot of things, but this particular one was a little flatter because of the larger pot I used. I use different sizes based on the height/width I'm going for, and larger pots give a little more room for spread vs rising upwards. This isn't foccacia, although the olive oil on the outside definitely can give it a hybrid feel!
Can you make this using a different pot if you don’t have a Dutch oven?
It might work using something similar in size that is heavy - the point of the dutch oven is to create an oven-within-the-oven, so I'd imaging something with a good lid will work almost as well. Let me know if you try it!
I made the bread and I love it! What is the best way to store it?
I keep it on the counter in a plastic bag for a day, then freeze it to keep leftovers fresh!
A deliciously easy bread - the whole family loved it!
This bread was so incredibly simple to make and so tasty! Will be making it again!
So incredibly easy!!
So great for beginners! Thanks for the recipe!
NO knead is my type of bread! Can't wait to try this
Thank you for this dutch oven bread. It's so easy to prepare and with just 4 ingredients! Really awesome for a busy person like me. Thanks!:)