Guys! We have a huge treat today. My friend Matt is taking over the blog to 1. teach you how to make bread (his. is. awesome.) and tell you about a fundraiser he's a part of for Make-A-Wish. Spoiler alert: if you donate you get bread from him! Matt is one of our oldest friends and one of the better people I know in this world. Read. Make Bread. Donate!
Tomorrow we have a compound butter to go WITH the bread, so there's that, too.
I always think back fondly to making bread with my grandmother and the delicious smell of crackling crusts emanating from the kitchen. I’ve never gotten over that memory, which drives me into the kitchen every week to make another bread.
Many people mistakenly believe that making bread is difficult and time-consuming. While the end result of opening your oven to a rich, homemade loaf does take time, much of that time you don’t even have to do anything. Just let the dough do its thing and manipulate it as needed during every step.
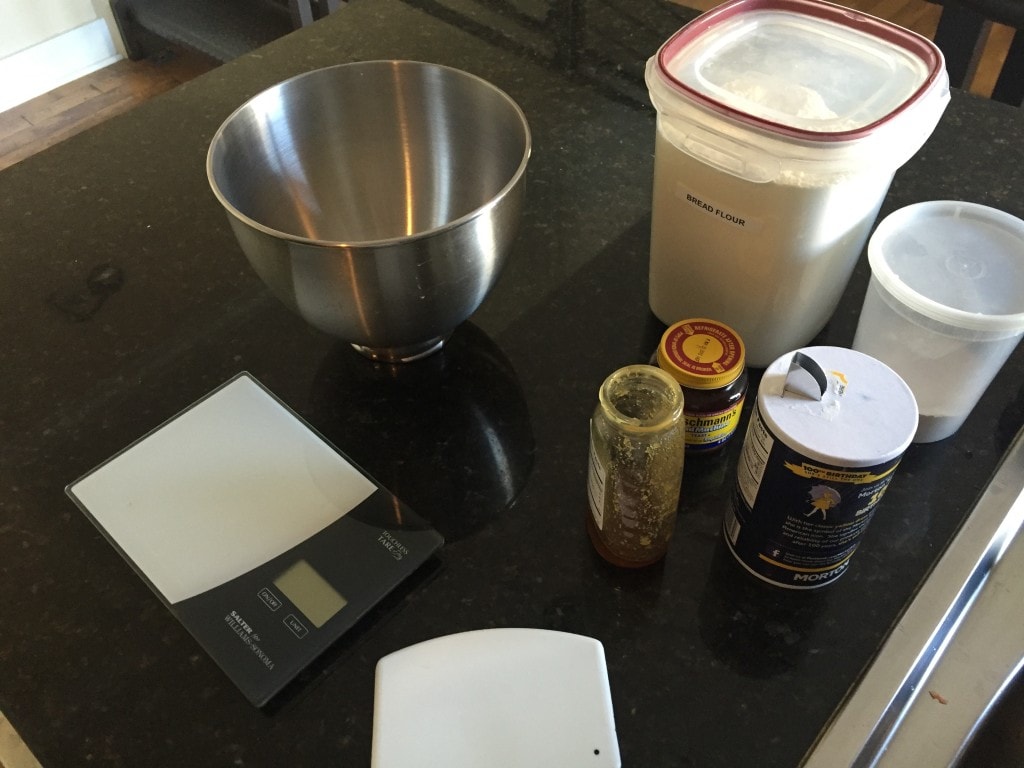
Before we get started you’ll need few tools. These items will take out guesswork, which will remove variables that could potentially deliver a leaden brick from your loaf pan. The right tools = easy process = delicious bread. Difficulty is gone.
Kitchen Scale: folks, this a must. I don’t understand why any bread book offers measurements in cups. They are incredibly inaccurate and your chances of making good bread consistently is impossible. You’ll notice this recipe doesn’t even have cup measurements. You have no choice now, go get a scale!
Flexible Bench Scraper or Spatula: Bench scrapers are great - they keep you from mucking up your hands, and make transferring dough a breeze.
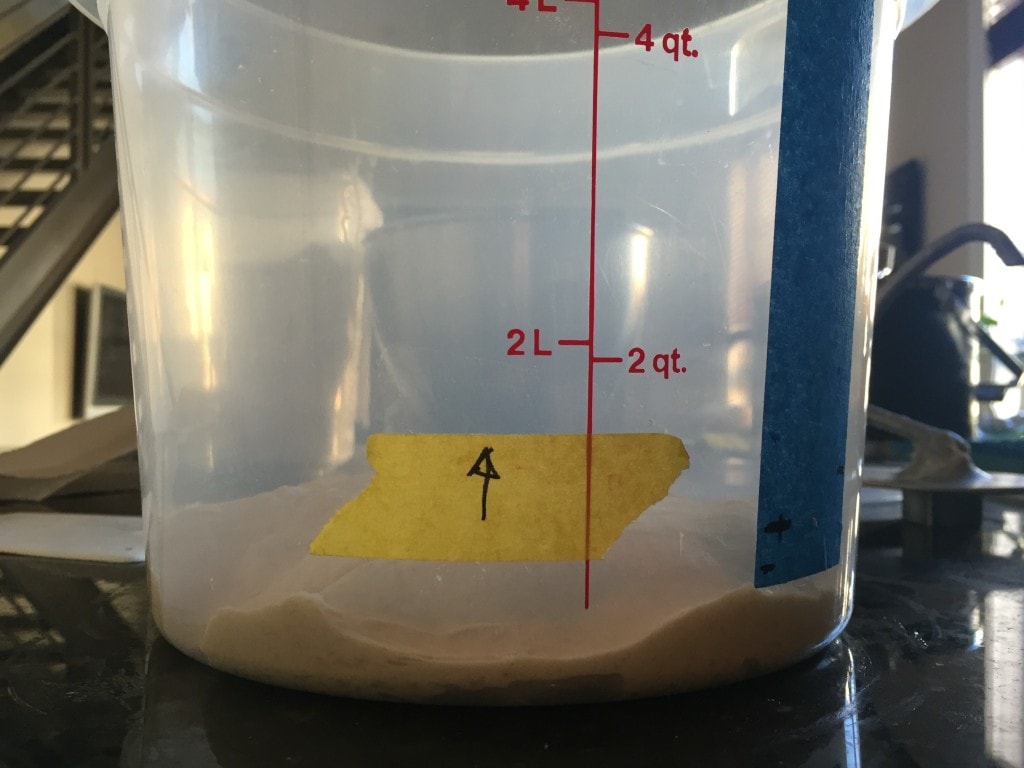
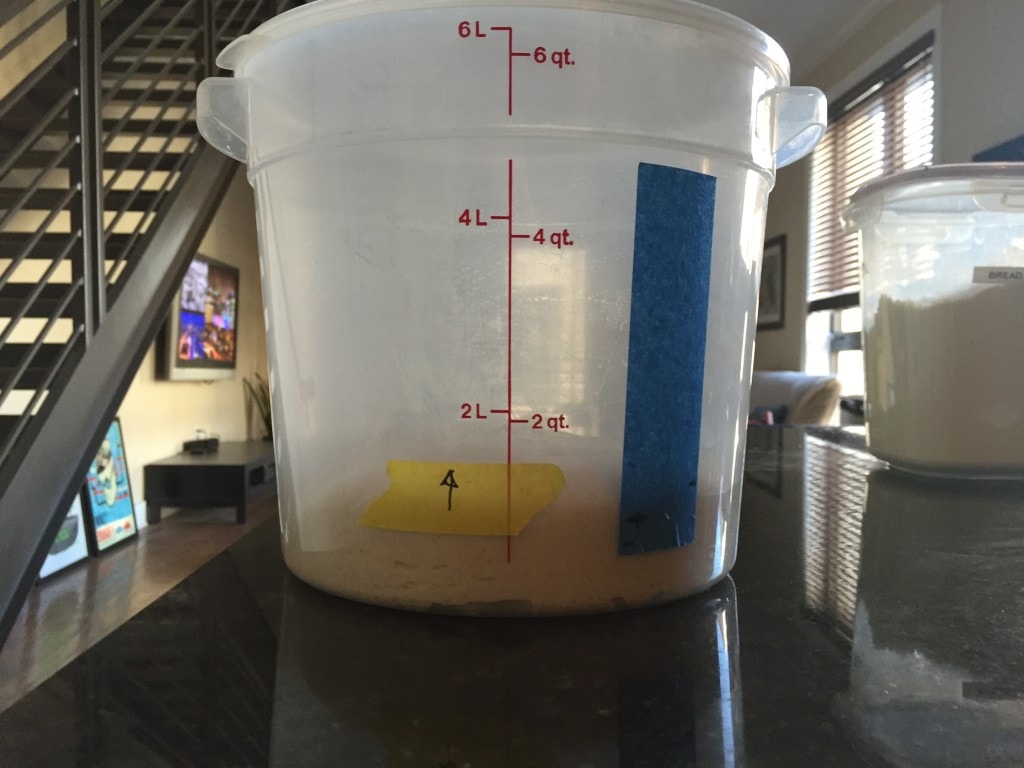
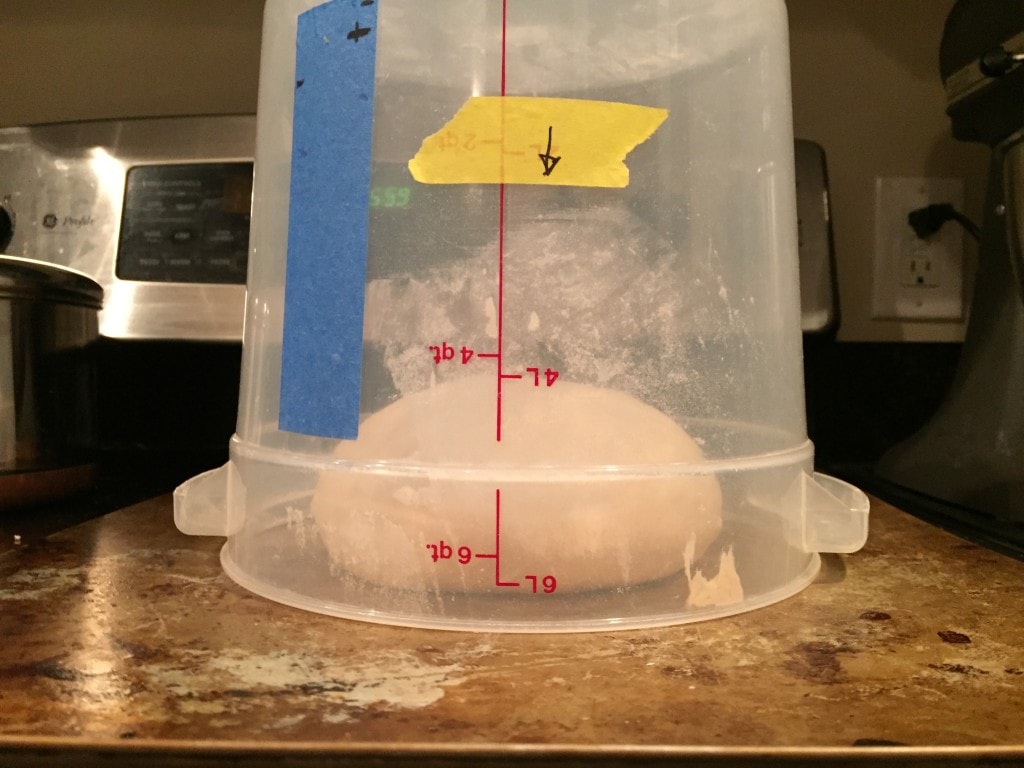
Doubling Bucket: This is basically a clear bucket with a snap-tight lid. New bakers always ask “Has this dough risen enough?” The doubling bucket answers this question. You may be tempted to toss the dough in a bowl and let it rise there - hey, feel free - but with a bowl’s shallow base and wide top you’re left wondering when the dough has exactly risen to its limit. The bucket’s tight lid also traps heat, which decreases rising time. Pick one up at your kitchen store. I’m not overstating that this is a game-changer.
KitchenAid mixer with a Dough Hook: Yeah, I don’t knead by hand. This may lose some of the mystique of breadmaking for those who want to get their hands all up in the dough, but I’m lazy and kneading is damn hard work. Some breads like ciabatta have a notoriously wet, sticky dough that is simply impossible to hand knead. You usually end up adding more flour to keep the dough from sticking which changes the resulting bread. Machine kneading also reduces variables since it does the same job every time, thus you get consistently good breads.
This recipe is adapted from The Bread Bible and is a perfect accompaniment to a soup or stew on a cold winter night. It is seriously awesome bread.
Anyways, on with the dough…
Make the Sponge
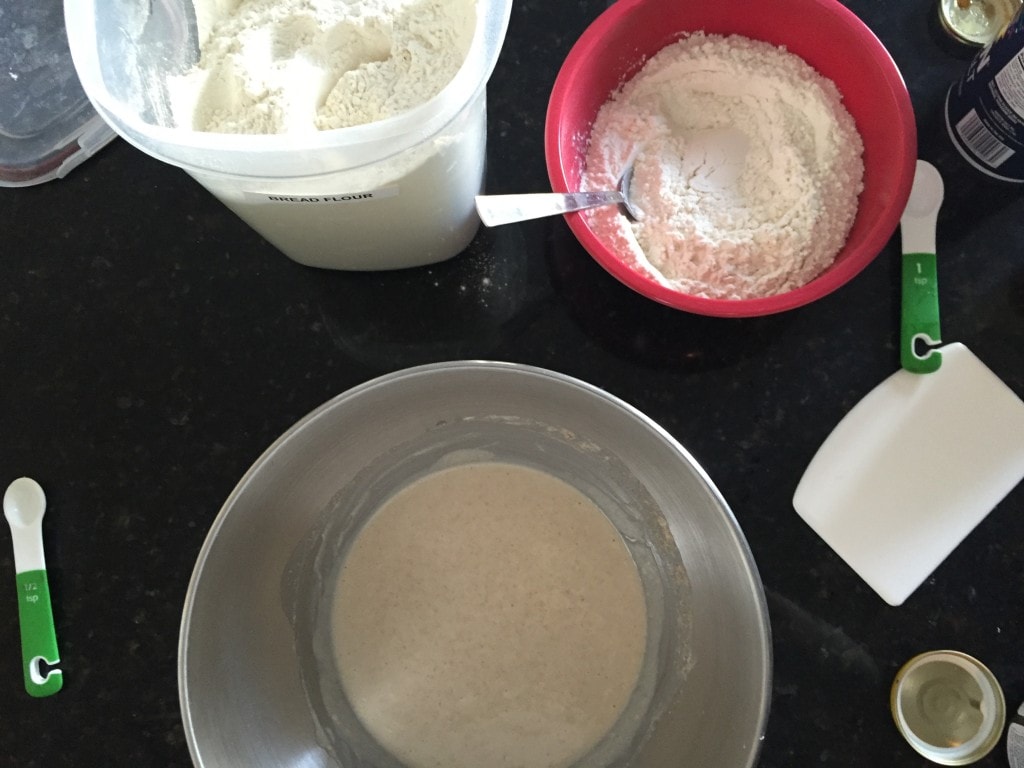
A sponge is simply a portion of the dough that you prepare first and let sit to develop a more complex flavor and a chewier crumb, the secret to really great breads.
- 5.5 oz BREAD flour (not all purpose flour)
- 1.25 oz whole wheat flour
- ½ teaspoon instant yeast
- 1¼ teaspoon honey
- 11.2 oz water at room temperature
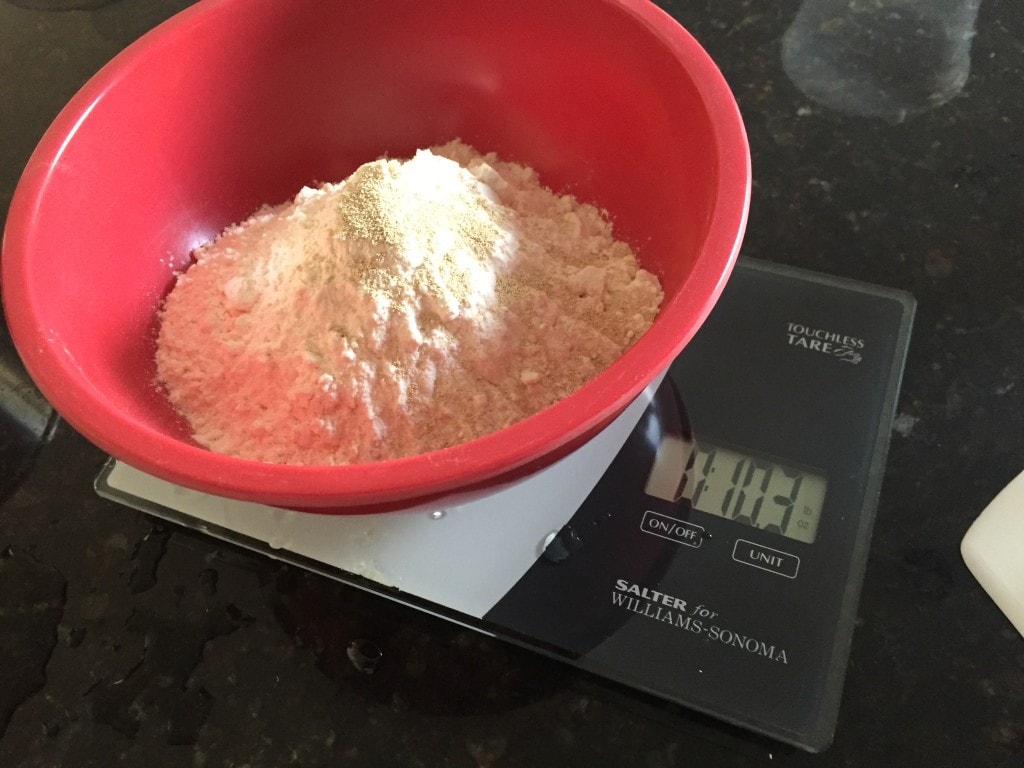
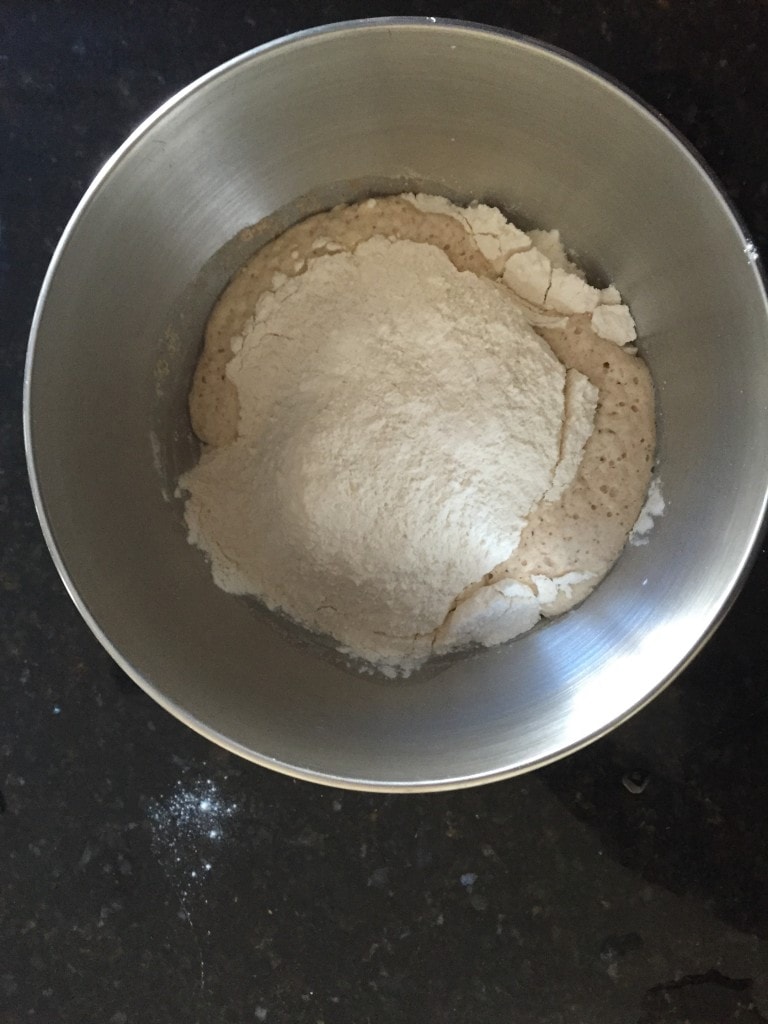
Briskly mix for a couple minutes until you get the consistency of pancake batter. Measure more flour and yeast in another bowl, mix and gently sift onto the top of the sponge:
- 10.3 oz bread flour
- ½ teaspoon instant yeast
Let sit 1-4 hours. You’ll notice the sponge bubbling up from under the flour. This is the dough developing its flavor. Awesome, you’ve done good. Now go do something else. Cover the bowl and come back in an hour or 4.
Knead
Mix for one minute on low and then let rest for a few minutes. Add 1½ salt, knead for 7 minutes in your KitchenAid with a dough hook on speed 4.
The dough should pull away from sides of the bowl. It will have a nice yeasty smell.
Rise
Scoop the dough into the doubling bucket, press down on the dough, mark on the bucket where the dough height should be when doubled and WALK AWAY. A lot of baking books will tell you something like “let sit until doubled, or one hour” - I won’t, because there is no way to know how long it will take to double. Variables like humidity, air pressure, kitchen temperature will all effect rising time. USE YOUR EYES and wait until the dough has doubled which you can clearly see inside the doubling bucket. See why it is so important? Told you.
When doubled, open the bucket and deflate the dough. An easy way to do this is to take out the dough, fold it like a letter, and then put it back into the bucket. Mark where the dough will double and WALK AWAY.
As demonstrated, breadmaking is performing a set of simple activities between spans of doing nothing. Breadmaking is not time-intensive, but it does take time. How very zen. Ponder that over a glass of wine, which you deserve at this point.
The dough has doubled and you are ready to bake. Set your oven to 475 and put an oven safe skillet or pan in the lowest rack. Turn out the dough on a lightly floured surface and gently flatten (we don’t want any crazy air bubbles). Gather up the edges into the center and press the seam closed, producing a ball of dough. Flip the loaf over, seam side down and gently slide your hands under the dough, tightening the surface of the dough. Place the dough on a cookie sheet and set the doubling bucket on top of the dough and WALK AWAY for an hour.
Shape, Slash, Bake
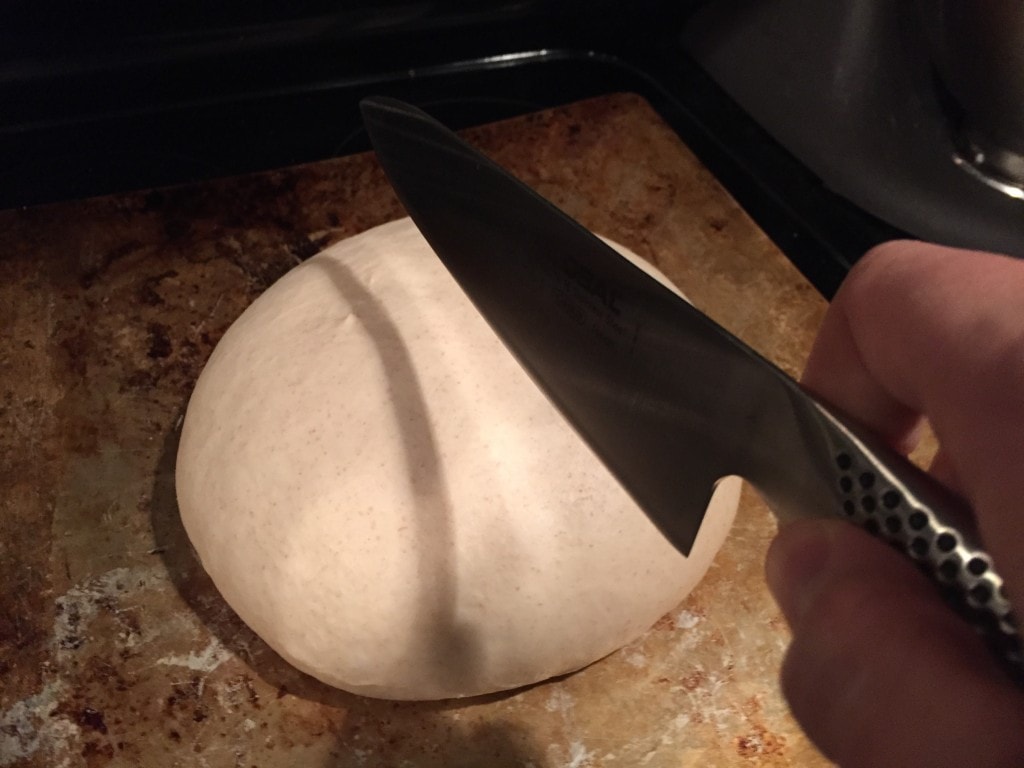
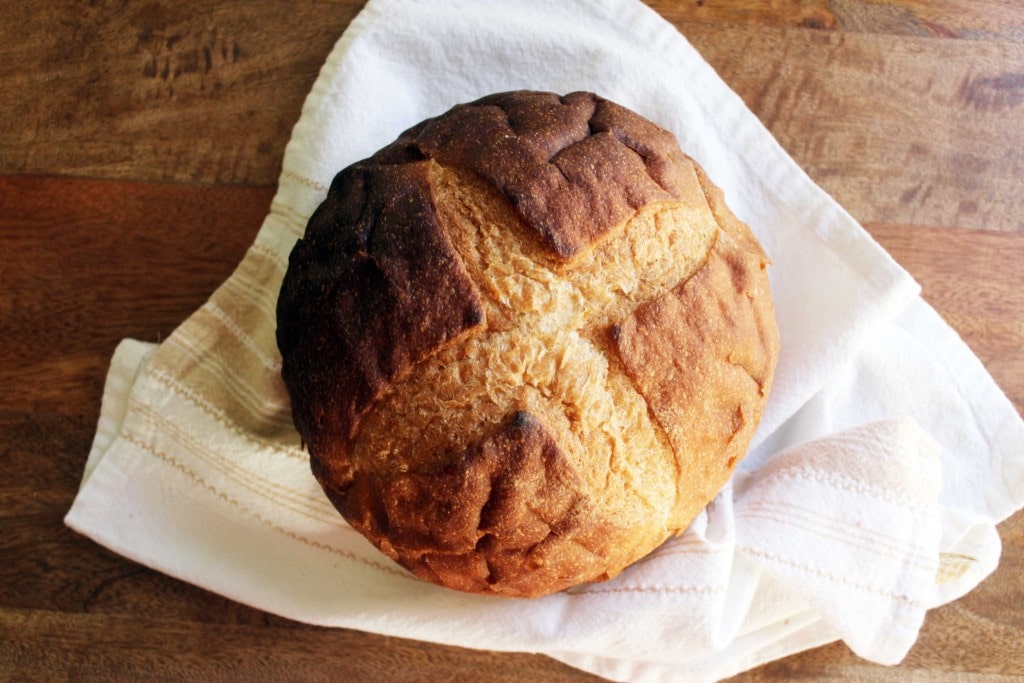
When you return, the dough should be puffy and ready to pop into the oven. Slash the top of the dough with a SHARP knife about ½ inch deep. Slashing keeps the bread from ripping open during baking and produces a pretty pattern. Slash an X with two steady strokes.
Pop the dough in the oven and while the door is open toss ½ cup of ice cubes in the skillet in the bottom rack. The ice will vaporize into steam and produce a nice chewy bread with a crackling crust.
10 minutes in, drop the heat to 425 and continue for 20-30 more minutes until the bread is a rich golden brown.
Remove the bread and let sit on a wire rack until cooled. Don’t cut a hot bread, the crumb needs time to firm up.
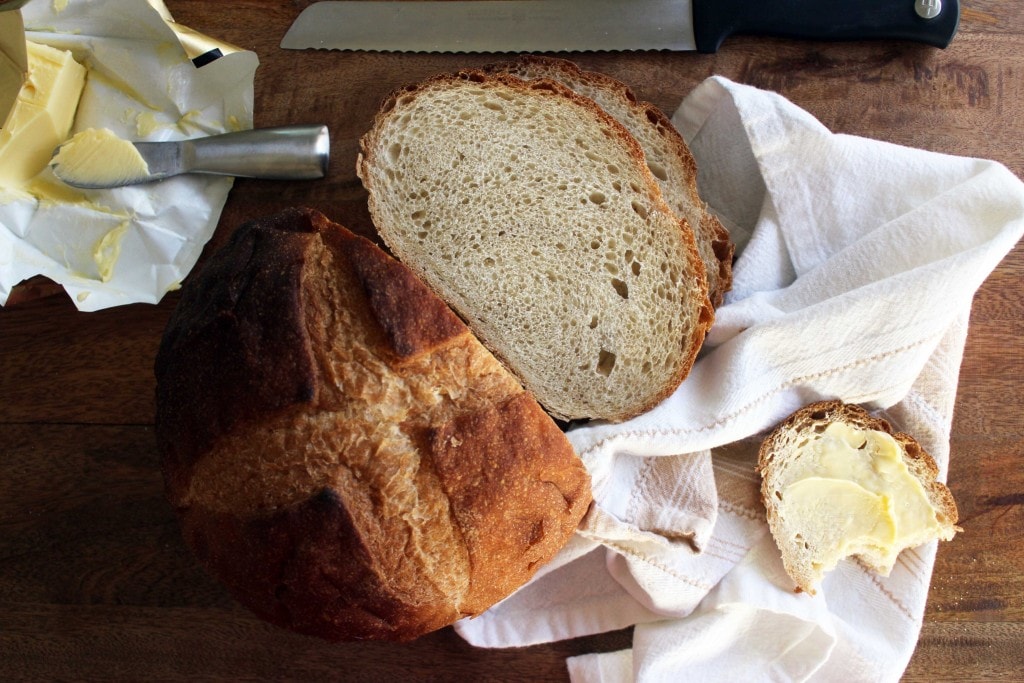
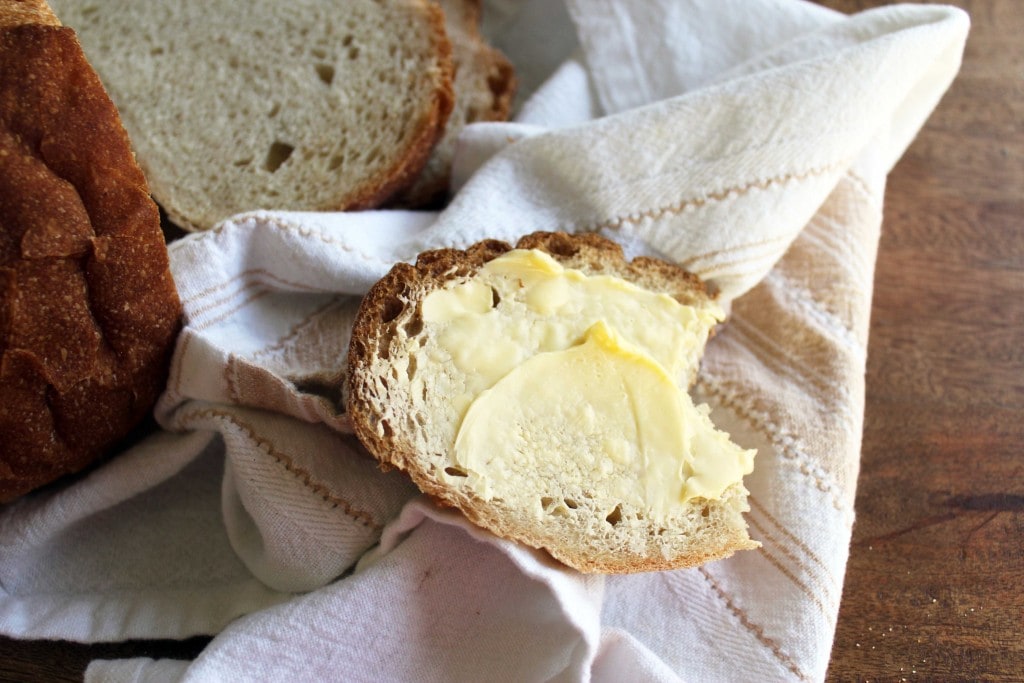
When cooled, tear off a hunk and give it a big ol’ slathering of honey and butter. You’re welcome.
Lindsay has graciously let me invade her blog to offer this recipe AND bring awareness to an initiative I’m taking on this spring. I’m hiking 28 miles of the Foothills Trail to raise awareness and funds for Make-A-Wish South Carolina. If you don’t know about Make-A-Wish, they are basically the most awesome organization ever. They grant wishes to local children with life-threatening medical conditions. I’m asking for you to spread the word about my campaign and please donate. A few dollars goes a long way to put smiles on the faces of these kids who are having to deal with so much. I’m also going to take this a step further: for every $25 you donate to my campaign, I’ll bake one of these delicious breads and deliver it to your door (offer good for lovely people who live in upstate South Carolina). Think about it, you’ll put smiles on the faces of needy children AND get a delicious crusty bread (definitely a win-win). Every $25 will get you a different hand made baked good sent to you each week - so if you donate $50 you’ll get a bread delivered to you 2 times over two weeks, $75 is 3 times over three weeks, and so on. Items can range from chocolate croissants or savory Baguettes or gooey cinnamon rolls, whatever my kitchen dreams up that week. I’ll give you a heads up via email as to what will be coming to your door. Just donate and drop me a line at [email protected] and we can work out the specifics. You rock.
Country Bread
Ingredients
- bread flour
- instant yeast
- honey
- whole wheat flour
- salt
Instructions
- Combine 5.5 oz Bread flour, 1.25 Whole wheat flour, ½ teaspoon instant yeast, 11/2 teaspoon honey, 11.2 oz water at room temp. Mix until smooth, the consistency of pancake batter. In a separate bowl mix 10.3 oz bread flour and ½ teaspoon instant yeast. sprinkle this over the batter and let sit for 1-4 hours.
- Sprinkle 1 ½ teaspoon salt and mix dough to combine. Knead for 5 minutes and then rest for 10 minutes. Knead for another 5 minutes. Transfer to a bowl and let rise until doubled. Scrape down and deflate dough, let rise again until doubled.
- Preheat oven to 475. Add an oven-safe skillet to the bottom rack. Remove the dough from the bowl and shape into a ball. Let rise a final time, about 1 hour.
- Gently make a ½ inch slash in the top of the dough with a sharp knife or razor. Place the bread in the oven and toss ½ cup of ice cubes into the skillet.
- Bake for 10 minutes and then lower the oven to 425 and continue for another 20-30 minutes, until deep golden brown.

no offense....but it looks UGLY and really not tasty
How is that 1. Not offensive and 2. How is bread ugly?