Easy refrigerator dill pickles in just 30 minutes! This is a great use for lots of cucumbers, and these last for months in the fridge. Alternatively, you can process the jars and keep them in the pantry all winter!
Pickles!
It's been a goal of mine over the past few months to try project food - homemade ingredients, condiments (like green tomato jam), etc. I did make those biscuits, but that was pretty easy and didn't involve yeast. Why am I so scared of it? I don't know. No-Knead Bread is about as far as I've gone with that so far.
When Jay and I were in Denver we had a few homemade pickles at different restaurants, and just loved all of them. This is the perfect time of year for pickles because cucumbers are at every market and store and are CHEAP, so get a bunch and make pickles for days!
Honestly? From a safety standpoint pretty indefinitely. The texture of the cucumbers will start to change to be slightly mushy (think jarred pickles from a store), but that's not necessarily a bad thing. I find that the refrigerator pickles are the most delicious in the first month in the fridge.
Nope! You can DEFINITELY can or process these jars if you'd like to keep them in the pantry, but I don't do that. Instead, I make a few jars at a time and give them away as gifts and keep them for lunches, snacking, and to put on burgers.
Ingredients
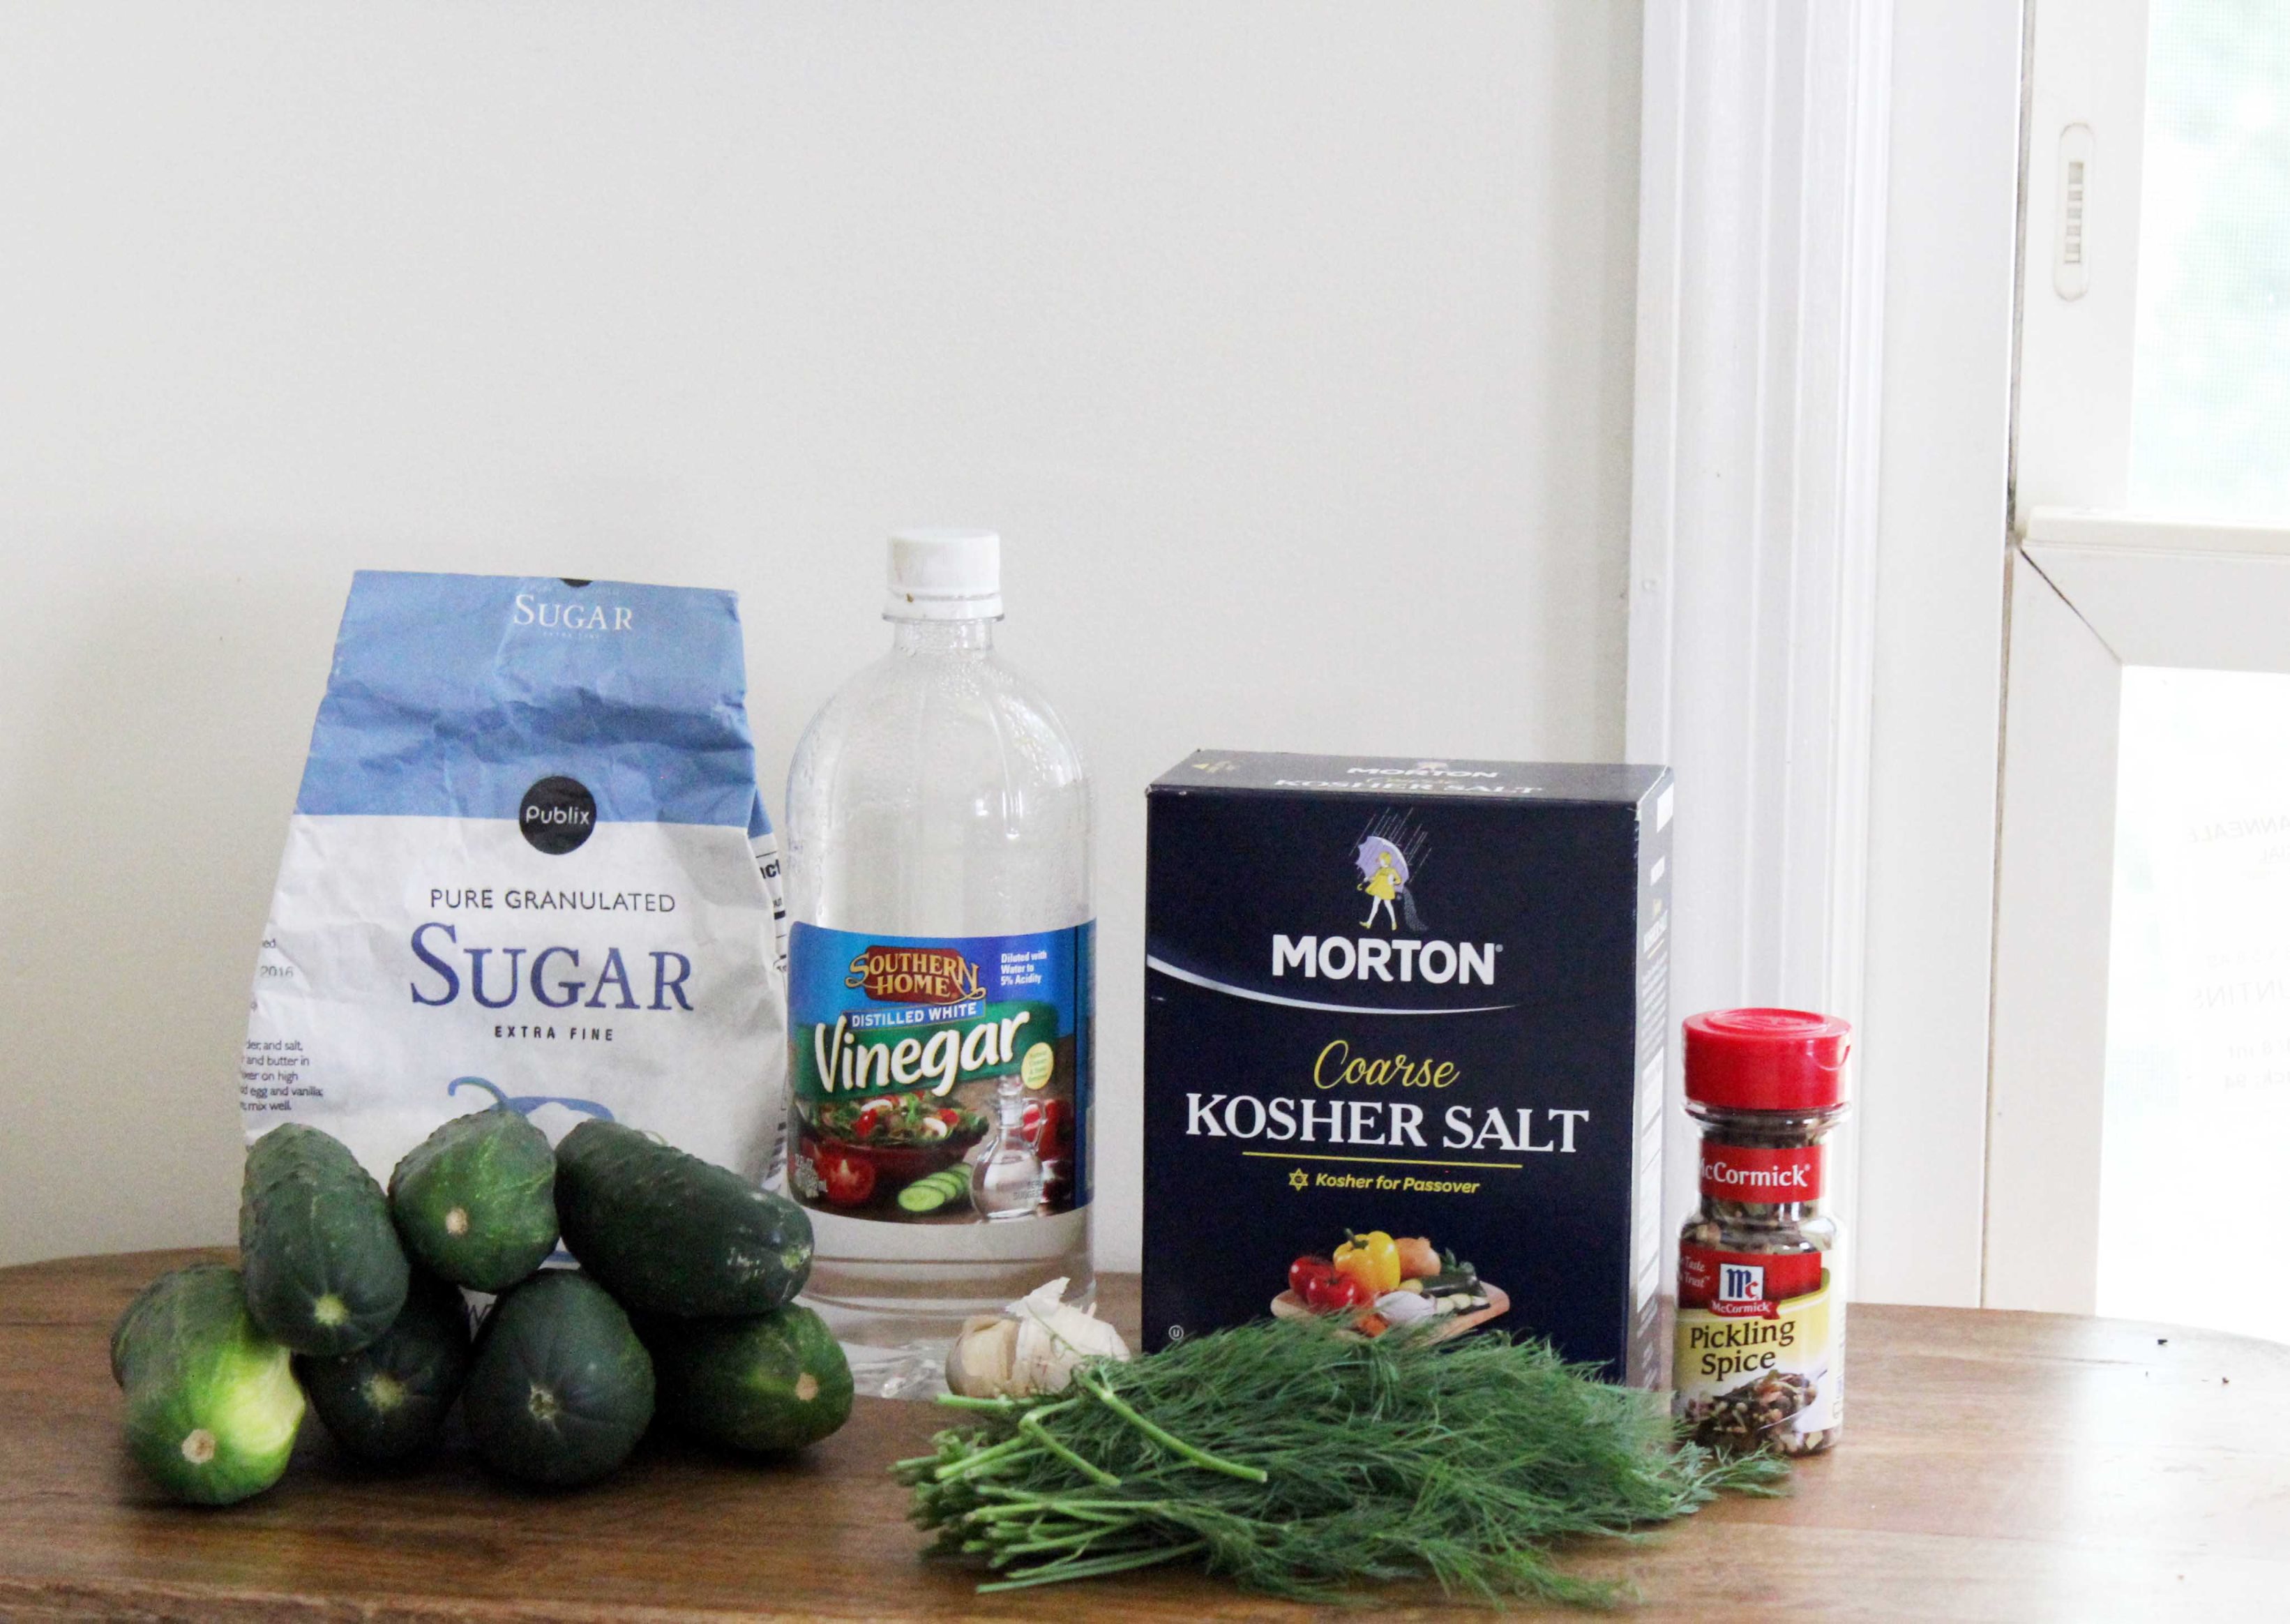
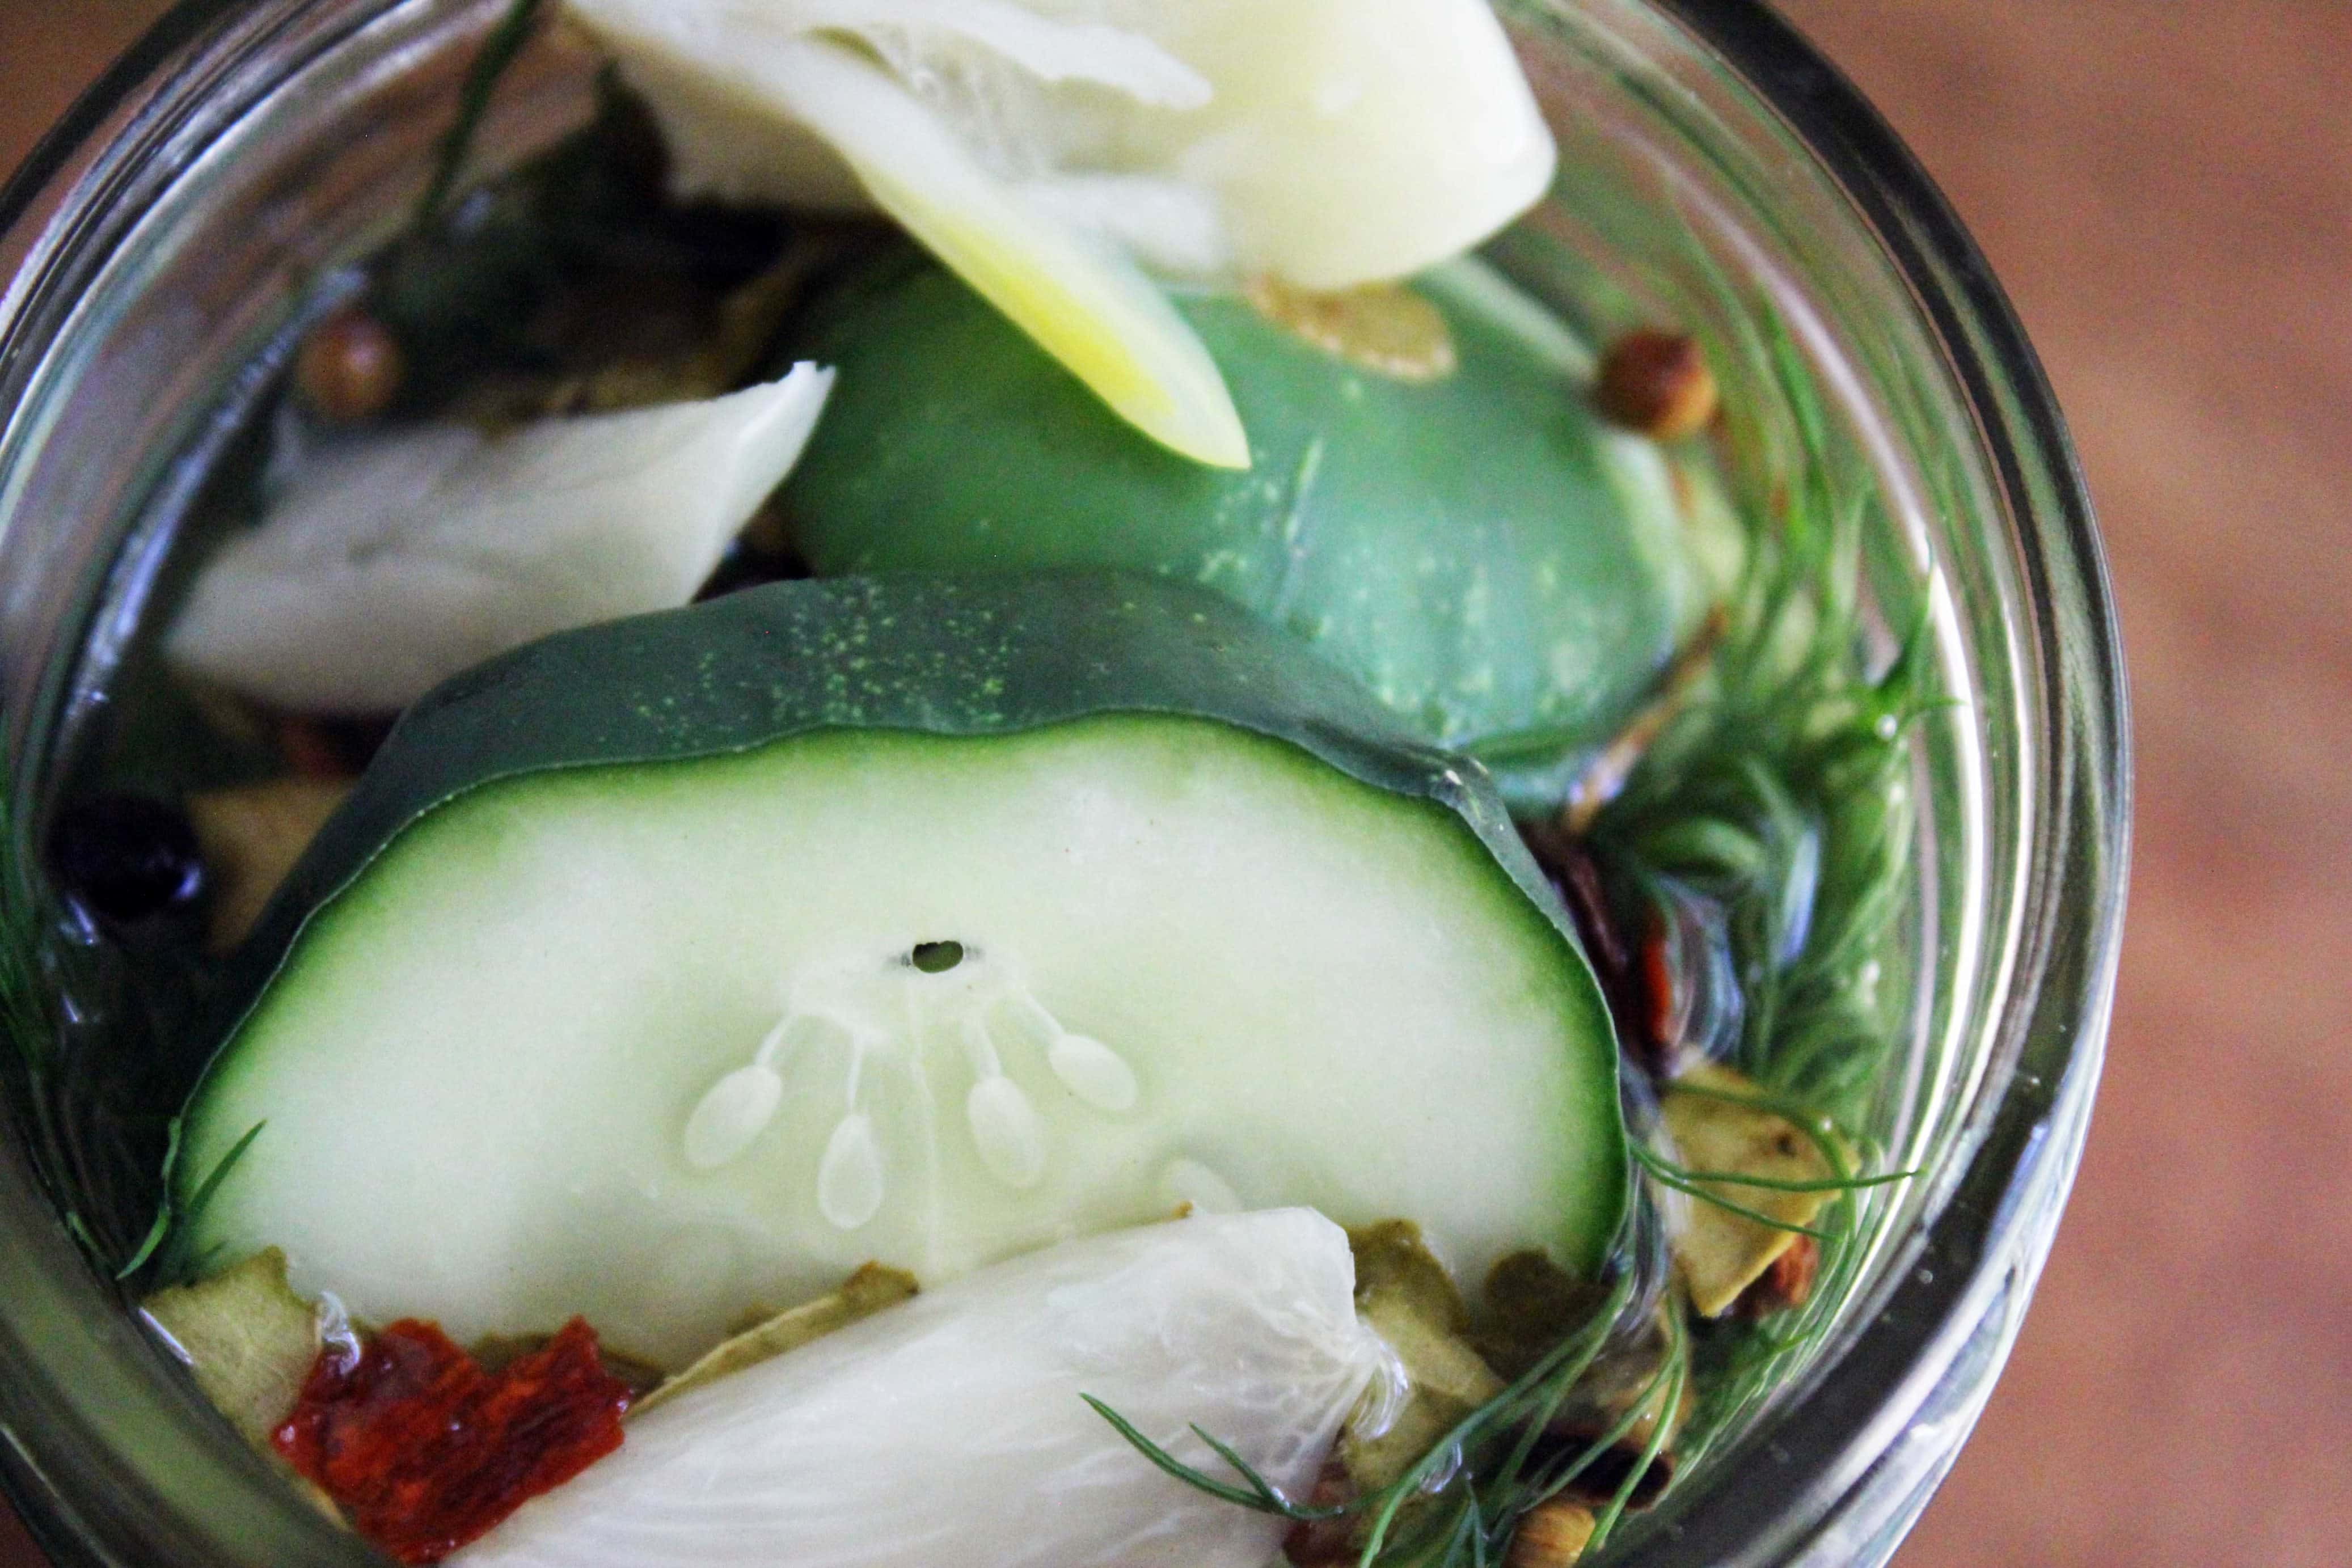
You need cucumbers (kirby, pickling, or other small-seeded cucumbers), garlic, fresh dill, white vinegar, salt, sugar, and pickling spice.
How To Make Homemade Dill Pickles

First, cut your cucumbers into any shape you like for pickles, and peel the garlic cloves.

Then, mix the vinegar, salt, sugar, and some water in a large pot. Turn the heat on the stove to bring the mixture to a boil.

Pro Tip: This recipe is about enough for 2 large quart-sized jars. Feel free to increase the liquid if you have more cucumbers to pickle, or use varying sizes of glass jars based on what you have.
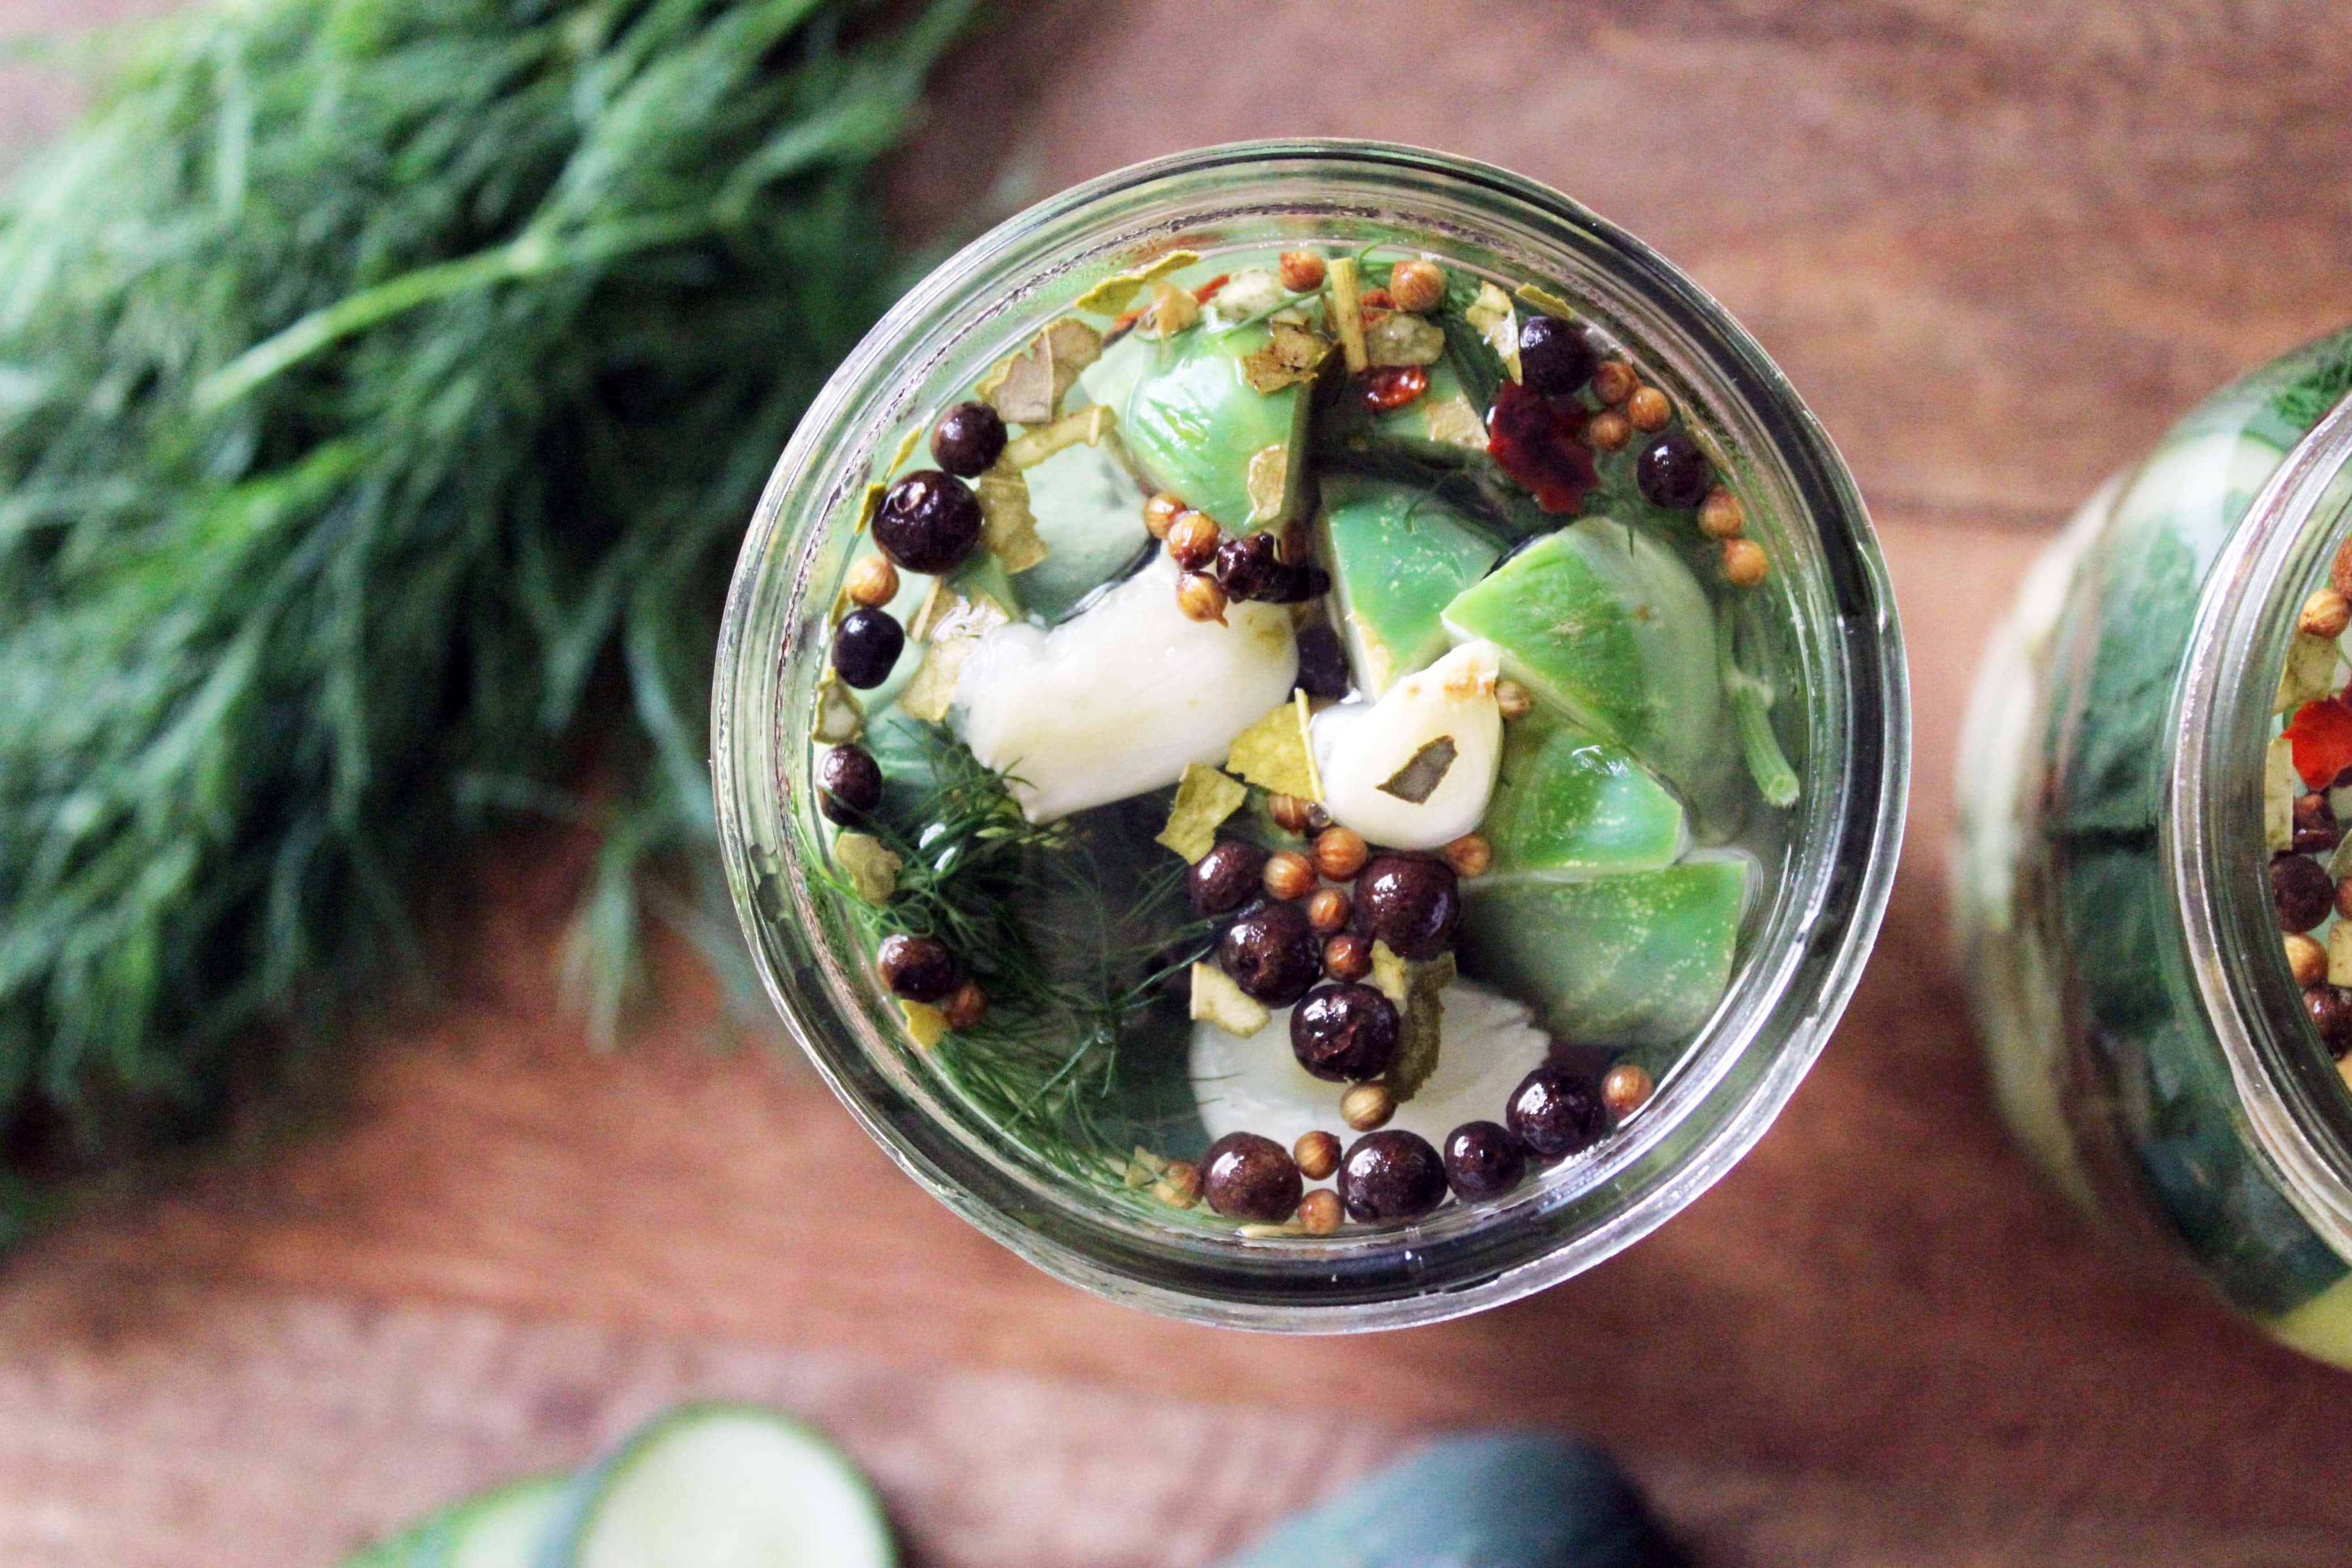
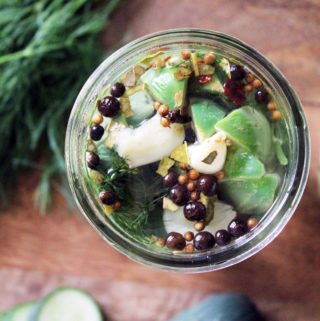
When the liquid comes to a boil, add the garlic cloves and boil for one more minute, then turn the heat off the stove. While all of that is happening, grab some glass jars and stuff them with the cucumbers, dill sprigs, and pickling spice.

There are specific measurements in the recipe card below, but really you just want to cram as many sprigs and cucumbers as you can into the jars, and put a small handful (1-2 tsp) of pickling spice into each jar. More for large jars, less for small jars.
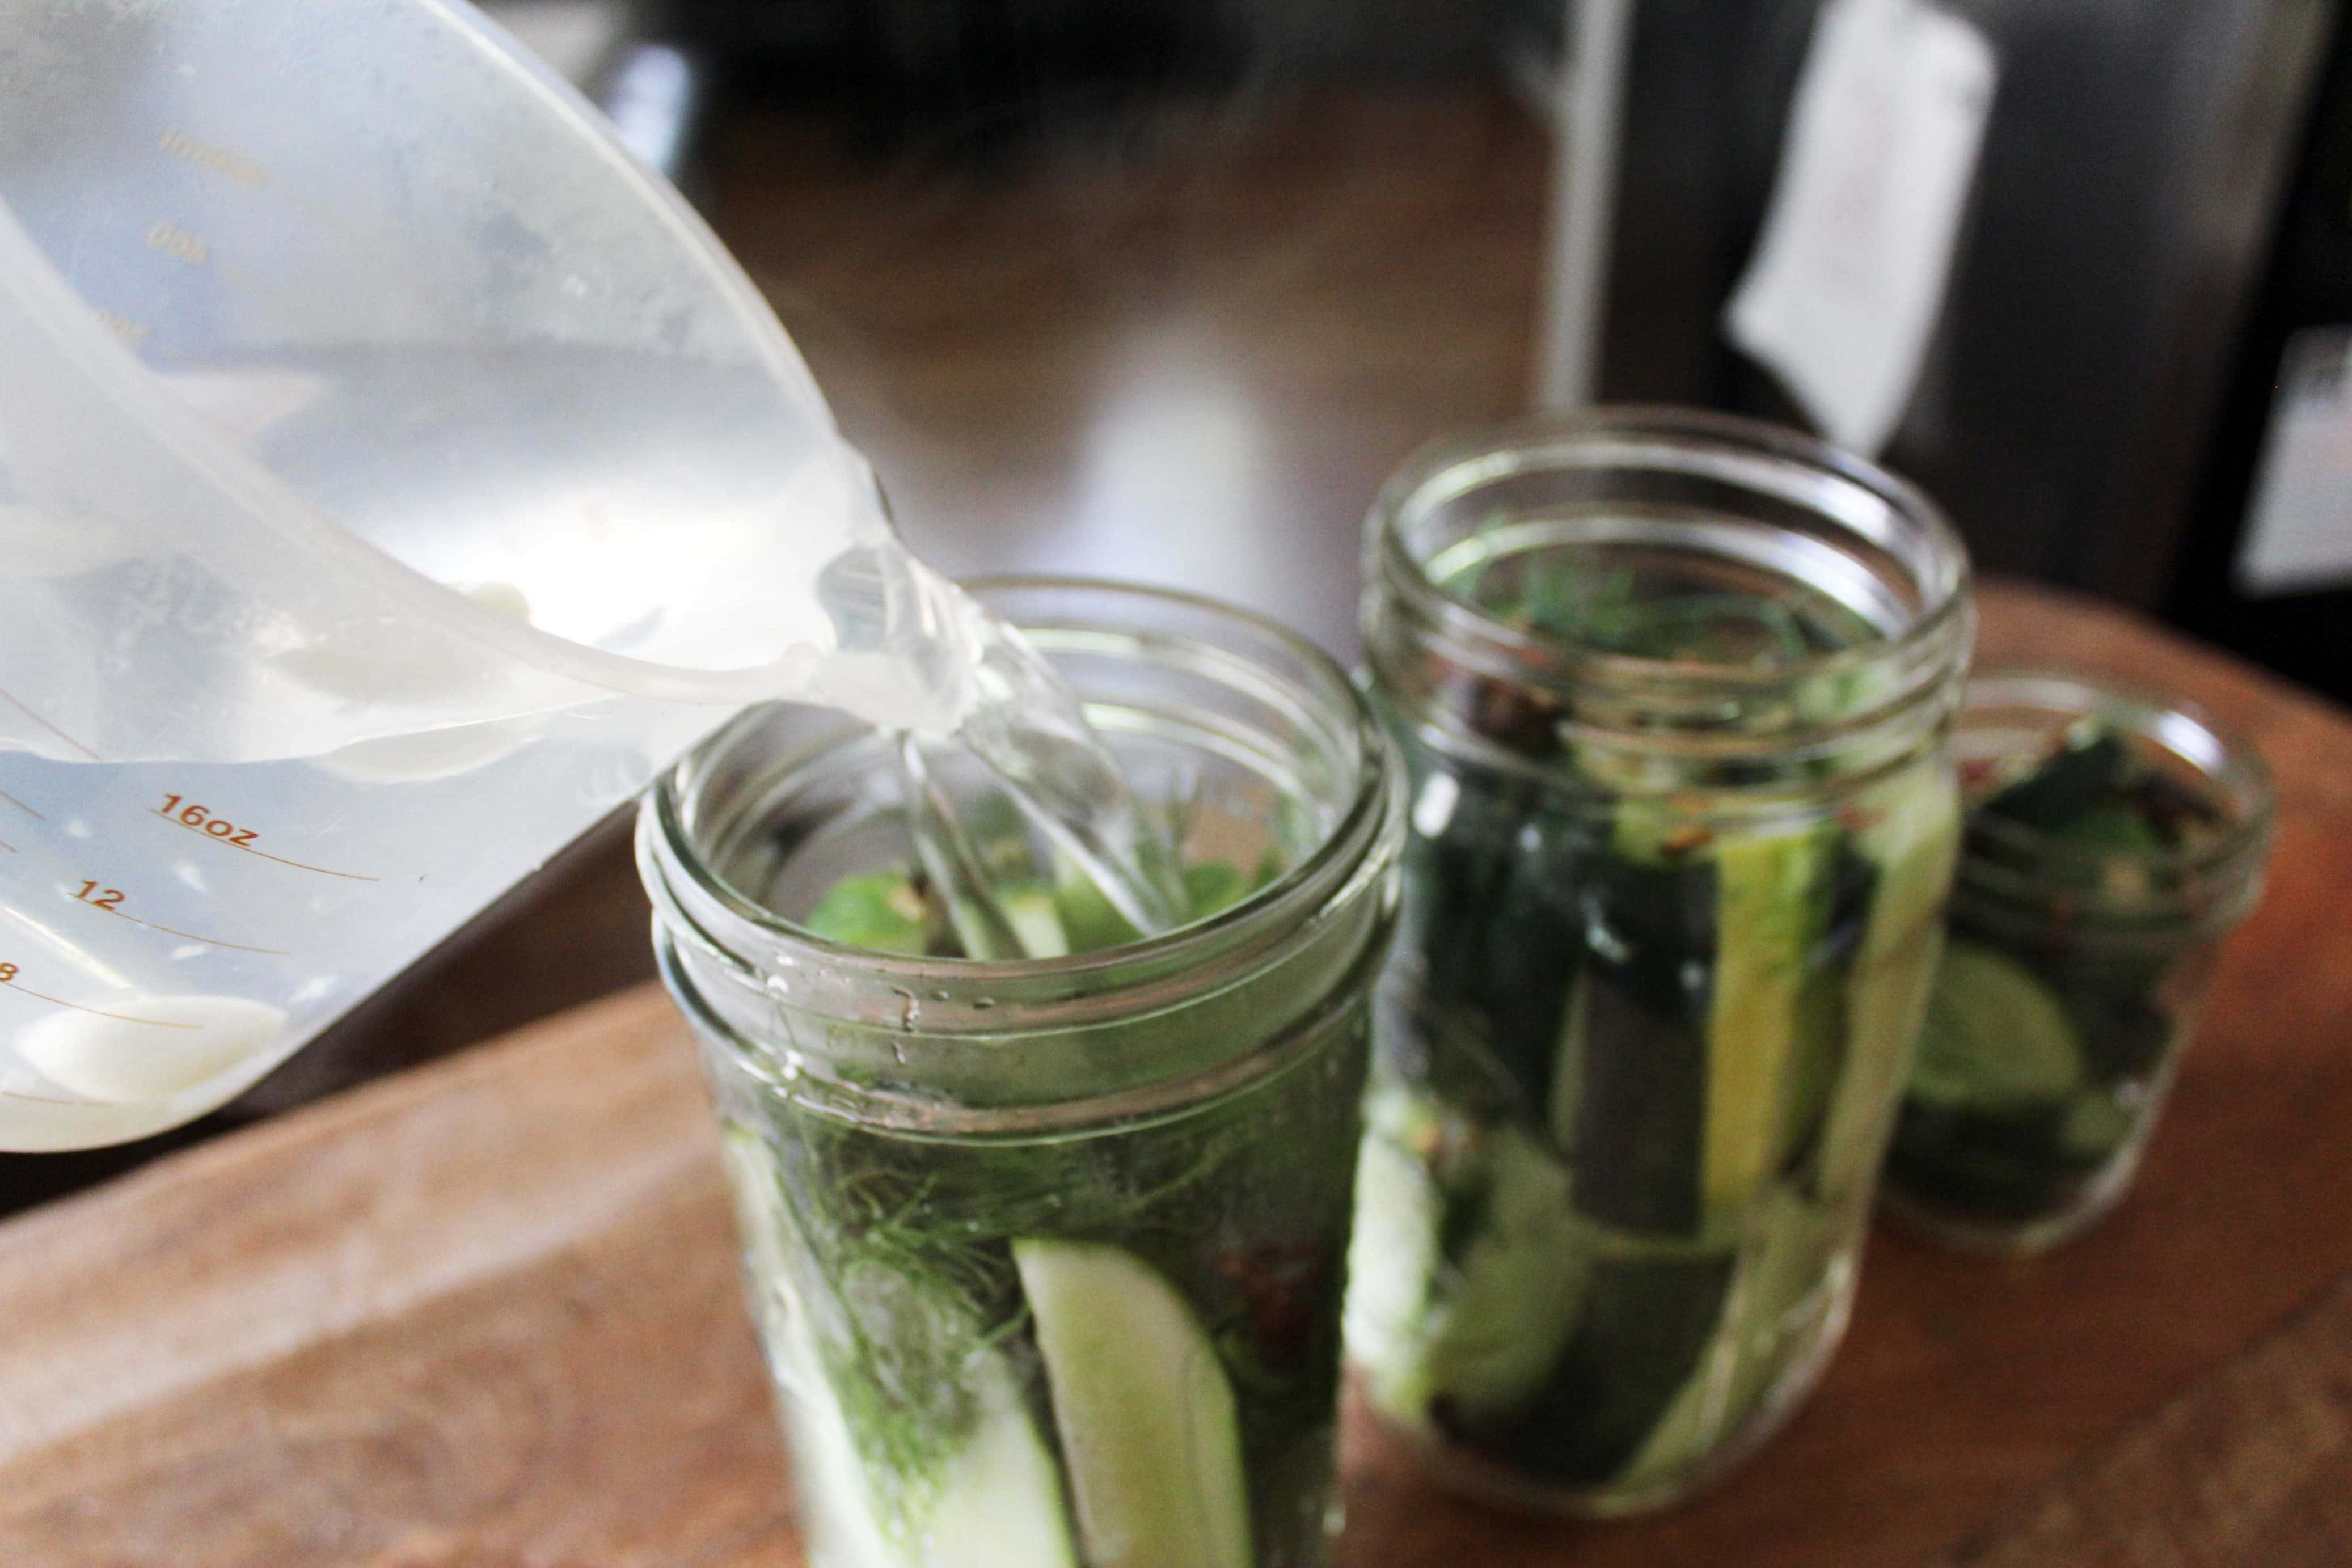
Last, pour the hot brine over the cucumbers to fill the jars, getting a few cloves of garlic into each jar.
Let the pickles sit for about 30 minutes at room temperature for the brine to start to cool, then close the lids, and refrigerate until you'd like to eat pickles! Let them sit at least for 2 hours, and they'll get more and more pickly as they sit.

GARLIC. These are a pretty mild pickle, so the garlic and dill really shines through - compared to a really vinegary pickle. The sugar may seem like a lot, but these aren't sweet pickles by any means. The method, though, is so simple that you could add way more sugar for a bread and butter effect, use different veggies - sky's the limit!
Summer food project: done.
Homemade Refrigerator Dill Pickles
Ingredients
- 2 cups white vinegar
- 2 cups water
- ¼ cup sugar
- 2 tablespoons kosher salt
- 8 cloves peeled garlic
- fresh dill sprigs
- ¼ cup pickling spice blend
- 6-8 kirby or pickling cucumbers cut into wedges, halves, or slices
Instructions
- In a pot, combine the vinegar, water, sugar, and salt. Bring to a boil and stir. When the salt and sugar have dissolved, add the garlic cloves and boil for 2 minutes more.
- Meanwhile, arrange the cut cucumbers into jars with tight-fitting lids. Stuff the edges of each jar with several sprigs of dill (as many as you can fit!), and 1-2 teaspoons of pickling spice. Pour the hot pickling liquid over the pickles to fill the jars.
- Let the pickles cool slightly, then put the lids on the jars and refrigerate for at least 1 hour or more before serving.
- Pickles will be good in the fridge for up to 1 month, or you can can/process the jars to store them indefinitely in your pantry.


Leave a Reply