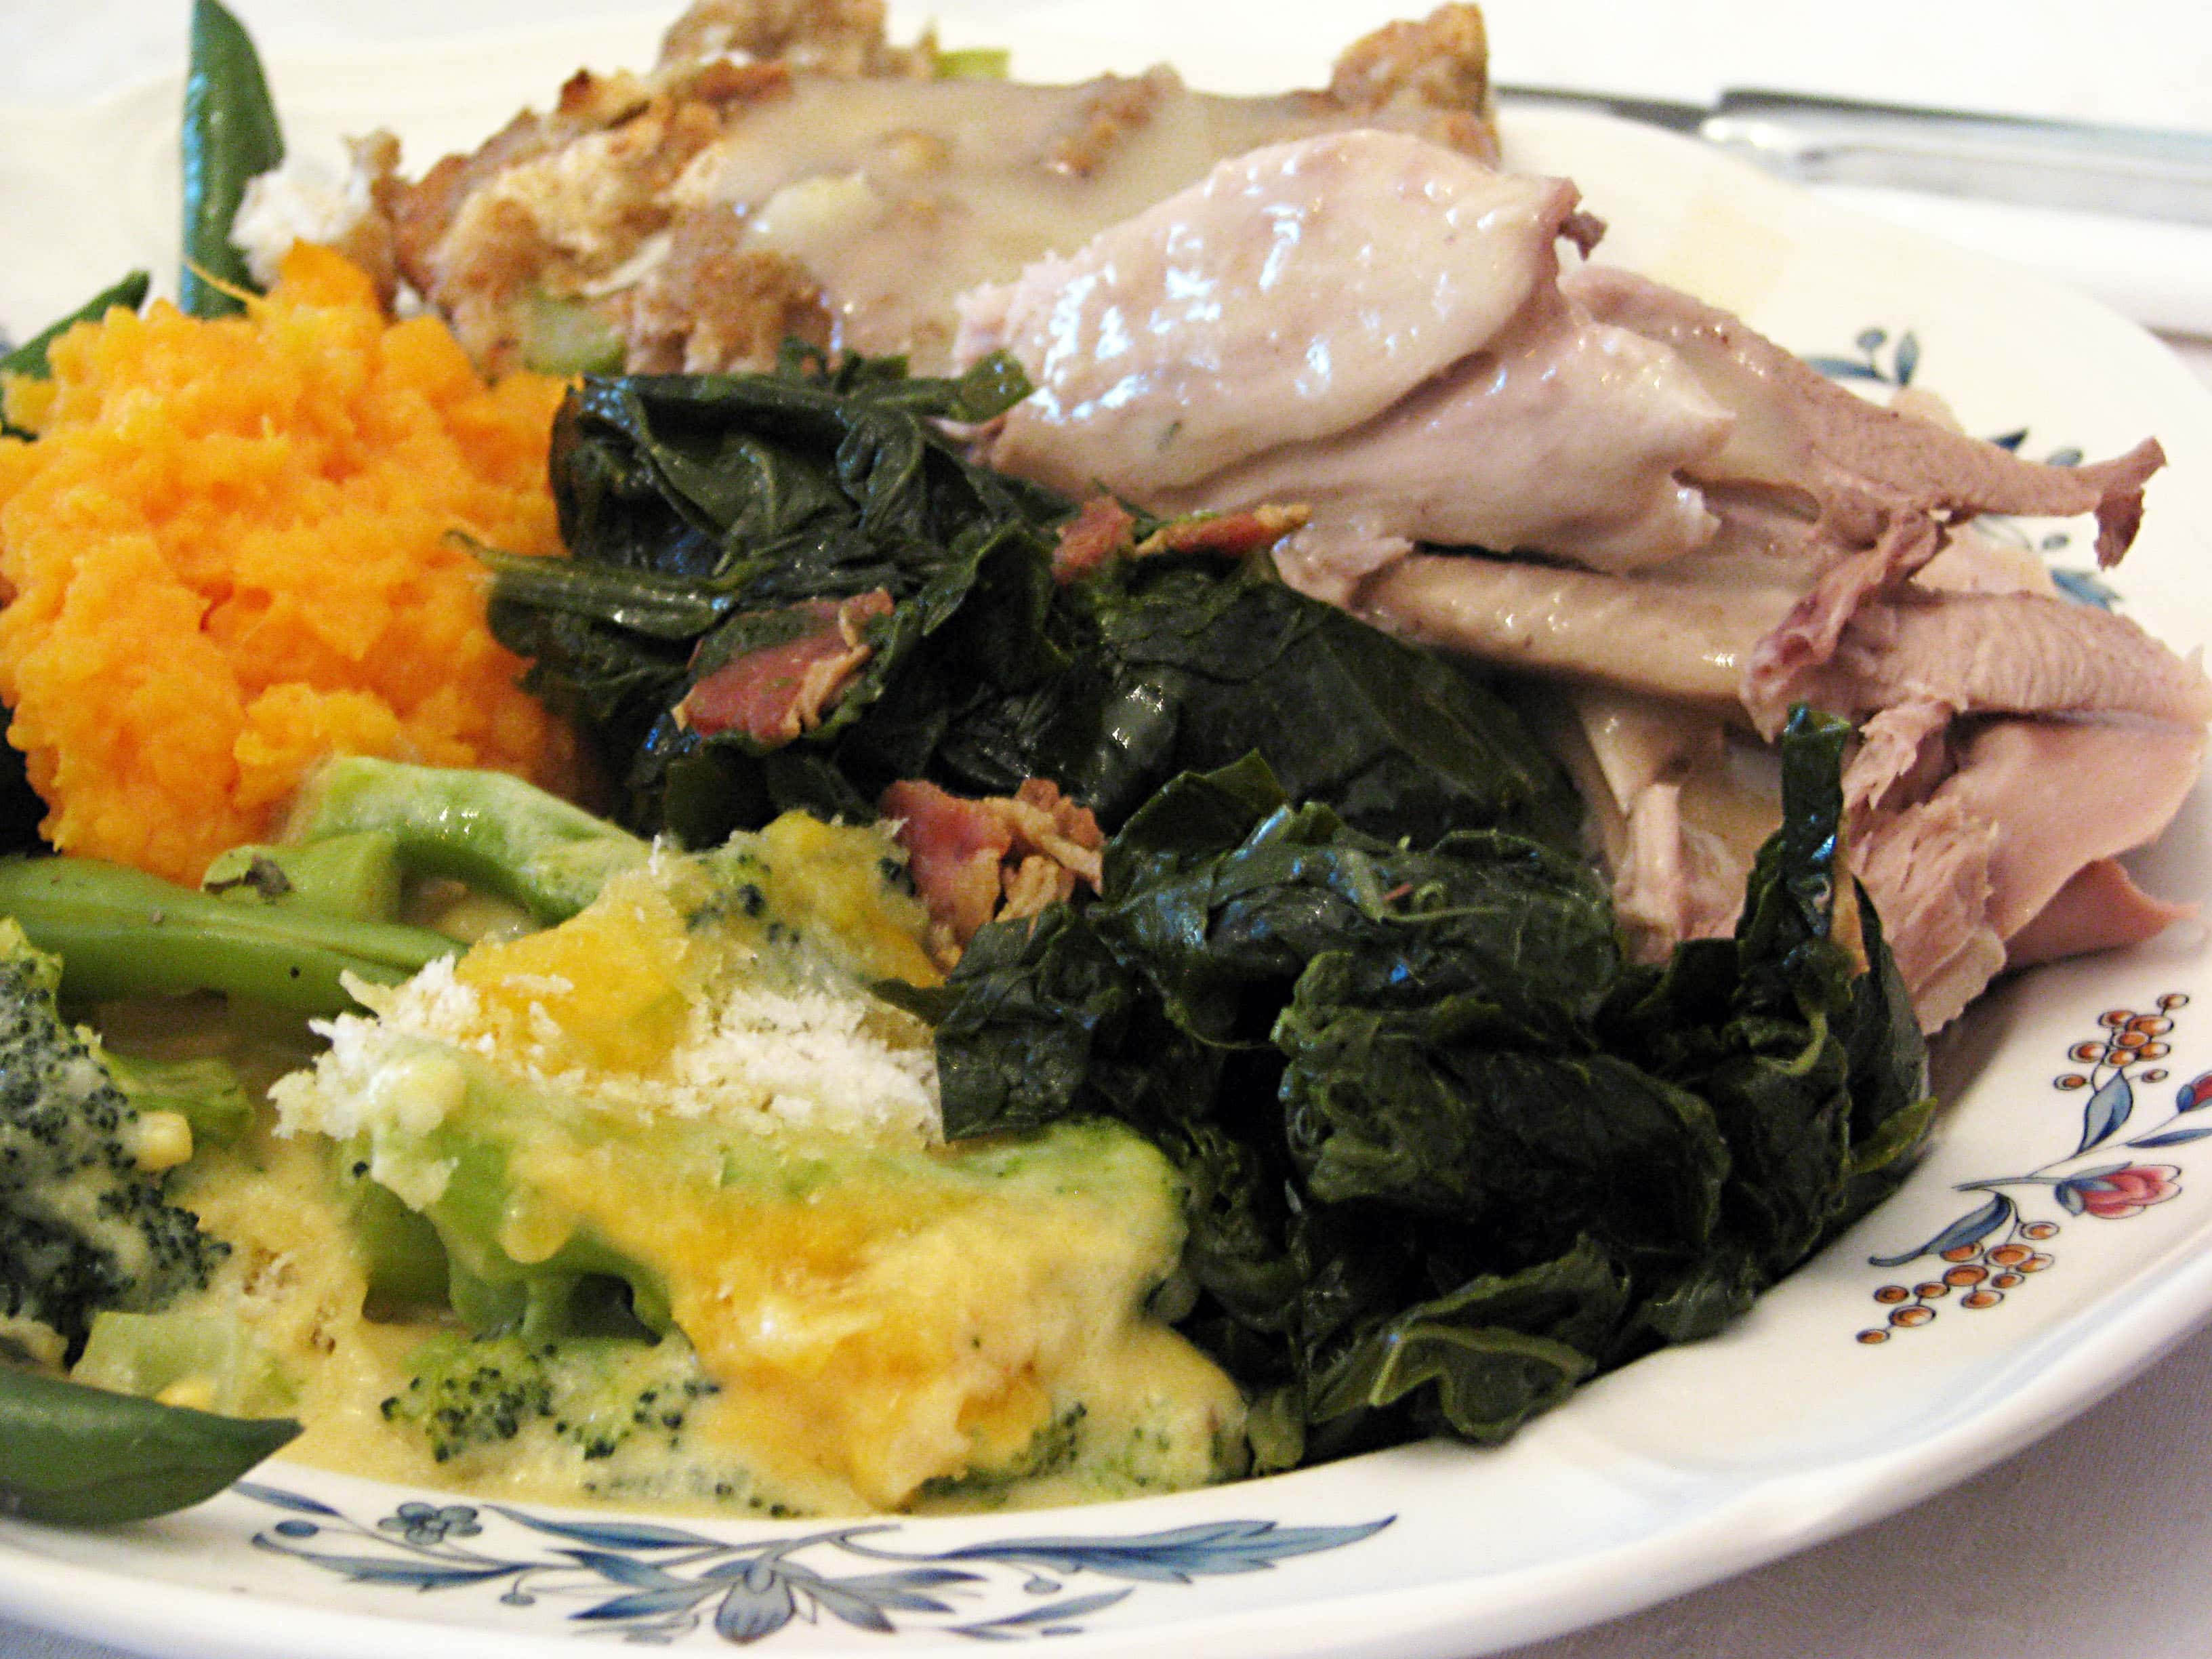
When I was little my grandmother always made greens and homemade relish, and I LOVED them. I'm pretty sure I loved the relish more than the actual greens, but that's OK!
Here's how I make collard greens - tons of flavor and nutrition! You can substitute any heavy greens you like, but buy a TON - they cook way down!
Braised Collards with Bacon
You don't need any measurements for this, do everything based on how many greens you have in the pot - it's easy!
- Collard greens
- Bacon
- Salt
- Beer
- Chicken stock
- Crushed Red Pepper
- Vinegar (I like balsamic, but use whatever you have!)
- Chow Chow or Relish, for serving
I buy whole bunches of greens for two reasons. First, it's cheaper. Way cheaper, and I'm poor. Second, sometimes you get pre-washed, cut greens that have been sitting in the bag awhile. That doesn't REALLY matter since we braise the heck out of these, so feel free to use pre-washed, bagged greens - it saves a lot of steps!
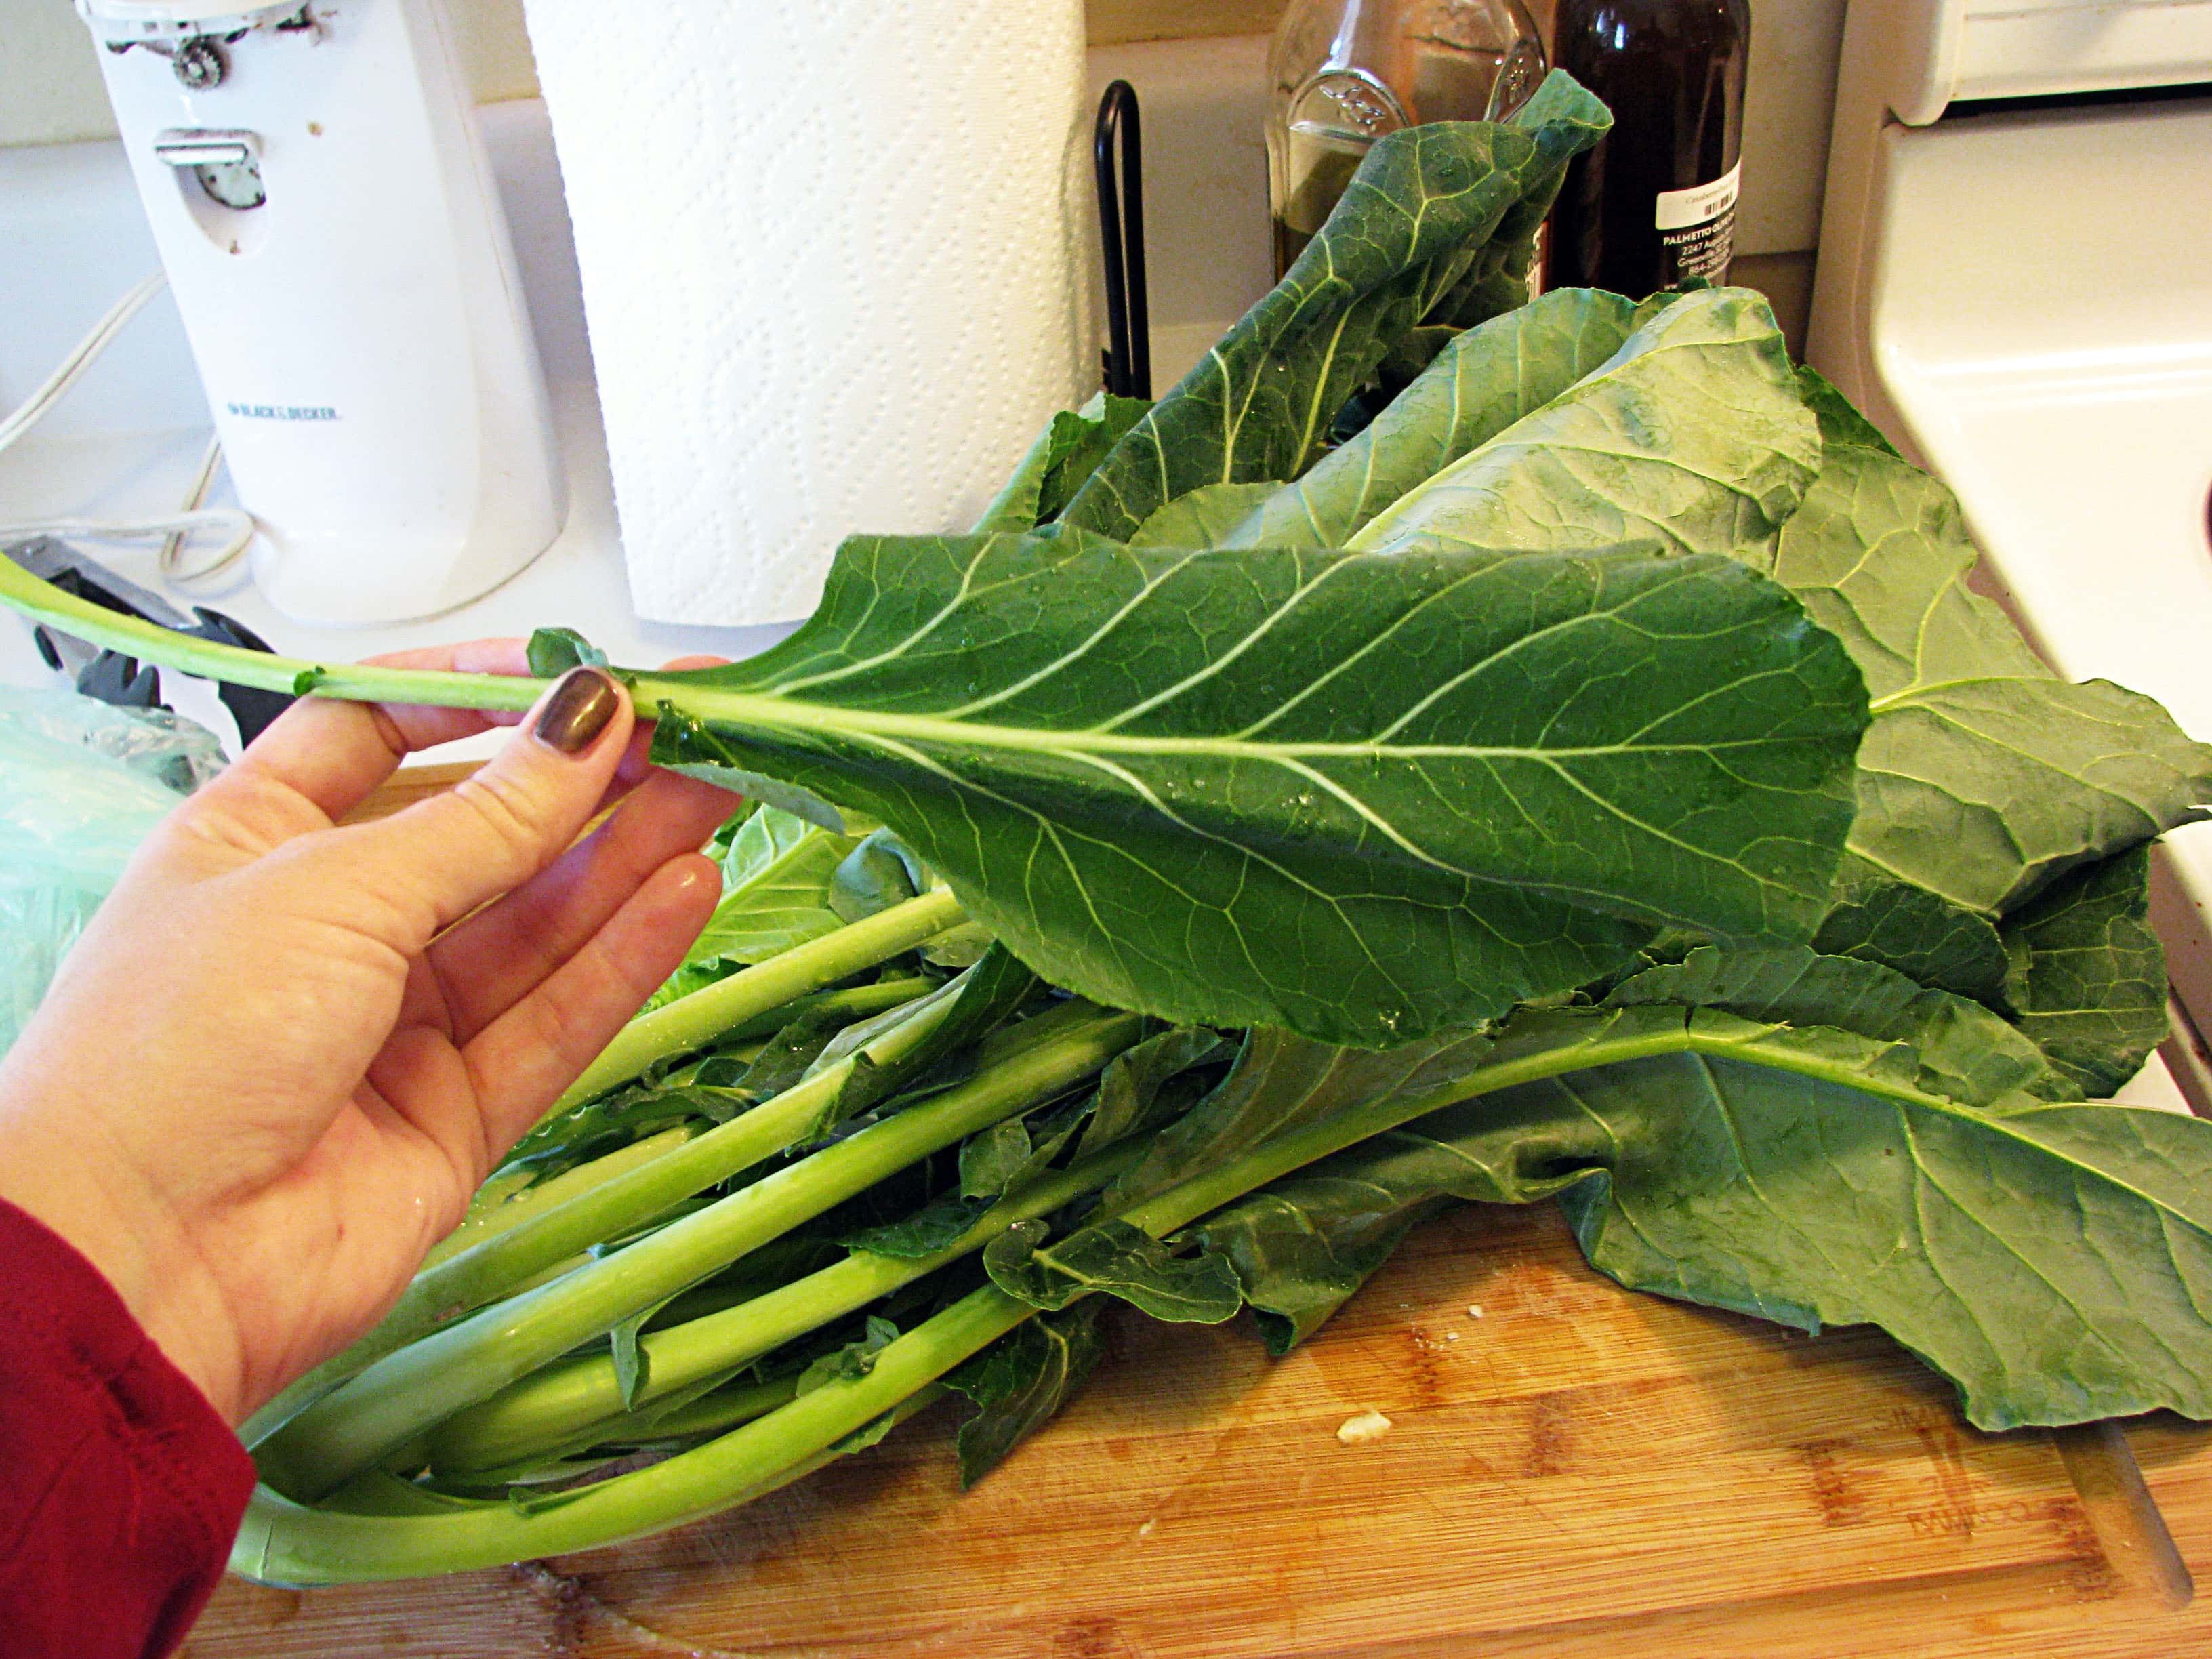
This was enough greens for our Thanksgiving of 9 people with a few servings leftover: it was about 3 pounds in the store. Huge! I put them next to my PASTA pot for emphasis. They are seriously massive.
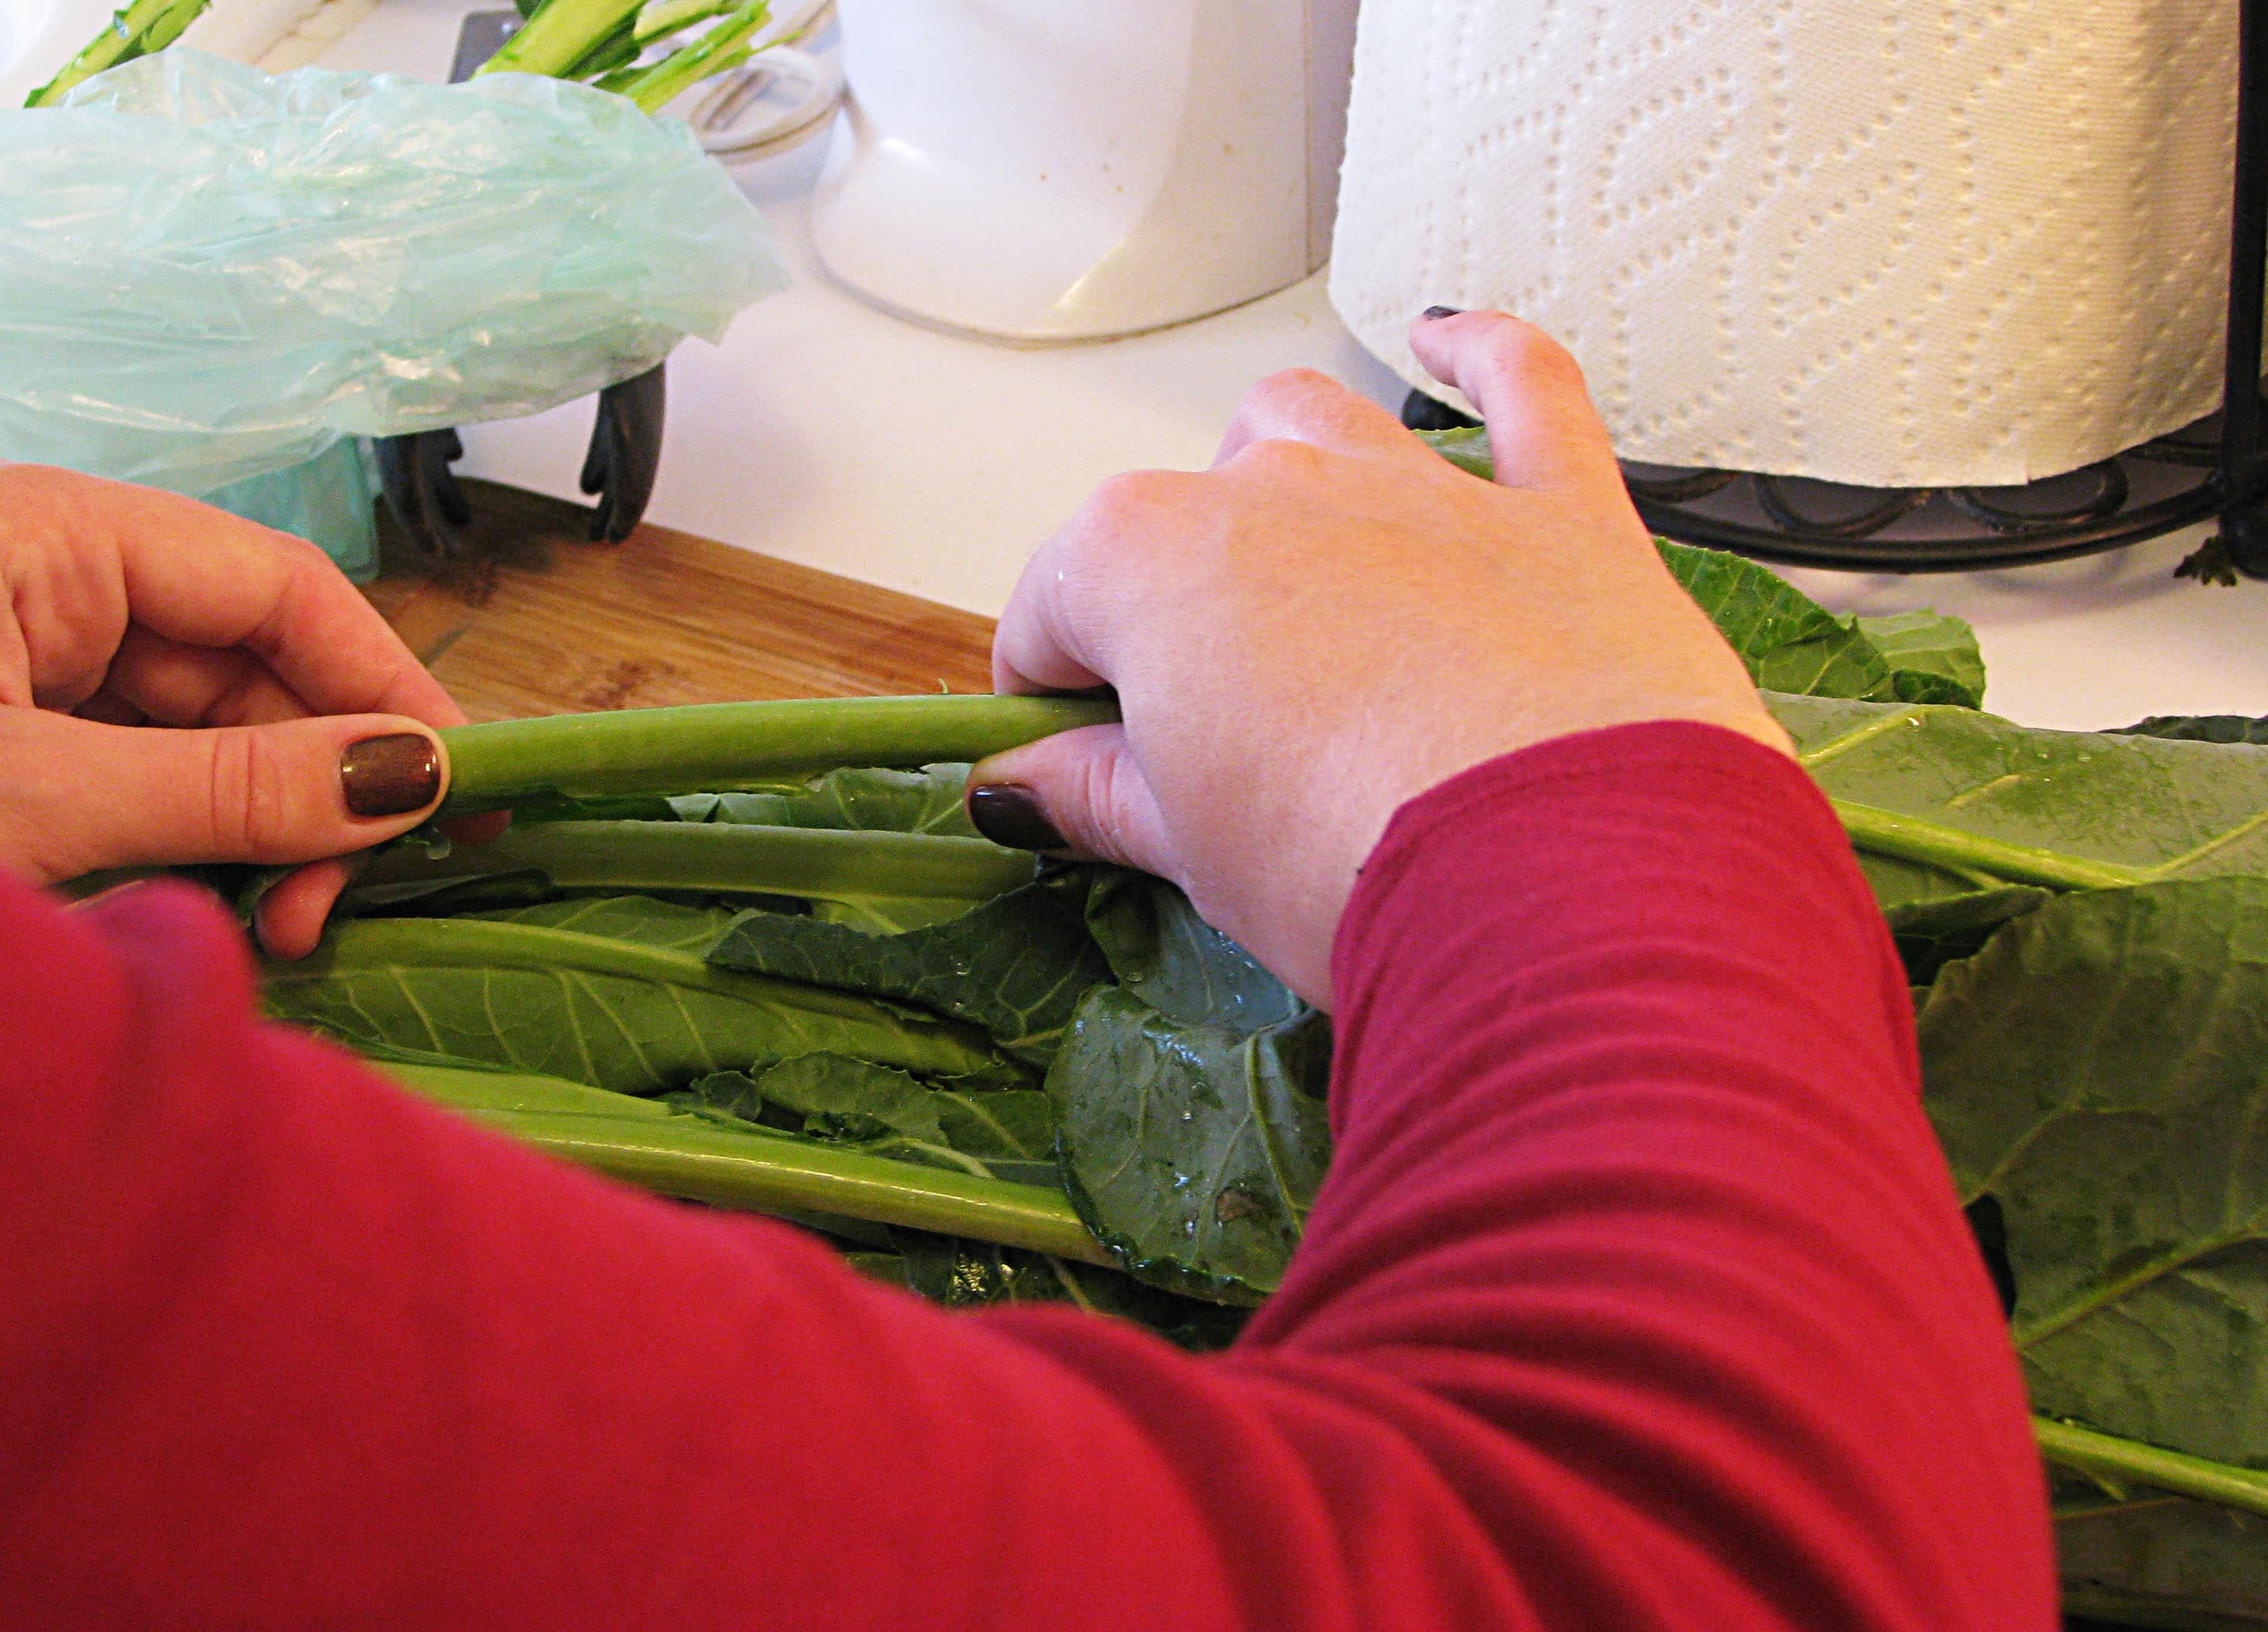
First, we take the stems out of the greens. To do that, grab the leaf in one hand and the stem in the other, then make kind of a claw with two fingers around the stem with the leaf hand (got that).
See? My right hand will go right next to the left facing the leaf. Then, just scrape the leaf away from the stem. You can save the stems for stock, but I was lazy and consumed with the holiday so I threw them away. Sorry.
Once the leaves are all removed from the stems you will likely hate me if you have a small kitchen because your kitchen will be full of stems and leaves and dirt.
I'm sorry. I told you you could buy the bagged stuff!
Now, bring a large pot (or two) of water to boil. I boil my collards for just a minute before starting the braising - it takes a bit more time, but it ensures that the greens aren't bitter, extra grit is removed, AND reduces the braising time. So, its worth it!
While the water is coming to a boil, wash the leaves VERY WELL in cold water - don't be bashful!
Those aren't my hands. Just sayin'.
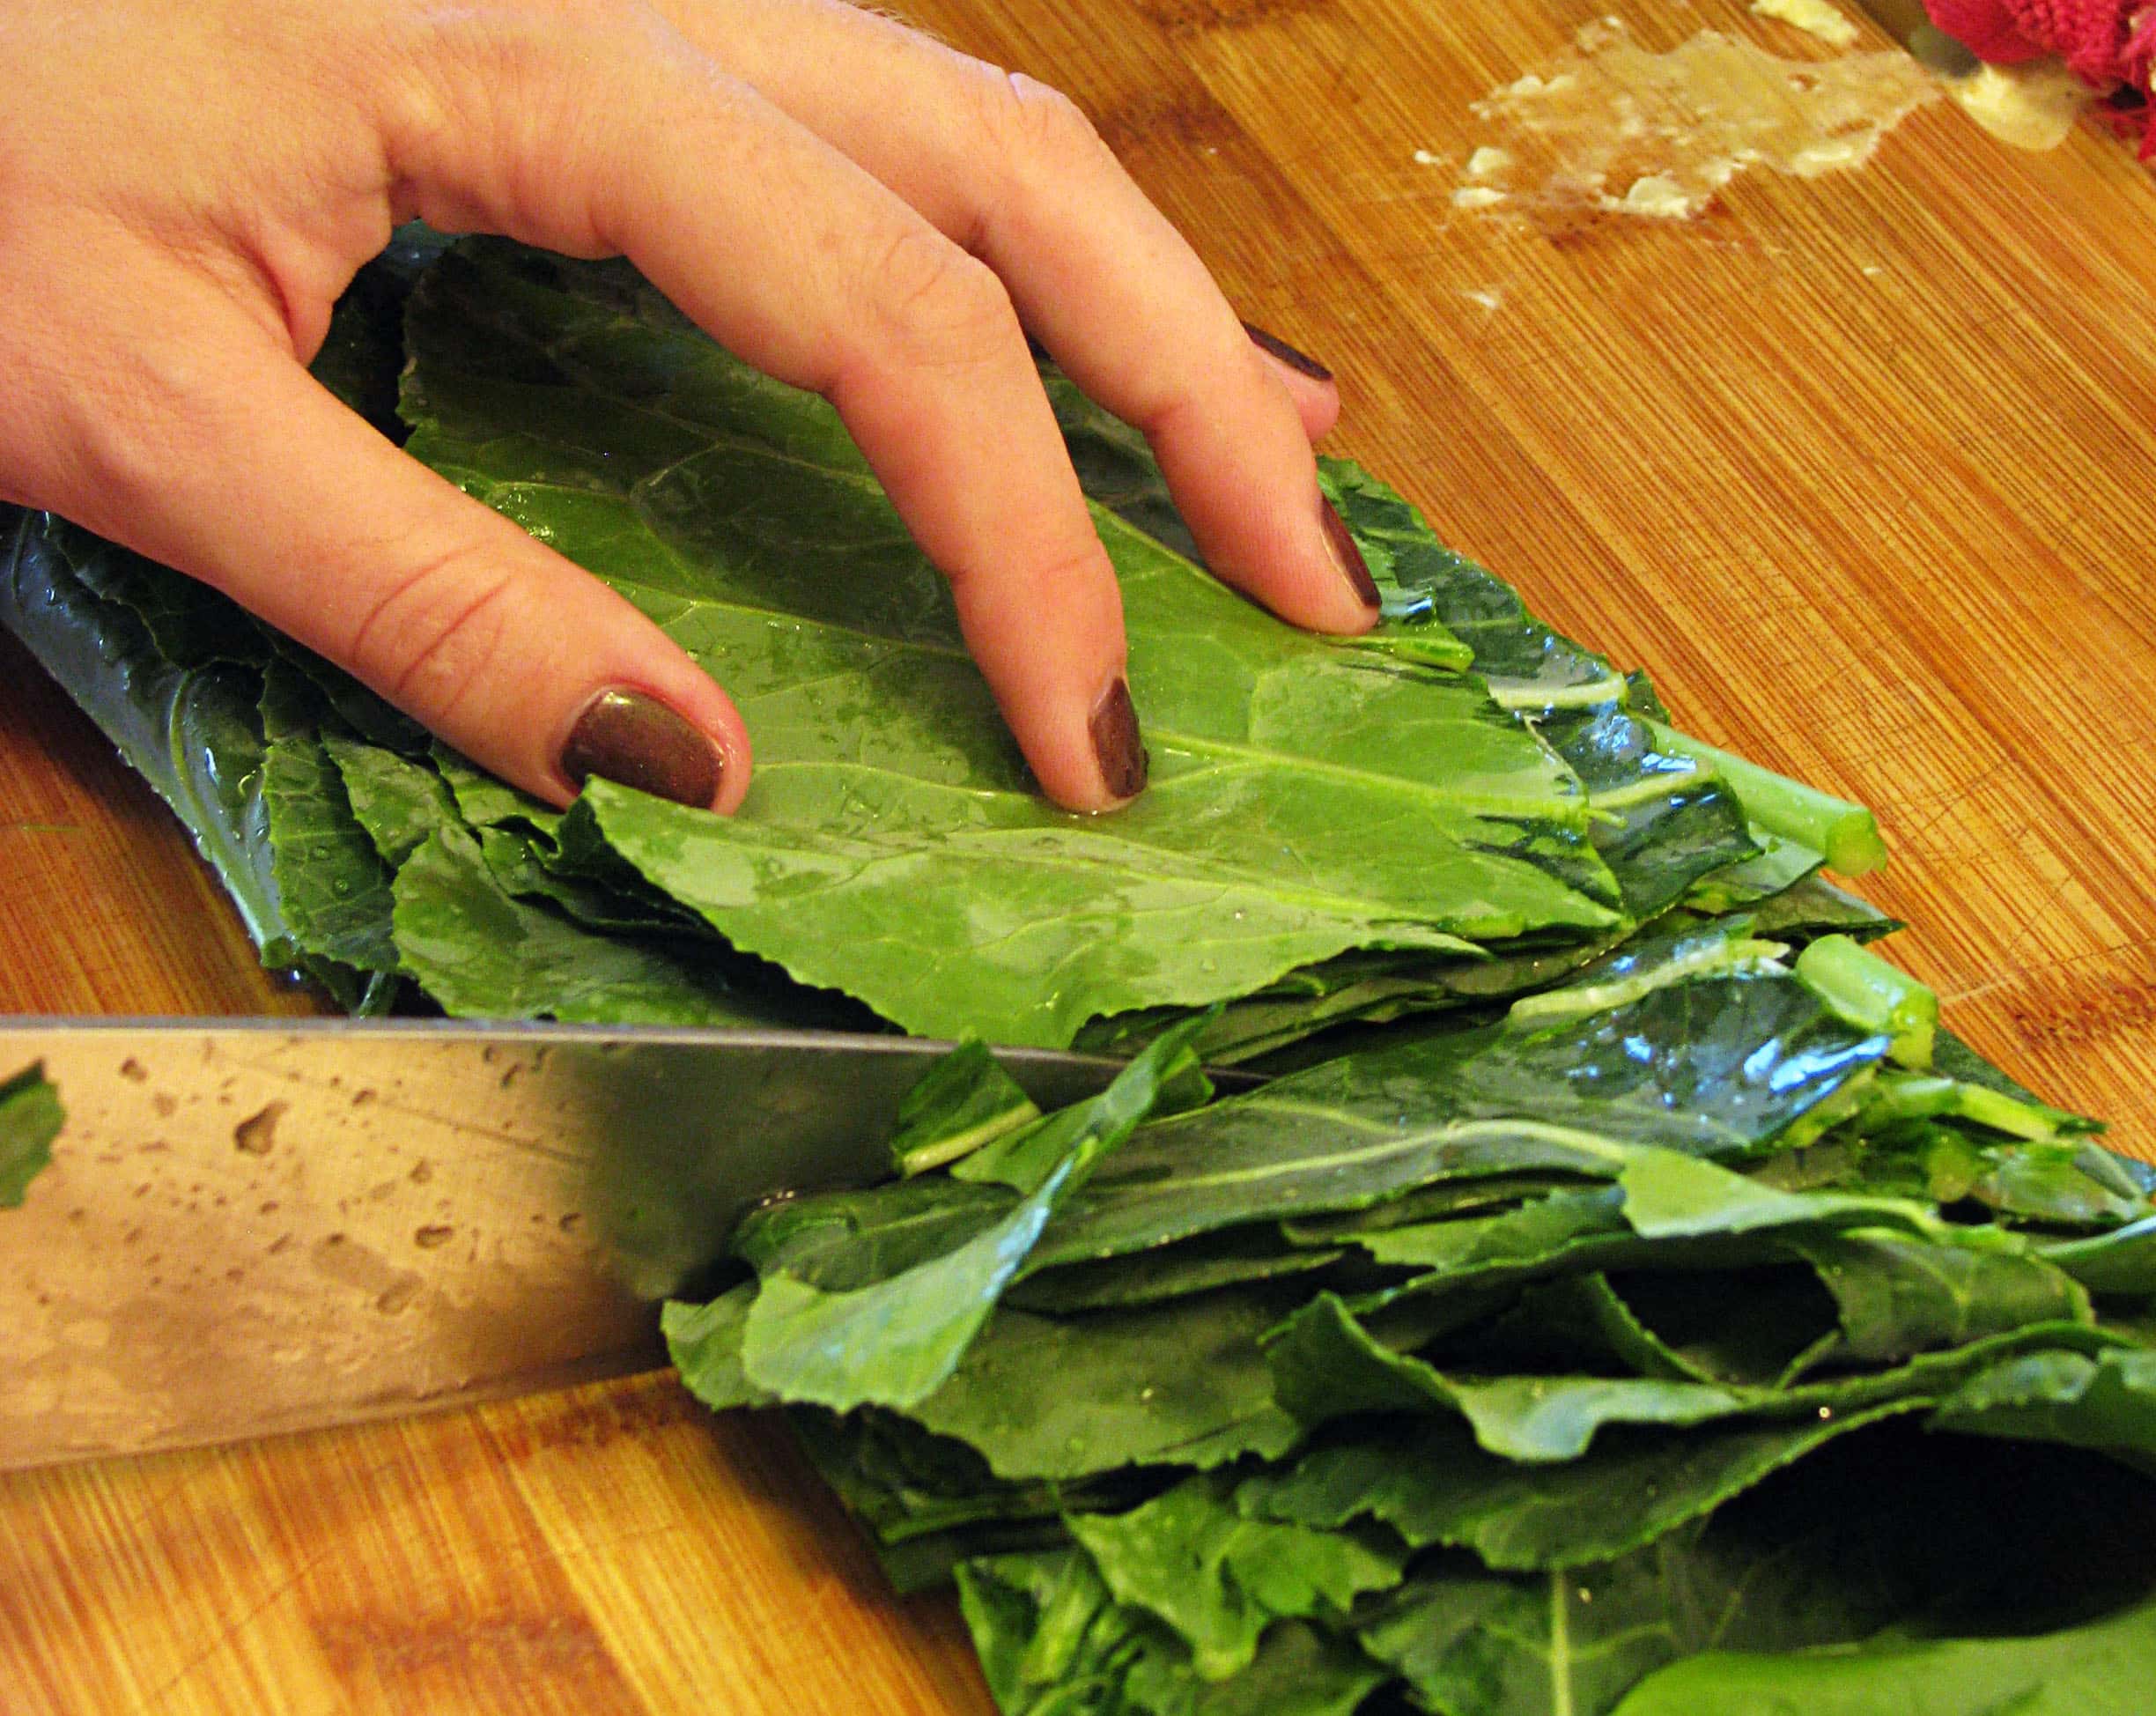
Once the greens are washed, cut them into big strips - you can cut the leaves in half lengthwise if they're super huge! I had to - the leaves were bigger than my face!
Nice. Ignore the cheesecake filling on the cutting board, you don't have to put that there if you don't want to.
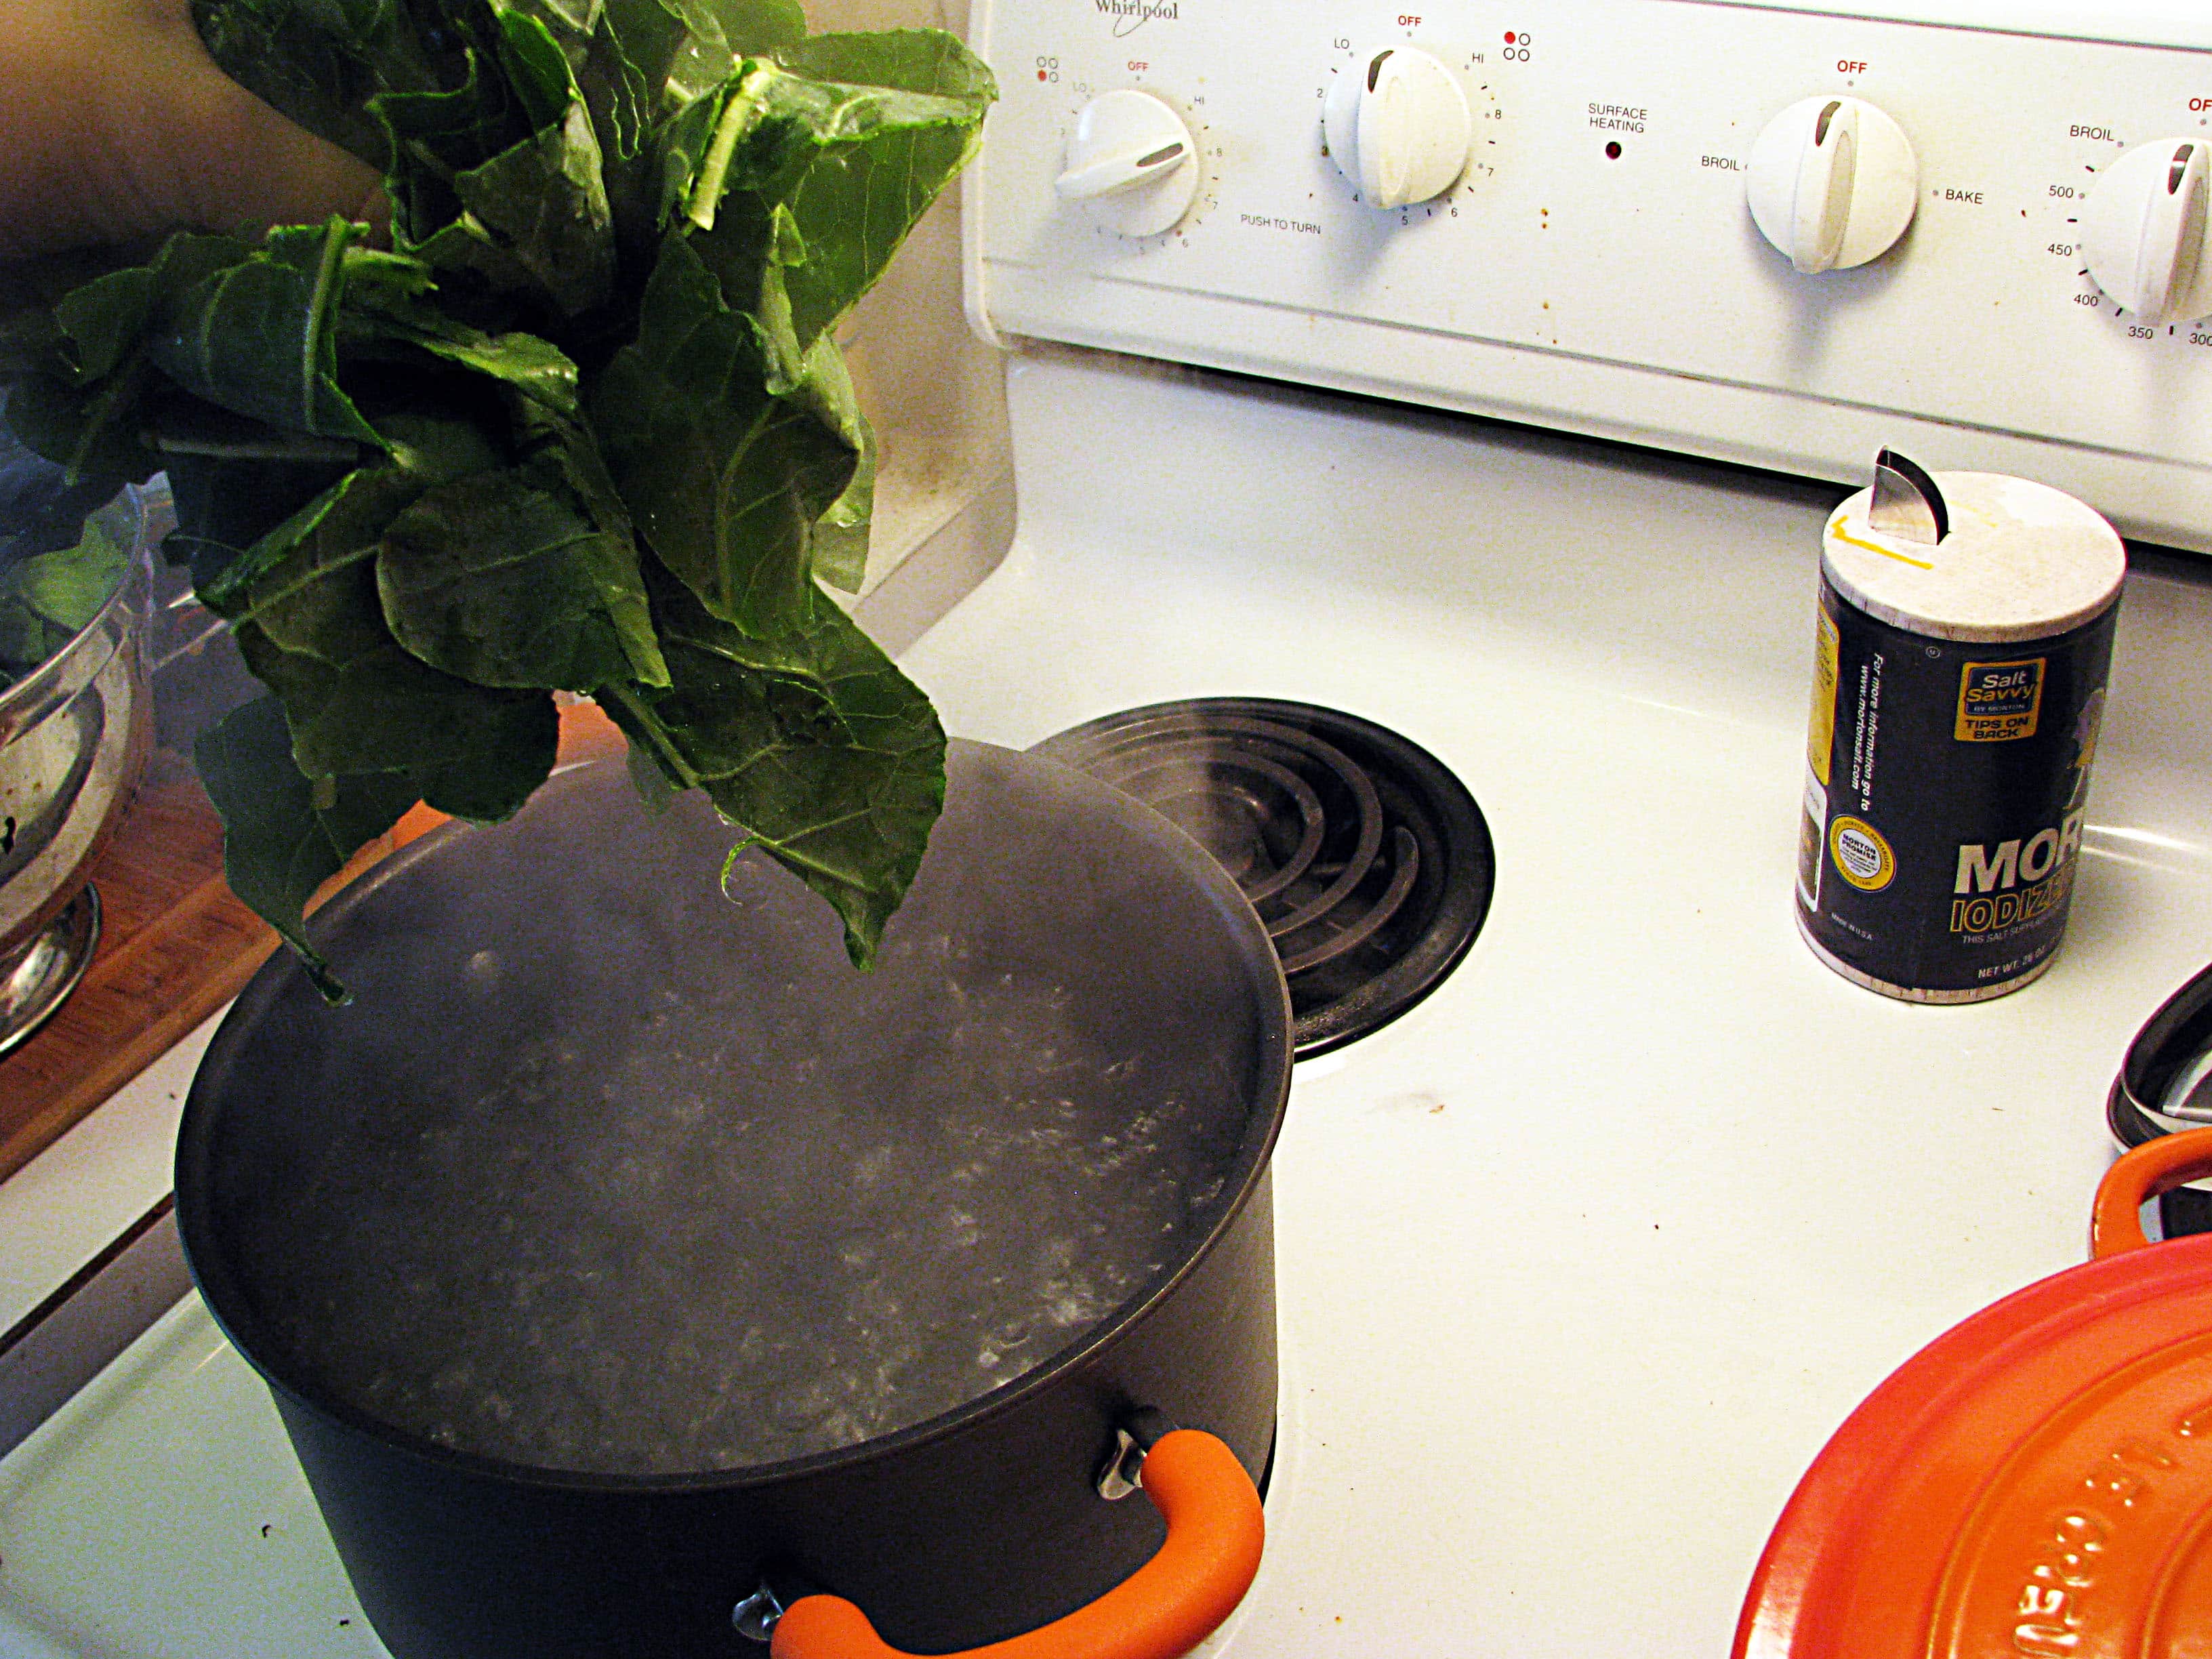
Once the water comes to a boil, put AT LEAST 2 tablespoons of salt in it. Then, in batches, drop about 3 cups at a time of stemmed, washed, cut collards into the boiling water. I use two pots since I had lots of greens and was in a hurry.
Let the greens blanch for about 90 seconds until they wilt slightly and are BRIGHT green - this doesn't take long! Then, get them out of the boiling water with a strainer or tongs or a slotted spoon - we do this so we don't have to wait for new water to boil each time.
See that assembly line? The big colander has raw greens from being washed, the small one has blanched - I used all my bowls and colanders! Keep blanching and draining the greens until they're all done, then set them aside.
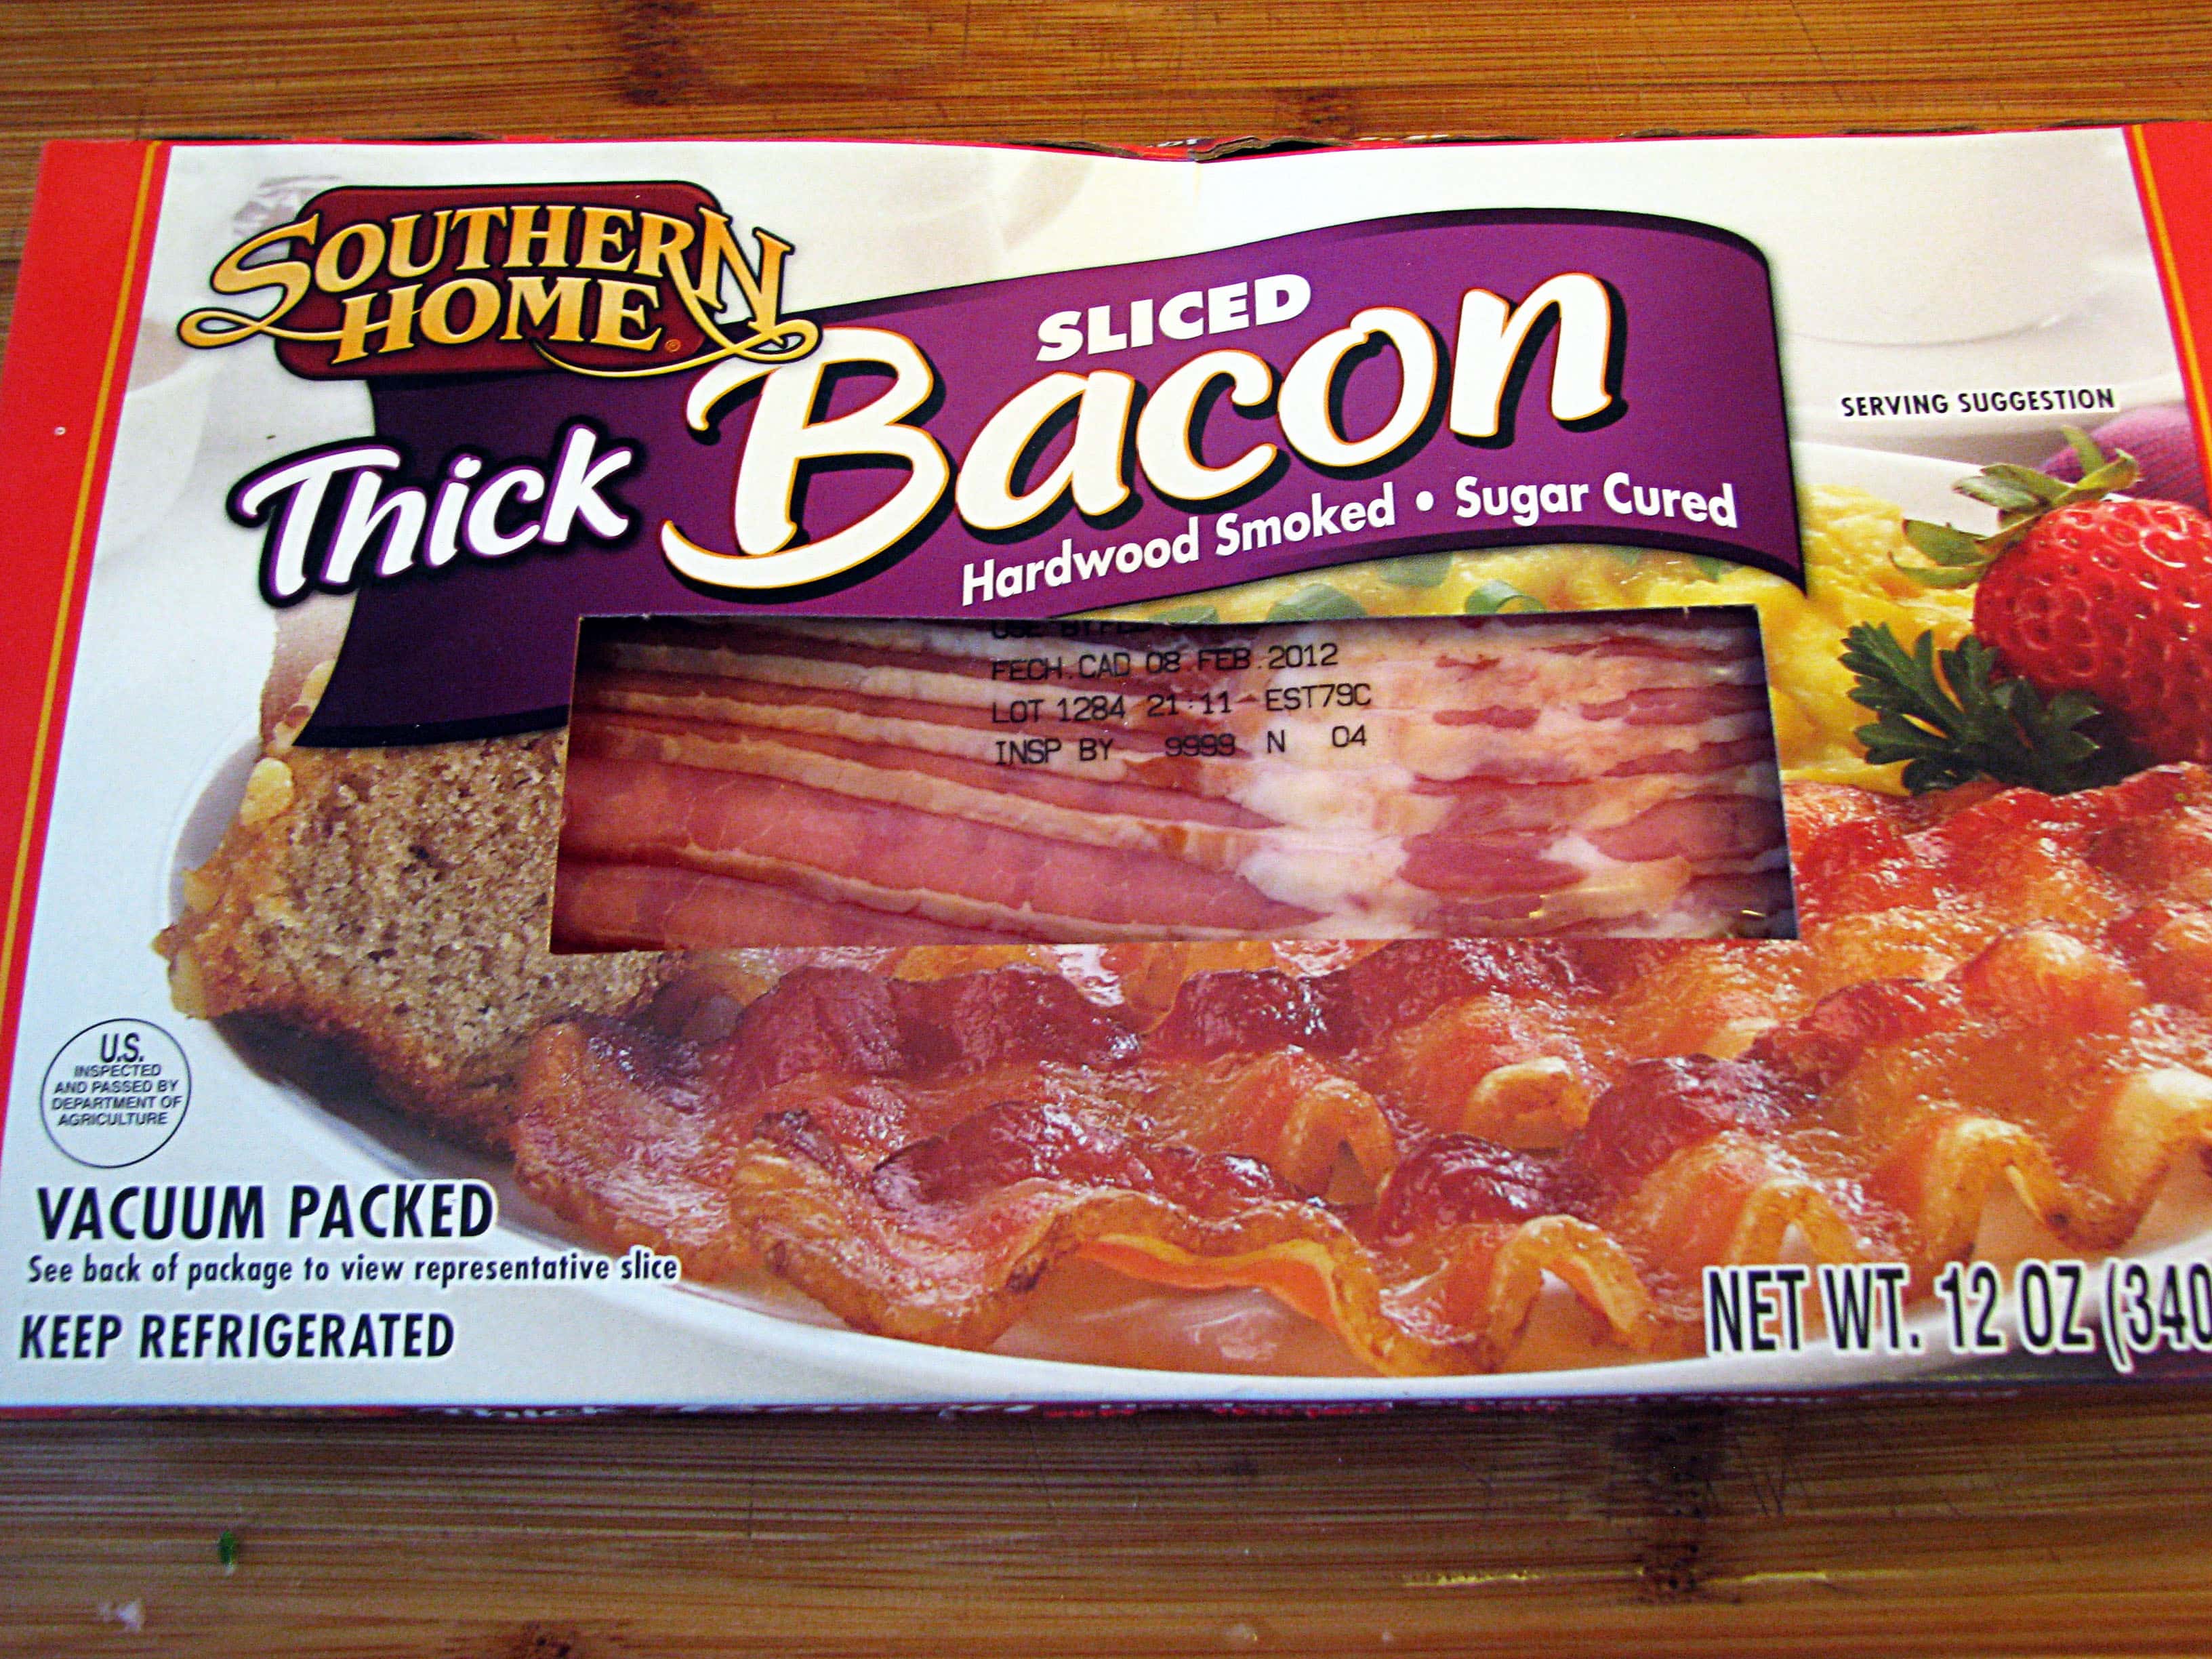
Now we're ready to get braising! Heat a large pot (a dutch oven is fine, whatever you have!) to medium heat, and grab the bacon.
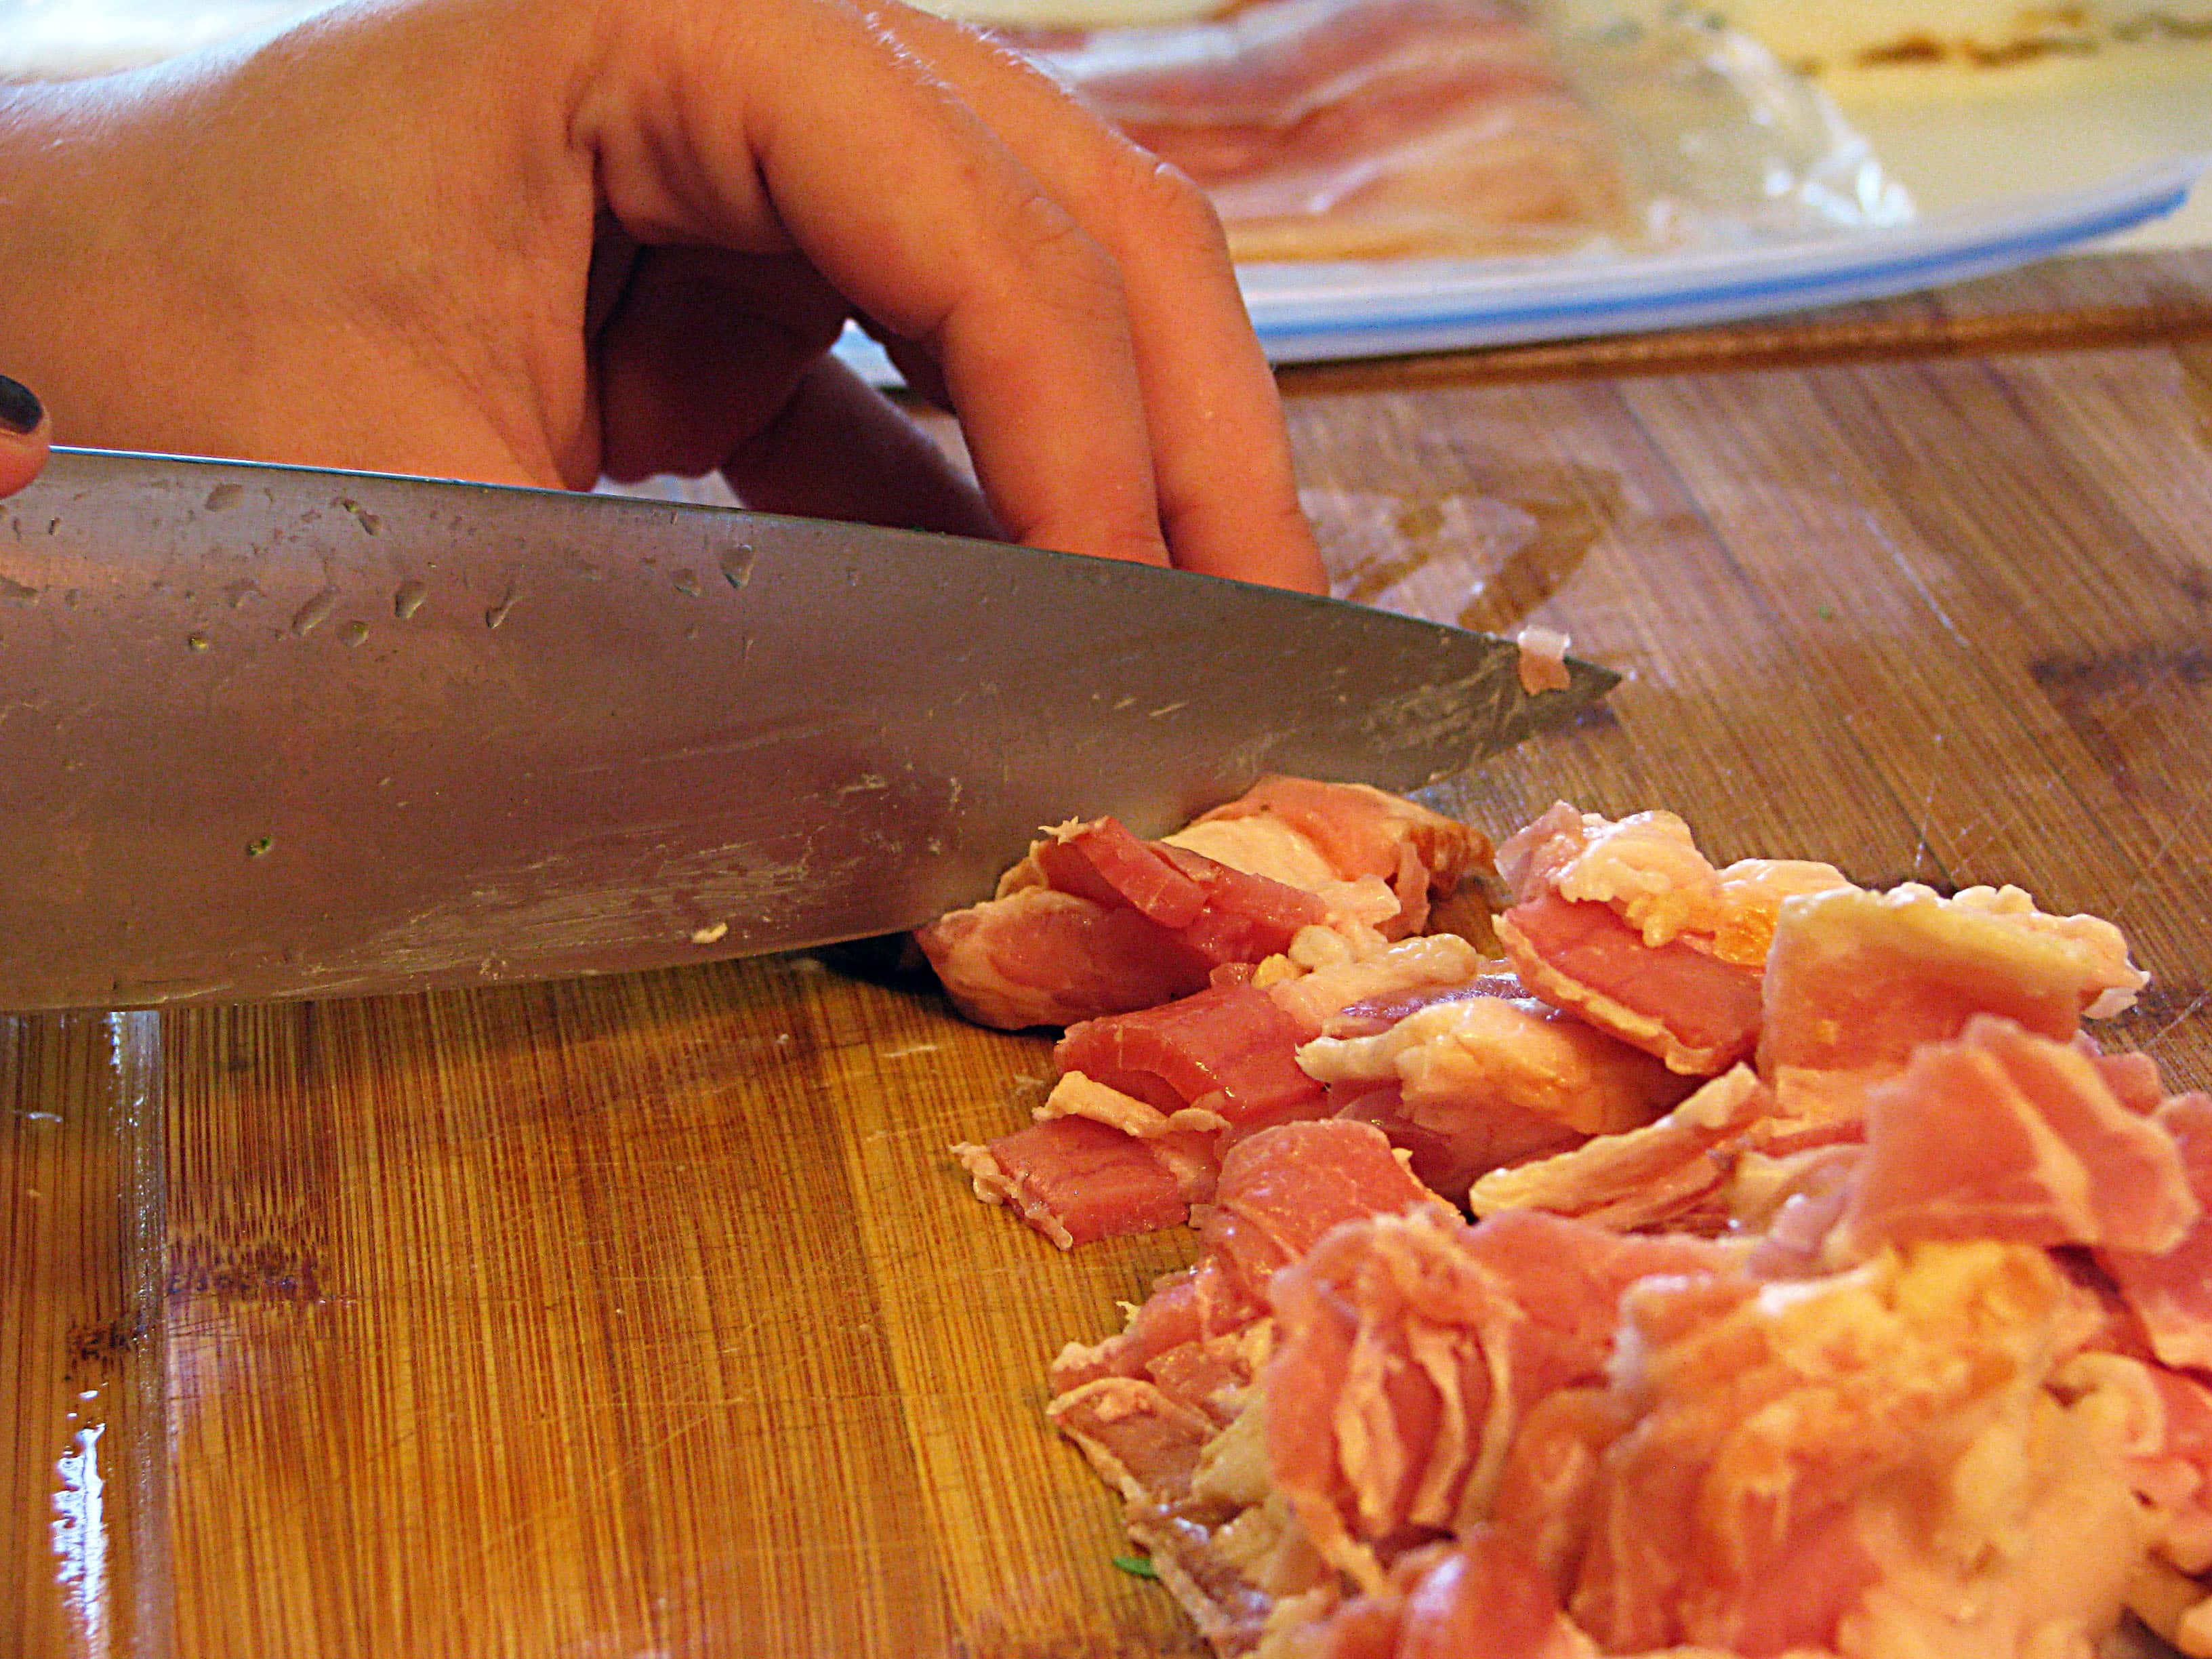
Yum. I use about 3 strips of bacon for every 4 portions - use as much as you like! Cut the bacon into small strips or bits.
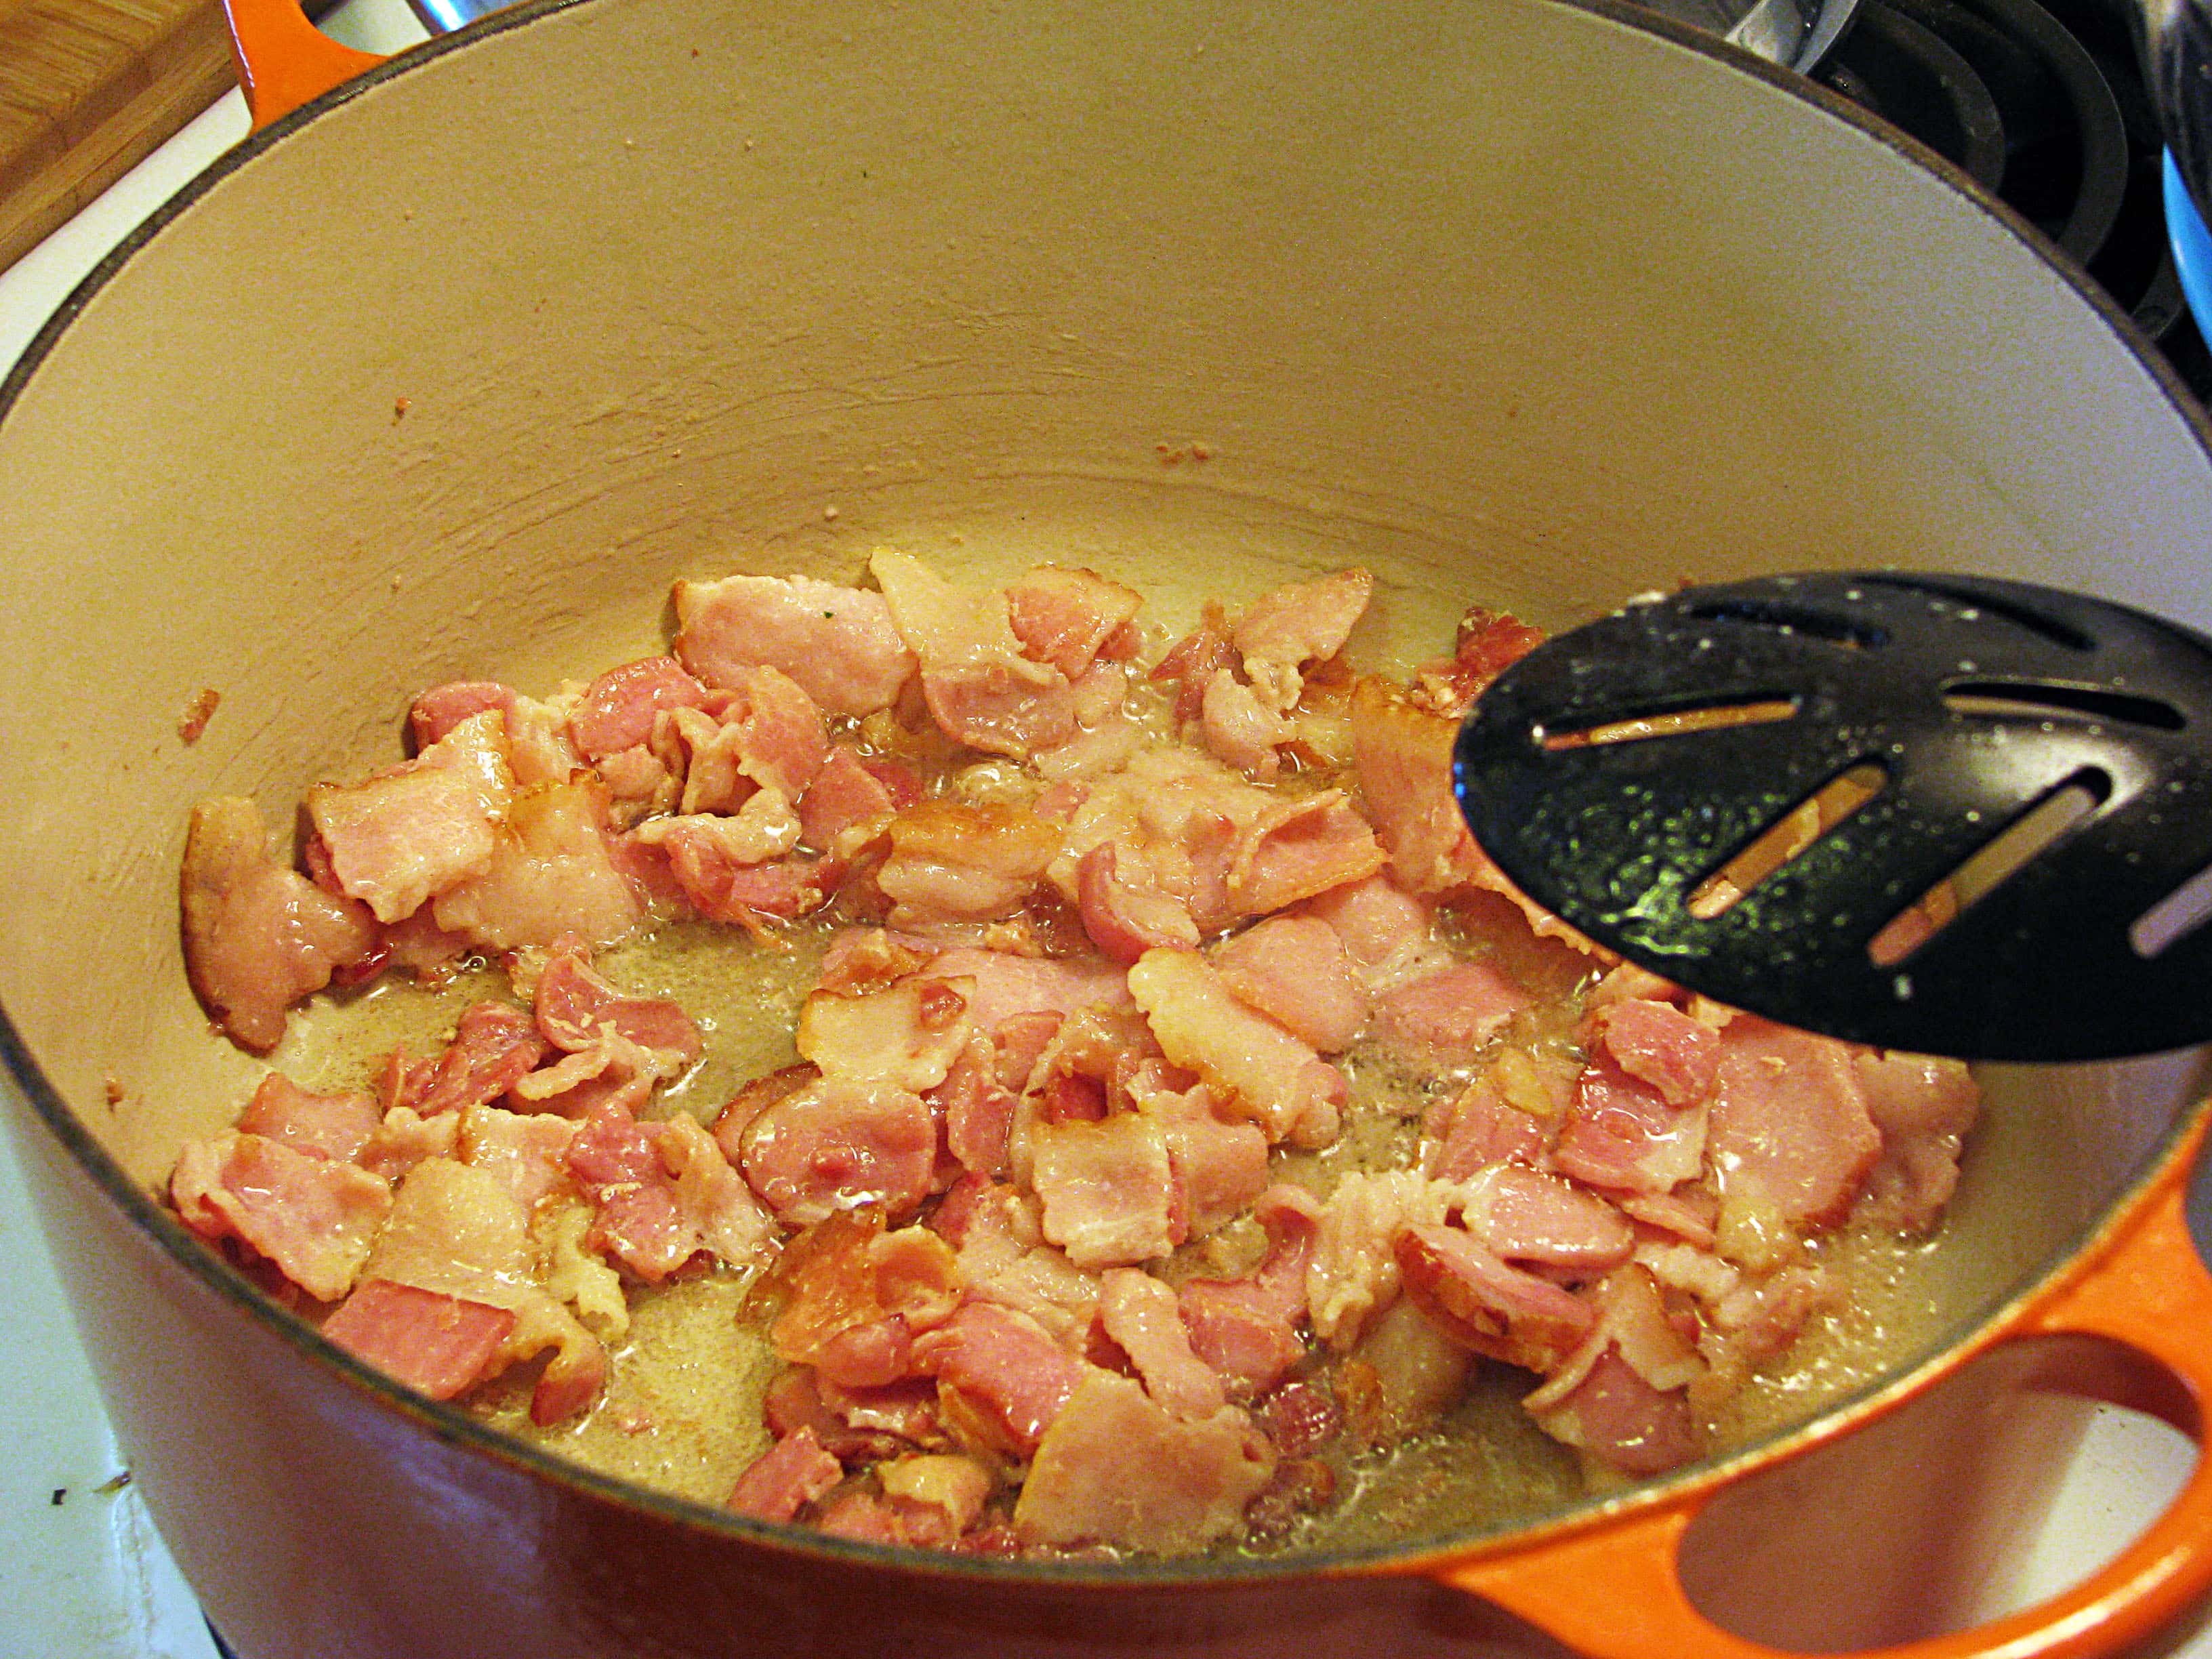
Drop the bacon into your pot (no need for oil) and let it render until it's crispy but not too dark or burned - about 7 minutes.
When the bacon is done remove it from the pan with a slotted spoon - leave the drippings!
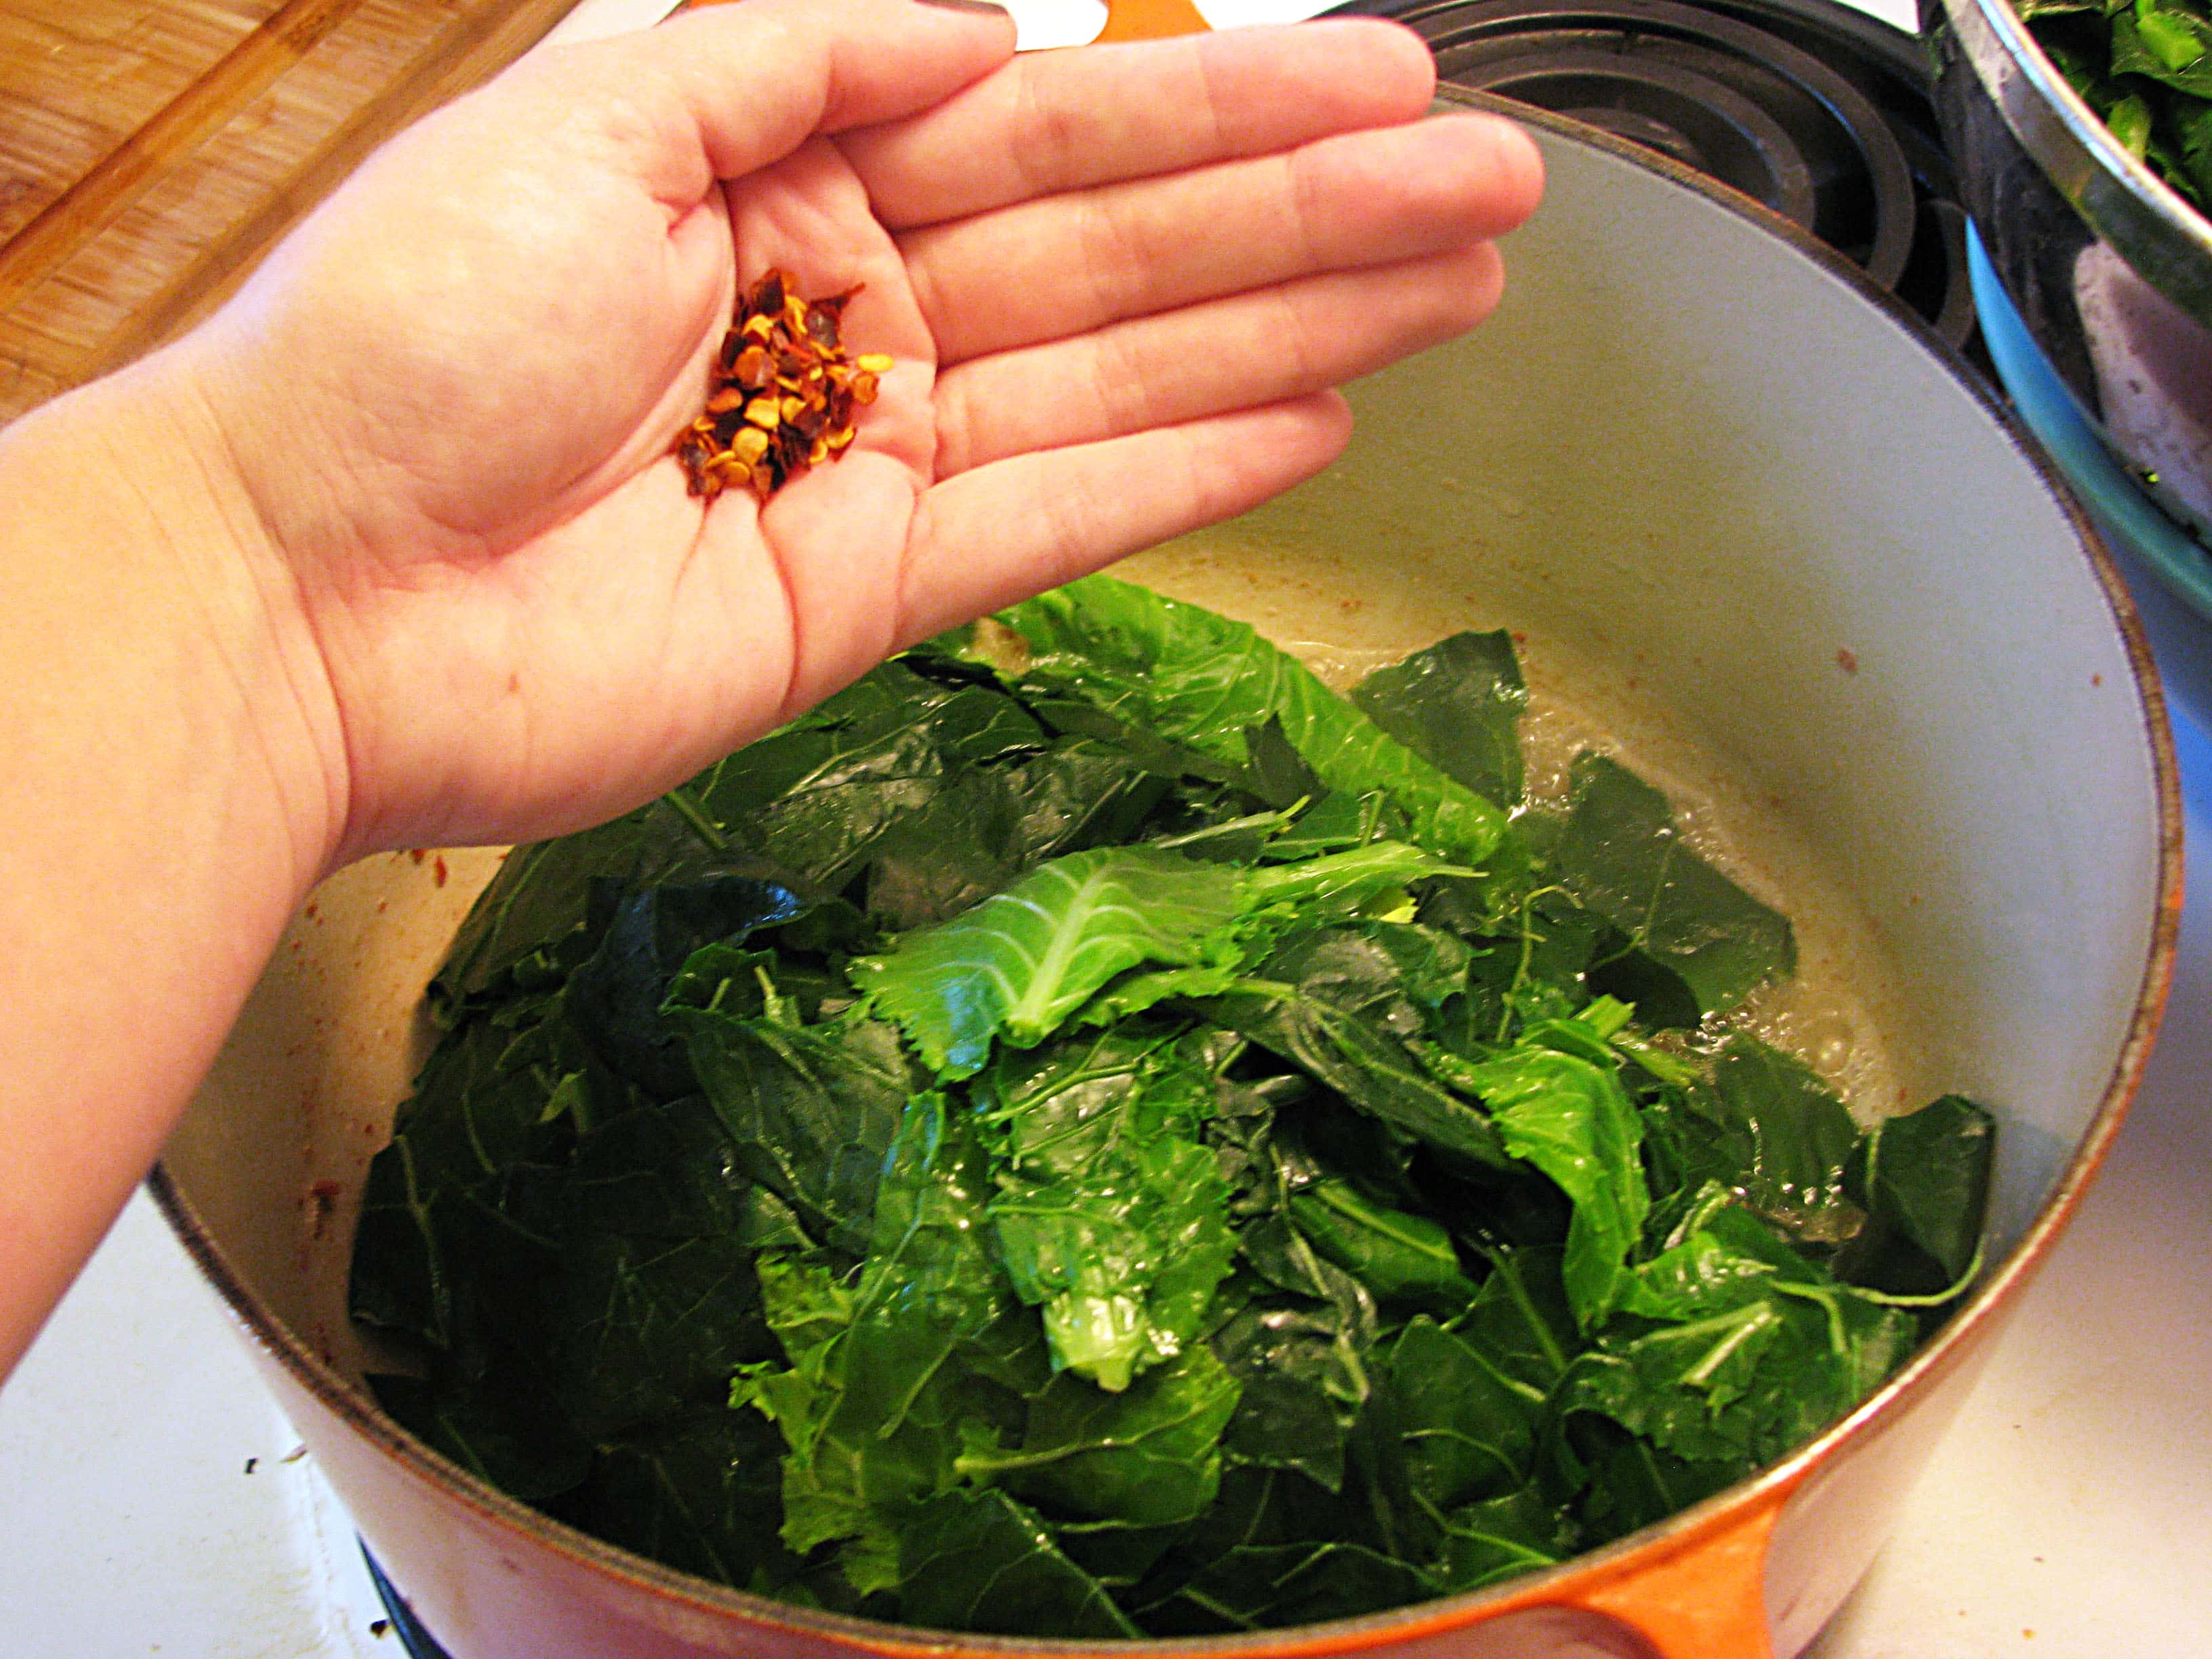
Leave the bacon fat in the pan because it tastes good. Seriously. Add back in all the greens and a little crushed red pepper - as much as your peeps enjoy!
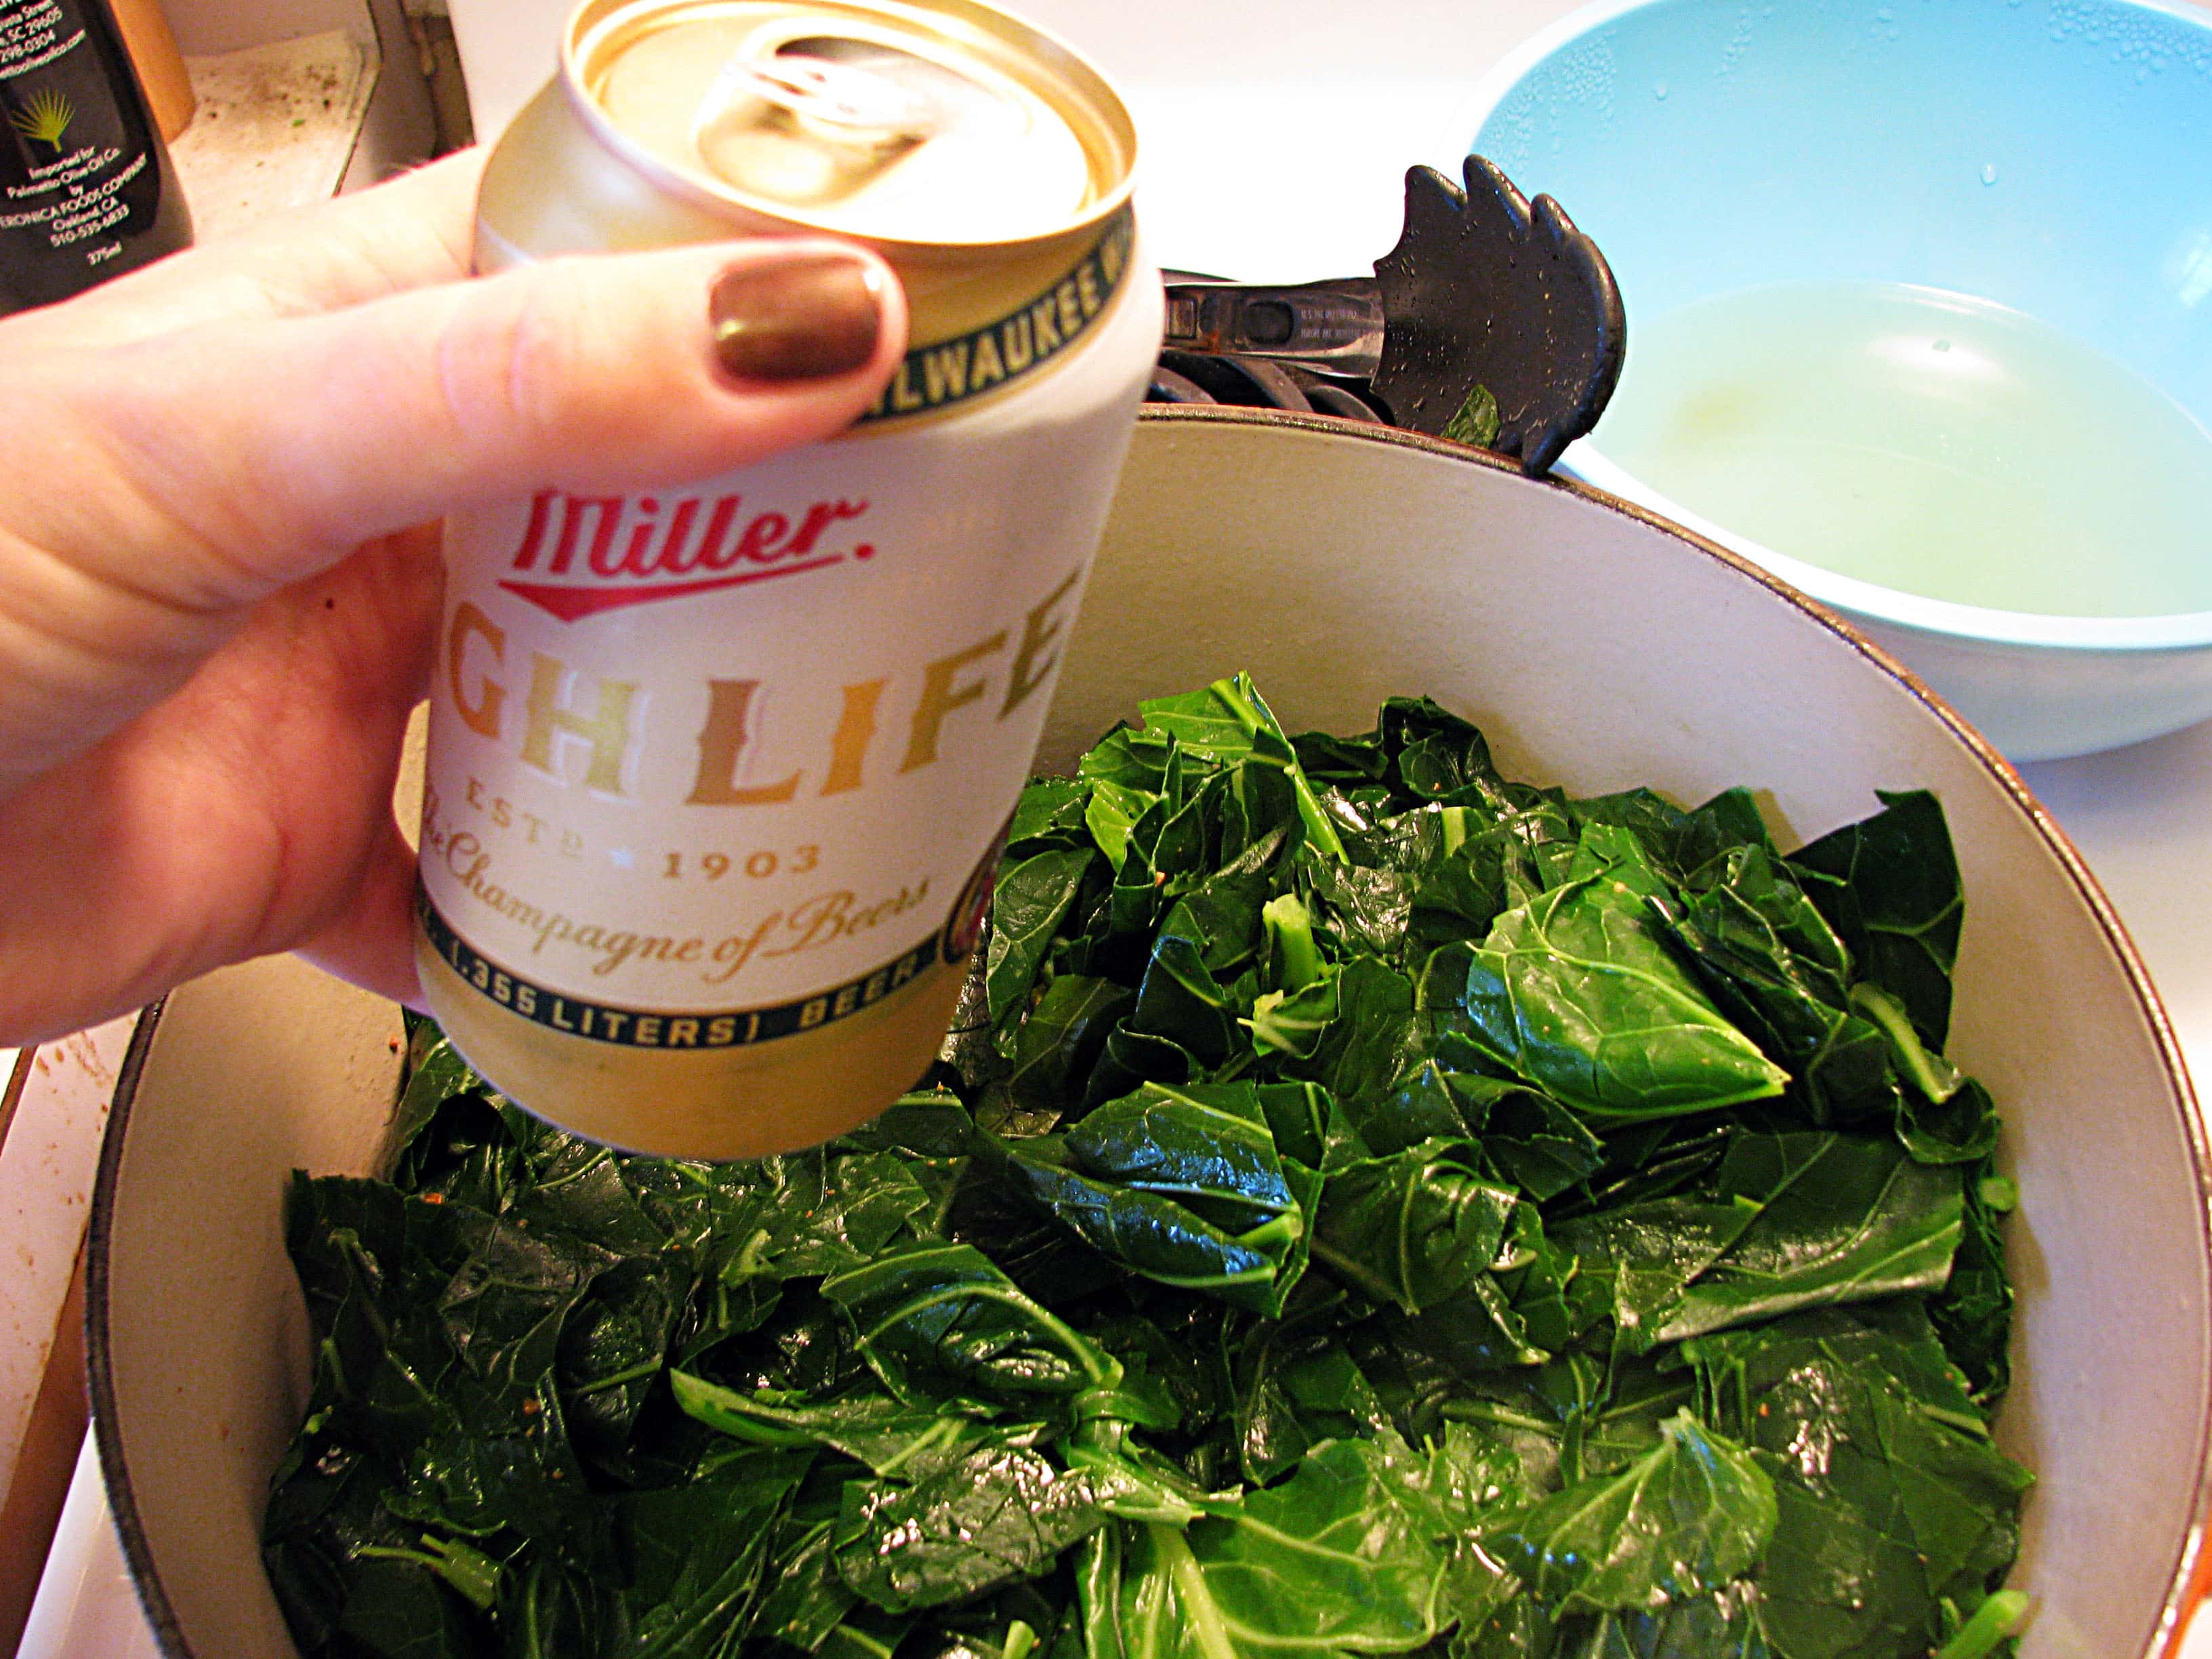
Look how pretty! Keep the pan at medium or medium-high heat - you should hear a sizzle when the greens hit the pan! Now, the best part. Add in a whole can of beer! I use fancy beer, as you can see.
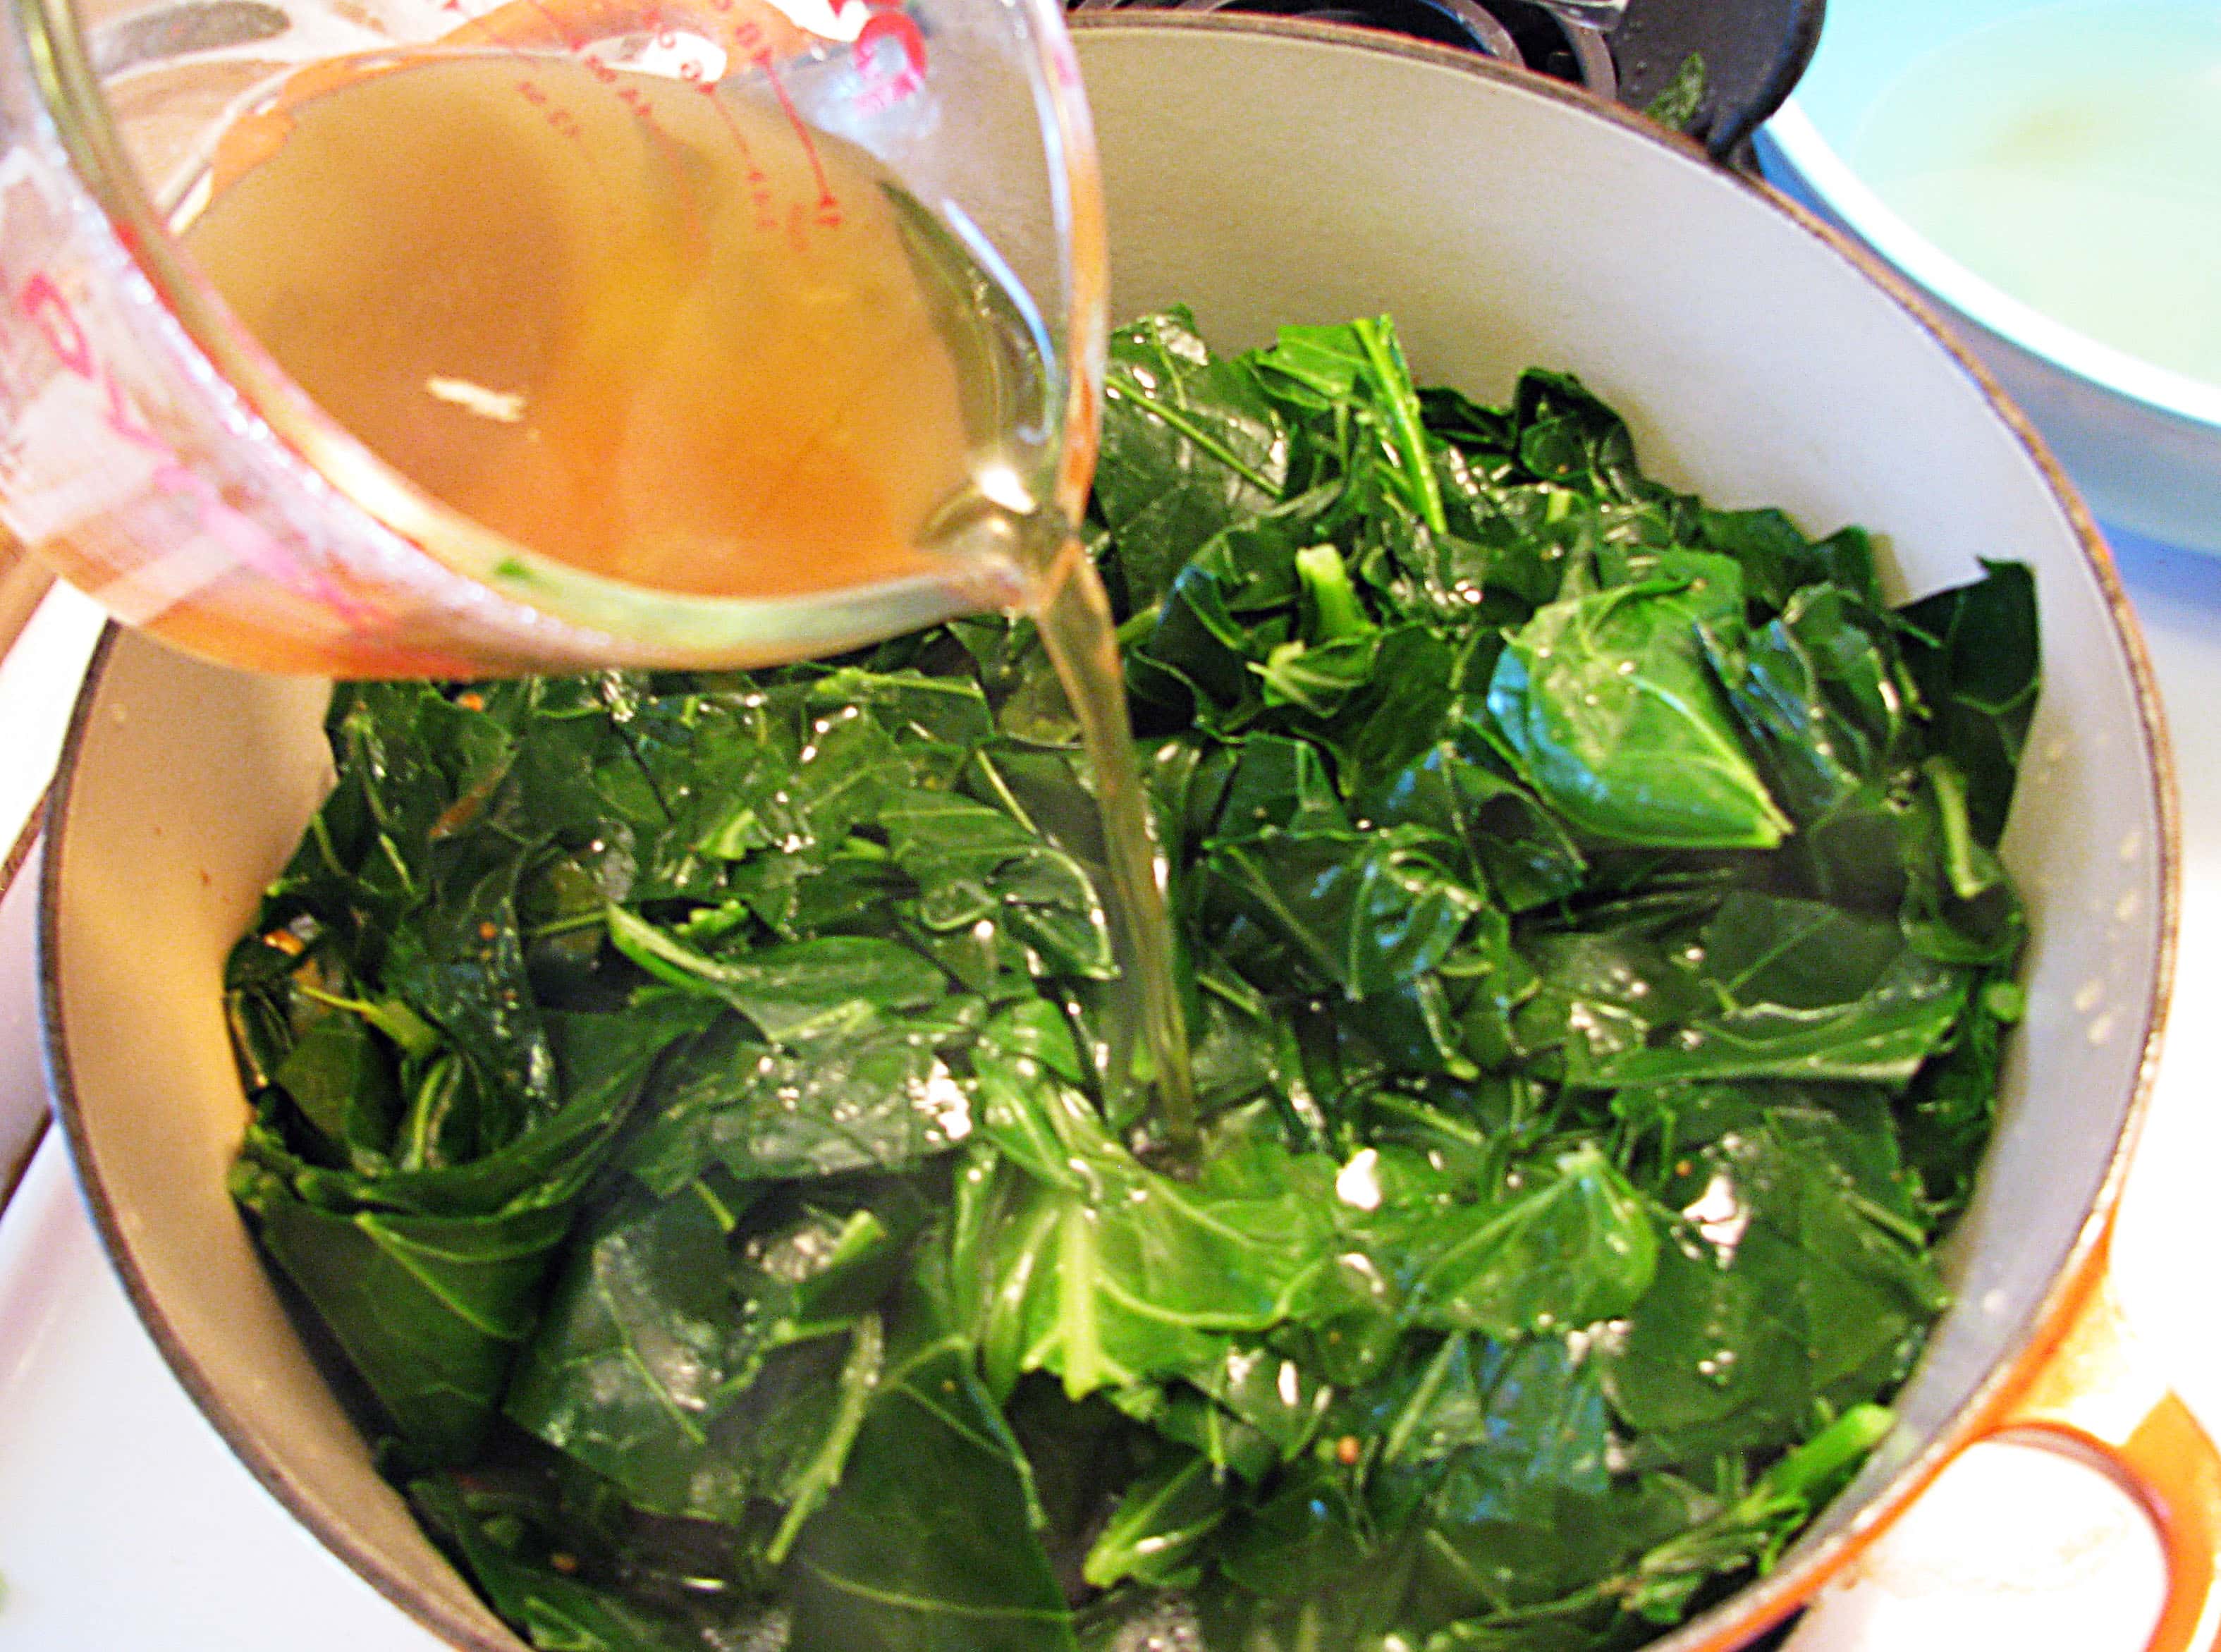
Heck to the yes. Let the beer bubble and reduce for about 2 minutes, then add enough chicken stock to cover the greens halfway.
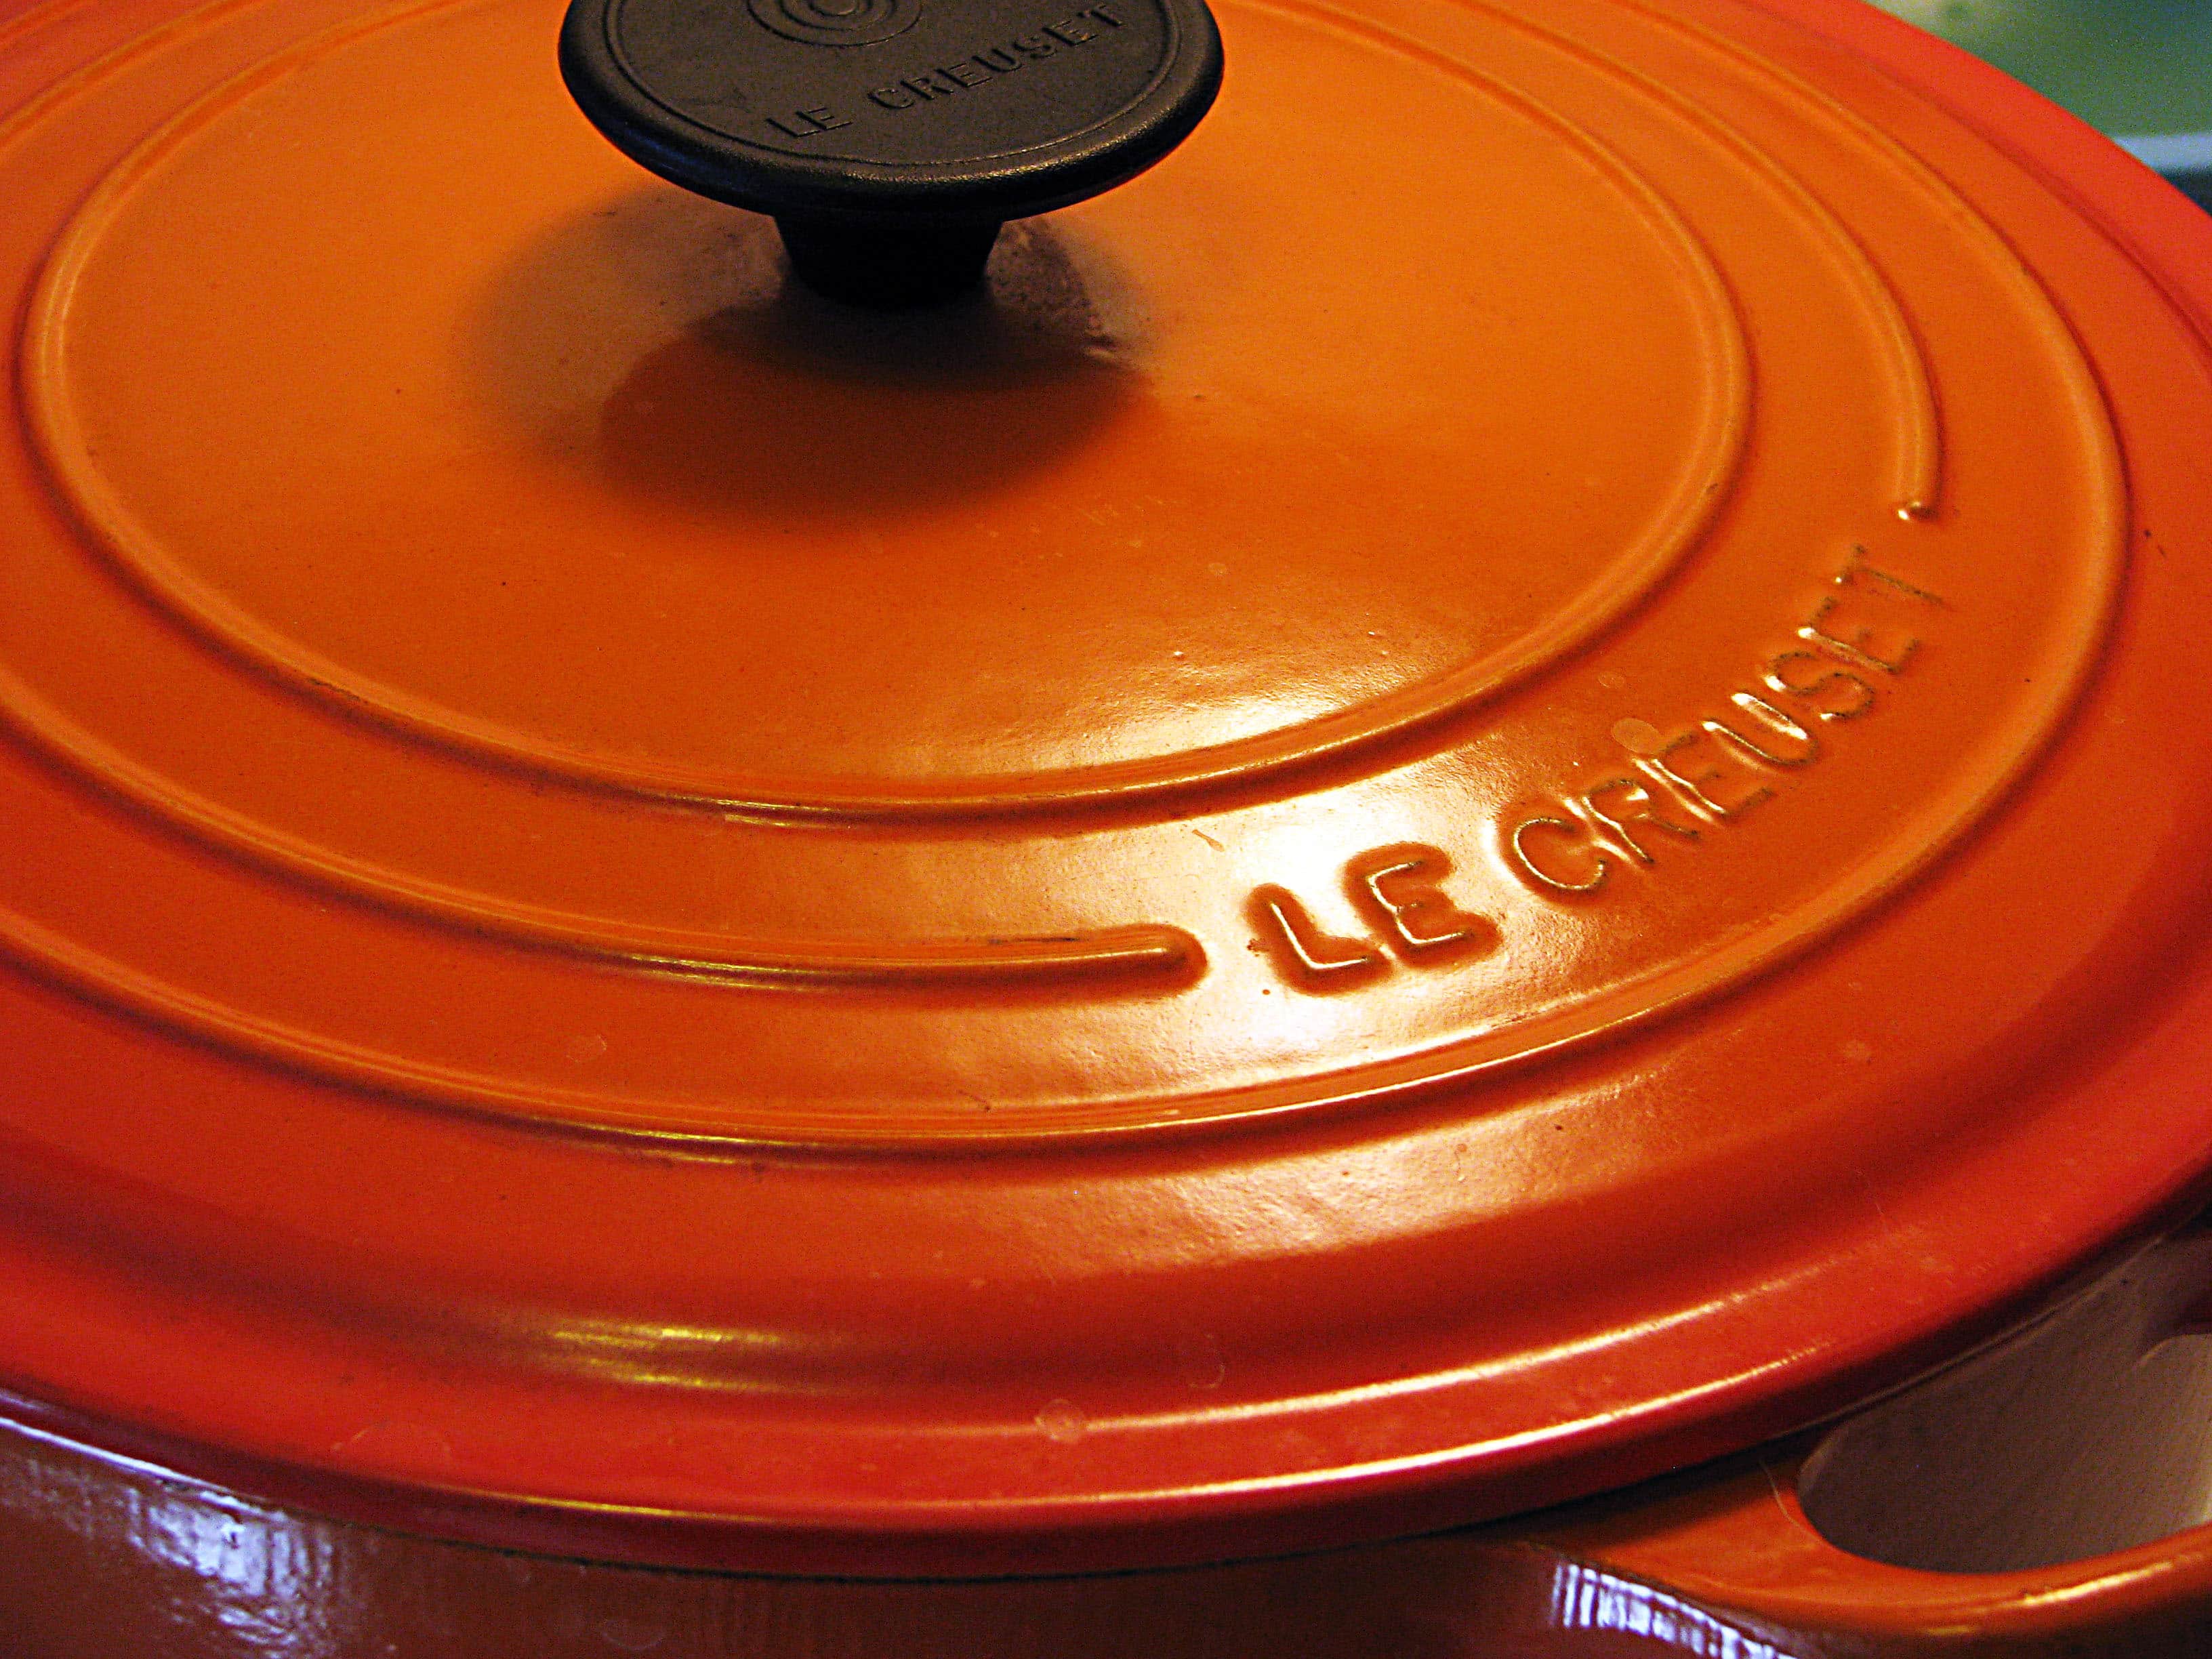
mmmmmmmm. Now reduce the heat to medium-low and cover the pot. Let the greens braise for 30 minutes to 1 hour, depending on how much time you have and how tender you like your greens. Taste them while they're cooking if you aren't sure! Open the lid every once in awhile and make sure the liquid is simmering but not bubbling, and adjust the heat accordingly.
Your house will smell gross. You will probably want to take this time to hose down everything of greensgrit and light a scented candle, or just drink 7 beers and don't worry about it. It's your call!
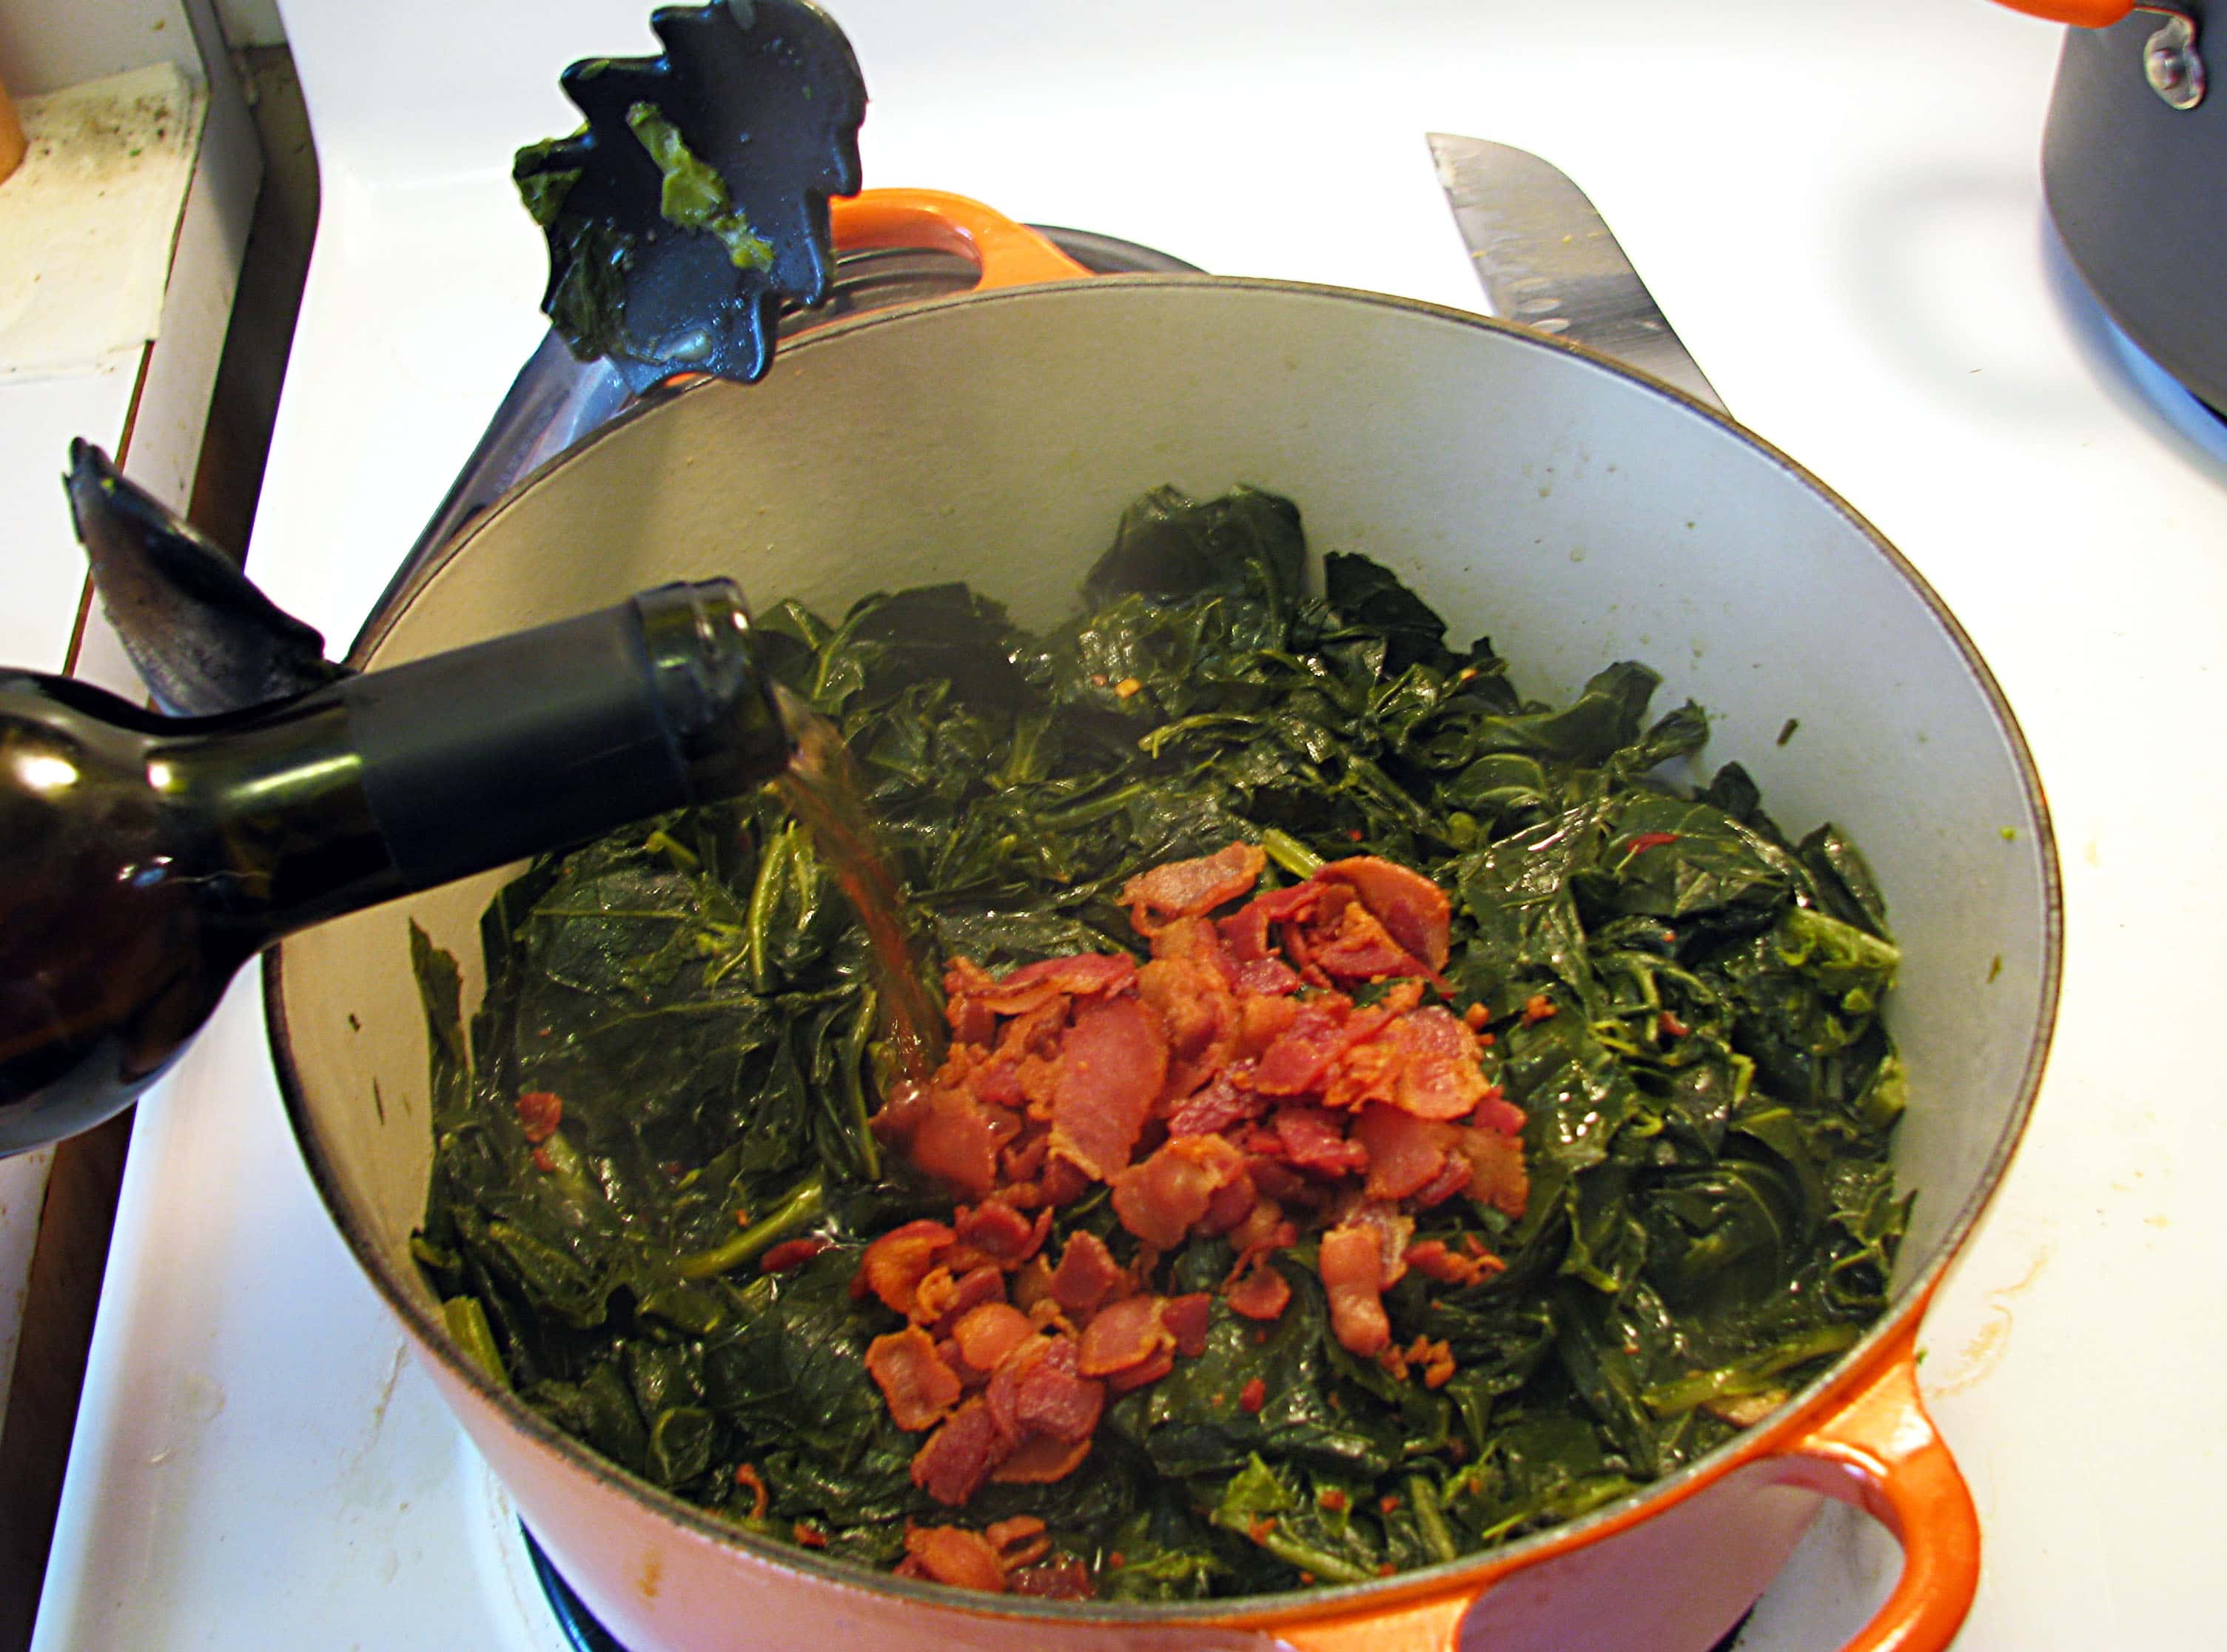
When the greens have braised to your liking, stir in 2 tablespoons of vinegar and the bacon.
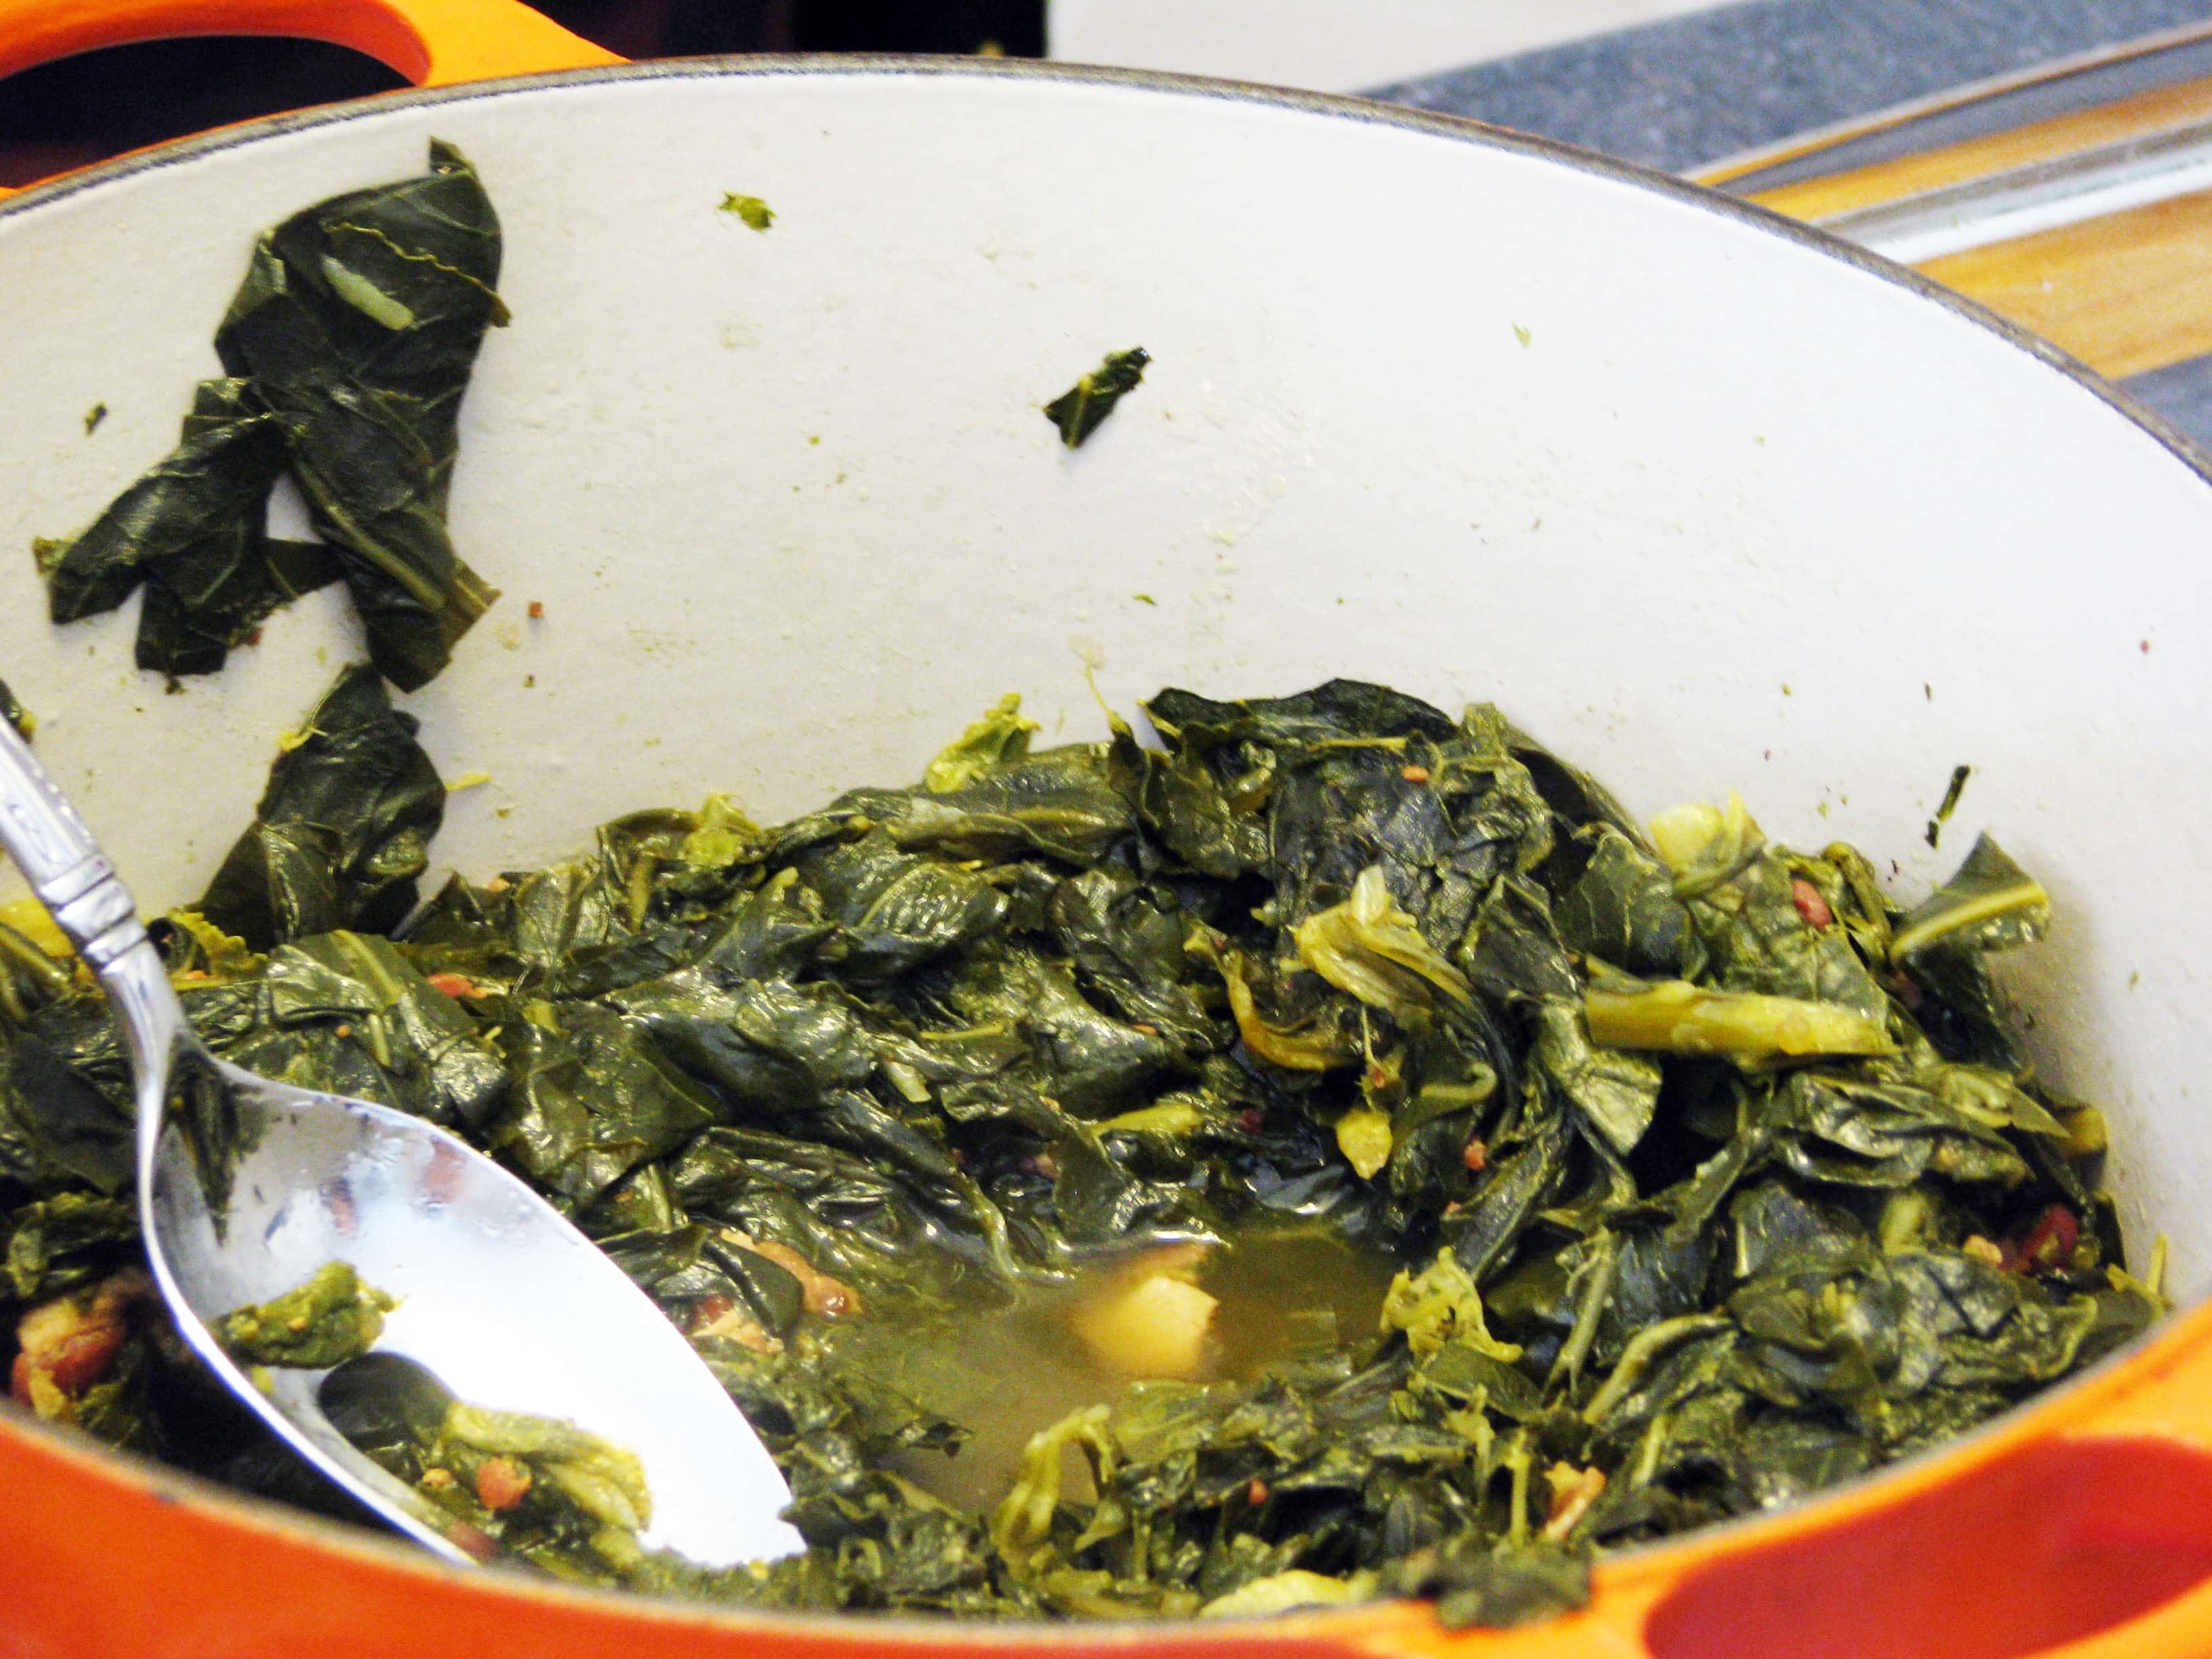
That is all the good stuff in the world. YUM! Stir everything together and taste - add more salt, vinegar, or crushed red pepper as you see fit.
And that's it! Serve these on any weeknight or at a big family holiday meal - they're amazing every time and won't disappoint!
Tip: Love spinach? Make these in no time! Use a frying pan instead of a pot and skip the blanching step. After you've rendered the bacon, add the spinach, beer, and just a little stock to the pan all at once. By the time the liquid has cooked down the spinach will be ready to eat - add the bacon back in and you'll be ready to eat!





This looks lush. We have turkey, boiled ham, stuffing (which is a meal of its own) and this year, as I'm at my girlfriend's, we're having nut roast 😀